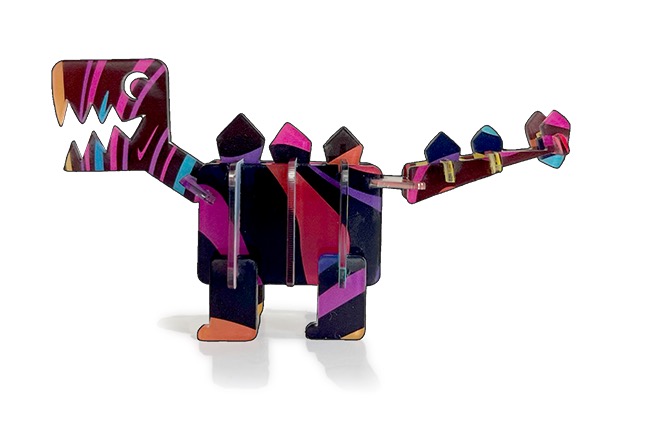
Laser Cut Dinosaur
Laser cut models are among the easiest and most enjoyable beginner laser projects. Ranging in complexity from simple to intricate, their parts join together by use of well-placed slots and tabs, and they make great puzzles, party favors, or decorations. There's no shortage of designs available on the internet, but what to do when you download a design with slots that don't match the material you're working with, or you want to adjust the scale of a model? And how to ensure a snug fit between parts?
By using Resize Slots and applying a Kerf offset, you'll be able to adapt any model to your material, scale, and laser. In this guide, we'll walk you through modifying a rudimentary project of our own design. To follow along, you can download our project here, or use any alternate design you'd like - it'll just need to have slots or tabs.
Resize Slots
In order for a model to fit together properly, its slots or tabs must be sized correctly for the thickness of the material being cut. If you want to cut a model out of a material of a different thickness than it was originally designed for, or if you've adjusted the scale of the entire design, you can use LightBurn's Slot & Tab Resizer to adjust the size of the slots without having to alter each one individually.
1. Measure Existing Slots
Before using Resize Slots, you'll need to know the size of the original slots or tabs in the design we want to adjust.
-
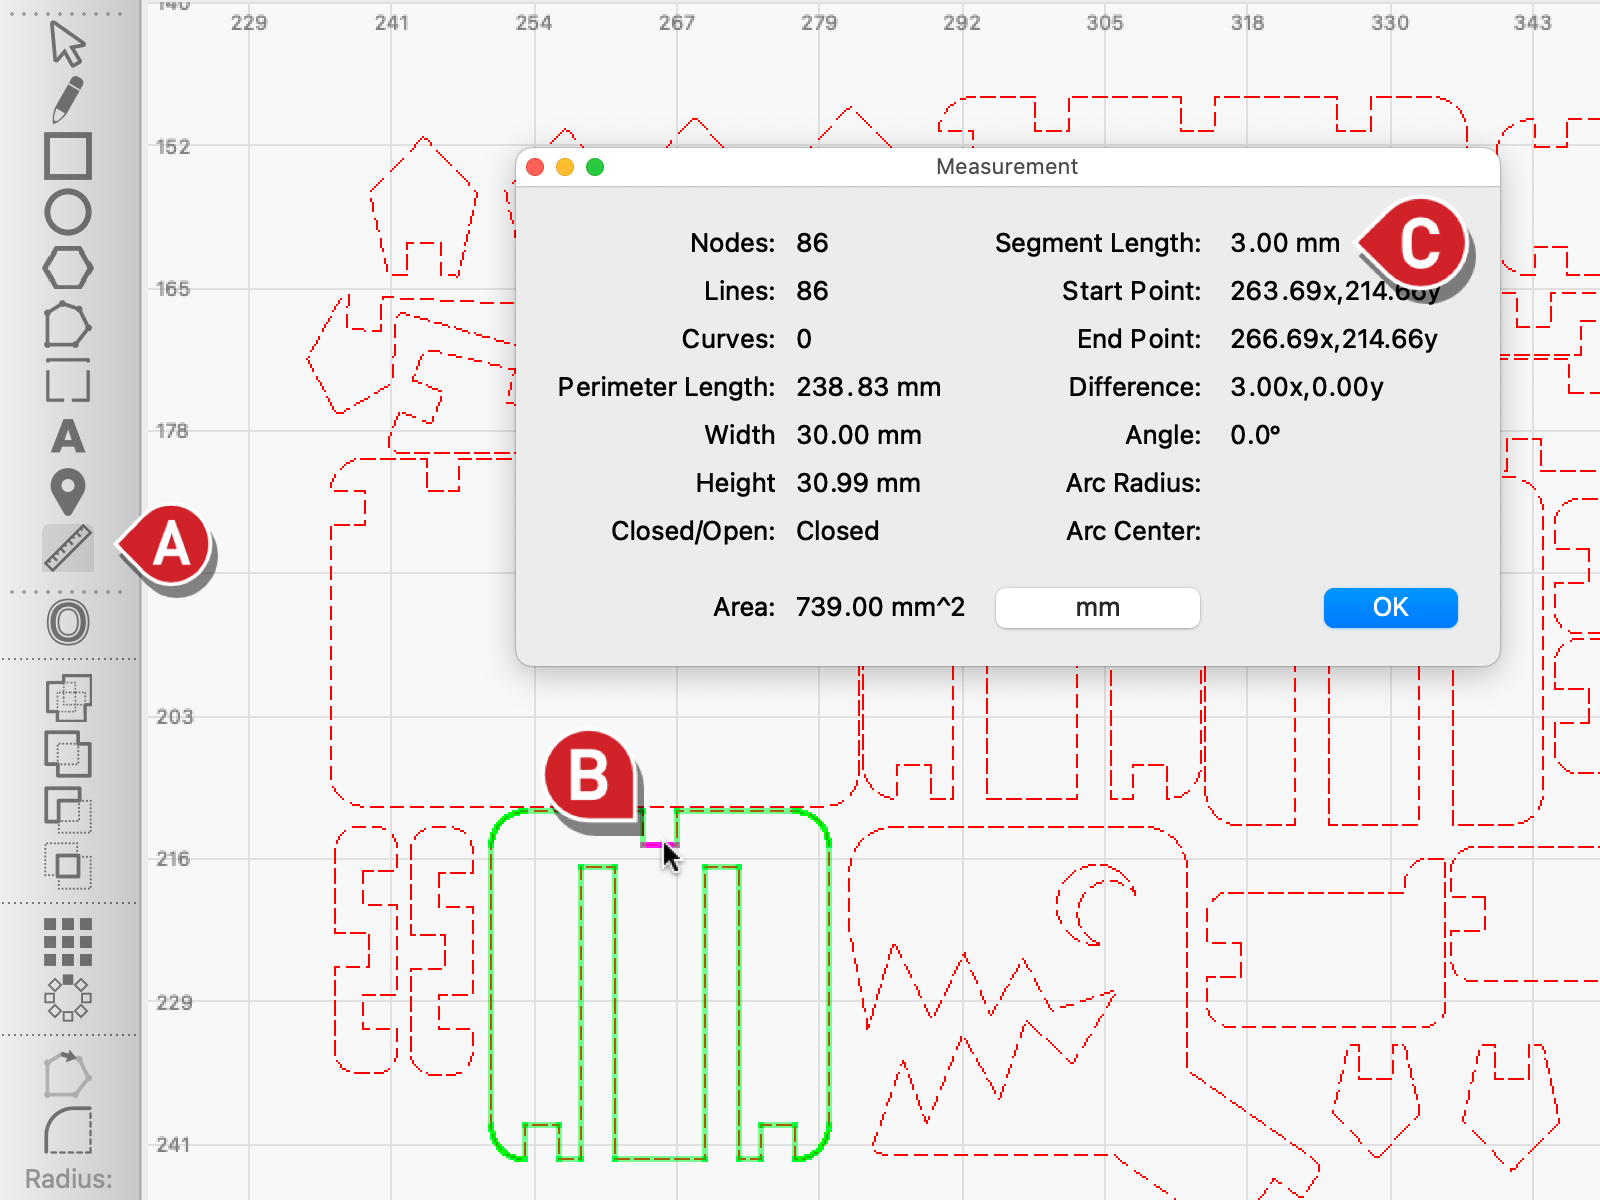
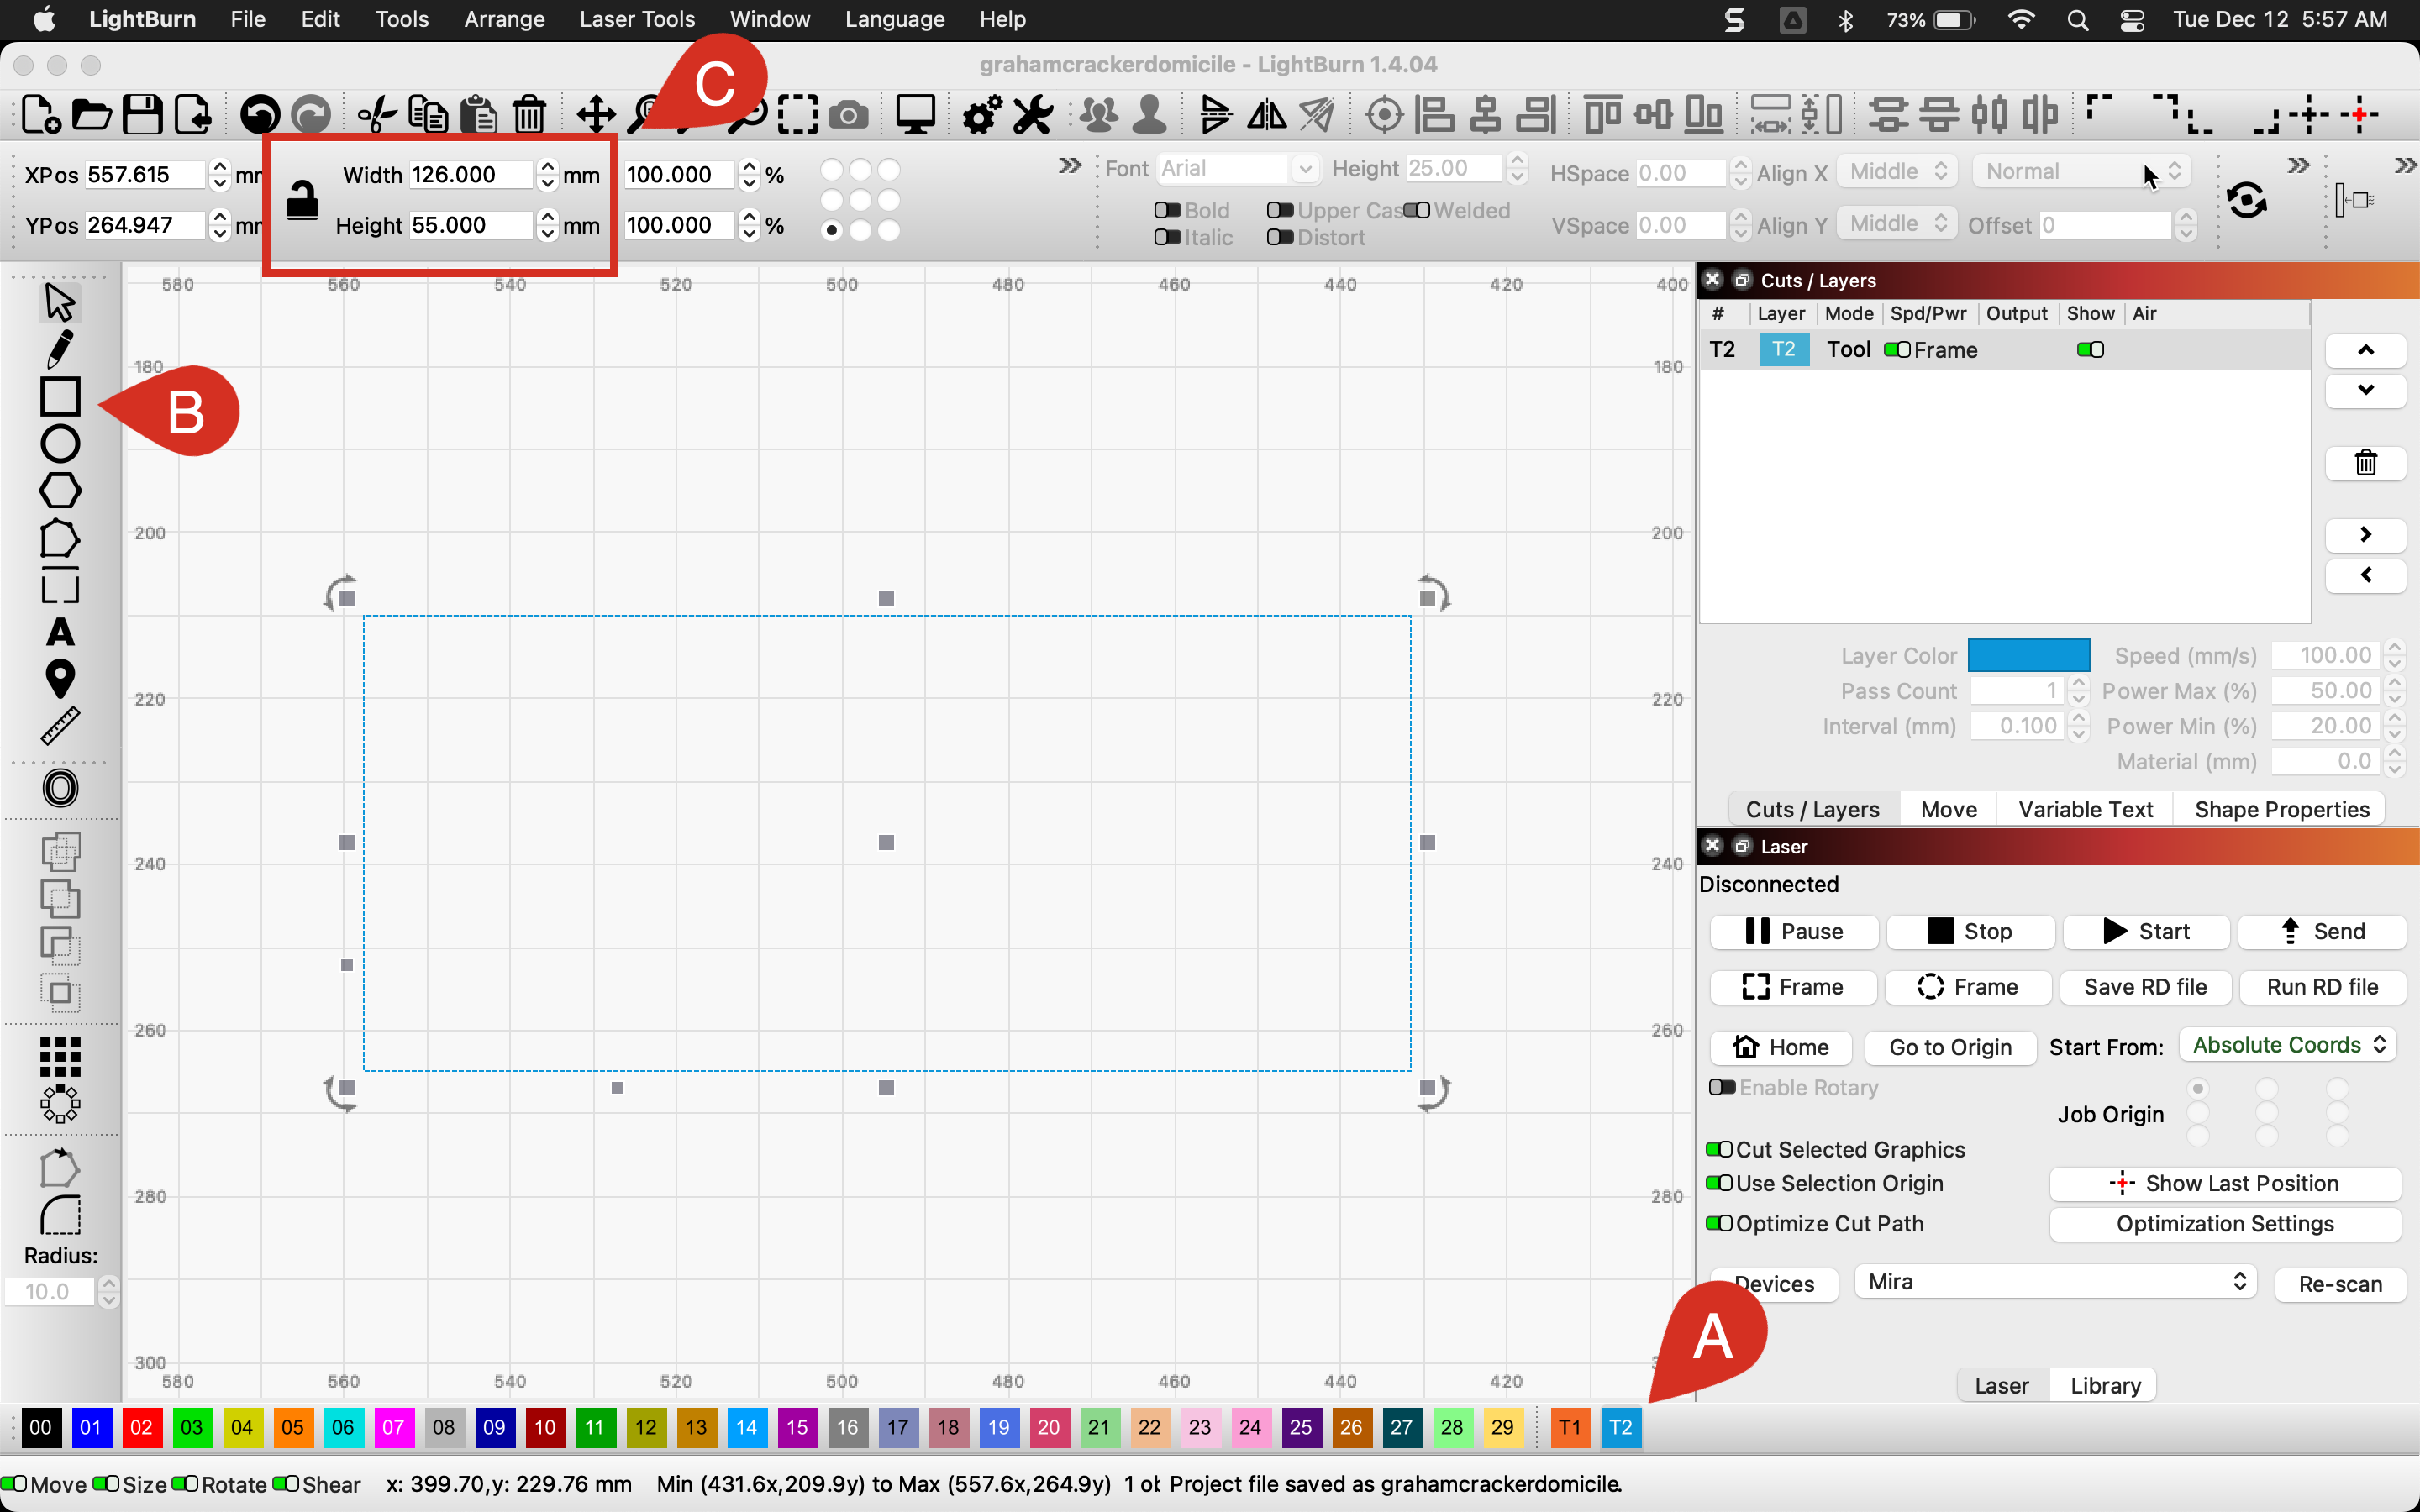
Click the View Shape Measurements button in the left toolbar.
-
Hover over the segment of the slot or tab you want to adjust. We'll be adjusting slot width, so that's the segment we'll hover over.
-
The length of the line is displayed as the Segment Length. Our design has a starting slot width of 3 mm, because we designed it to be cut out of 3 mm thick material.
2. Prepare The File
-
Before opening the Resize Slots tool, it's important to make sure none of the graphics are grouped, or the resizer won't be able to identify the slots or tabs. You can ungroup graphics by selecting them and clicking the Ungroup button or pressing ++ctrl+u+ / Cmd+U.
-
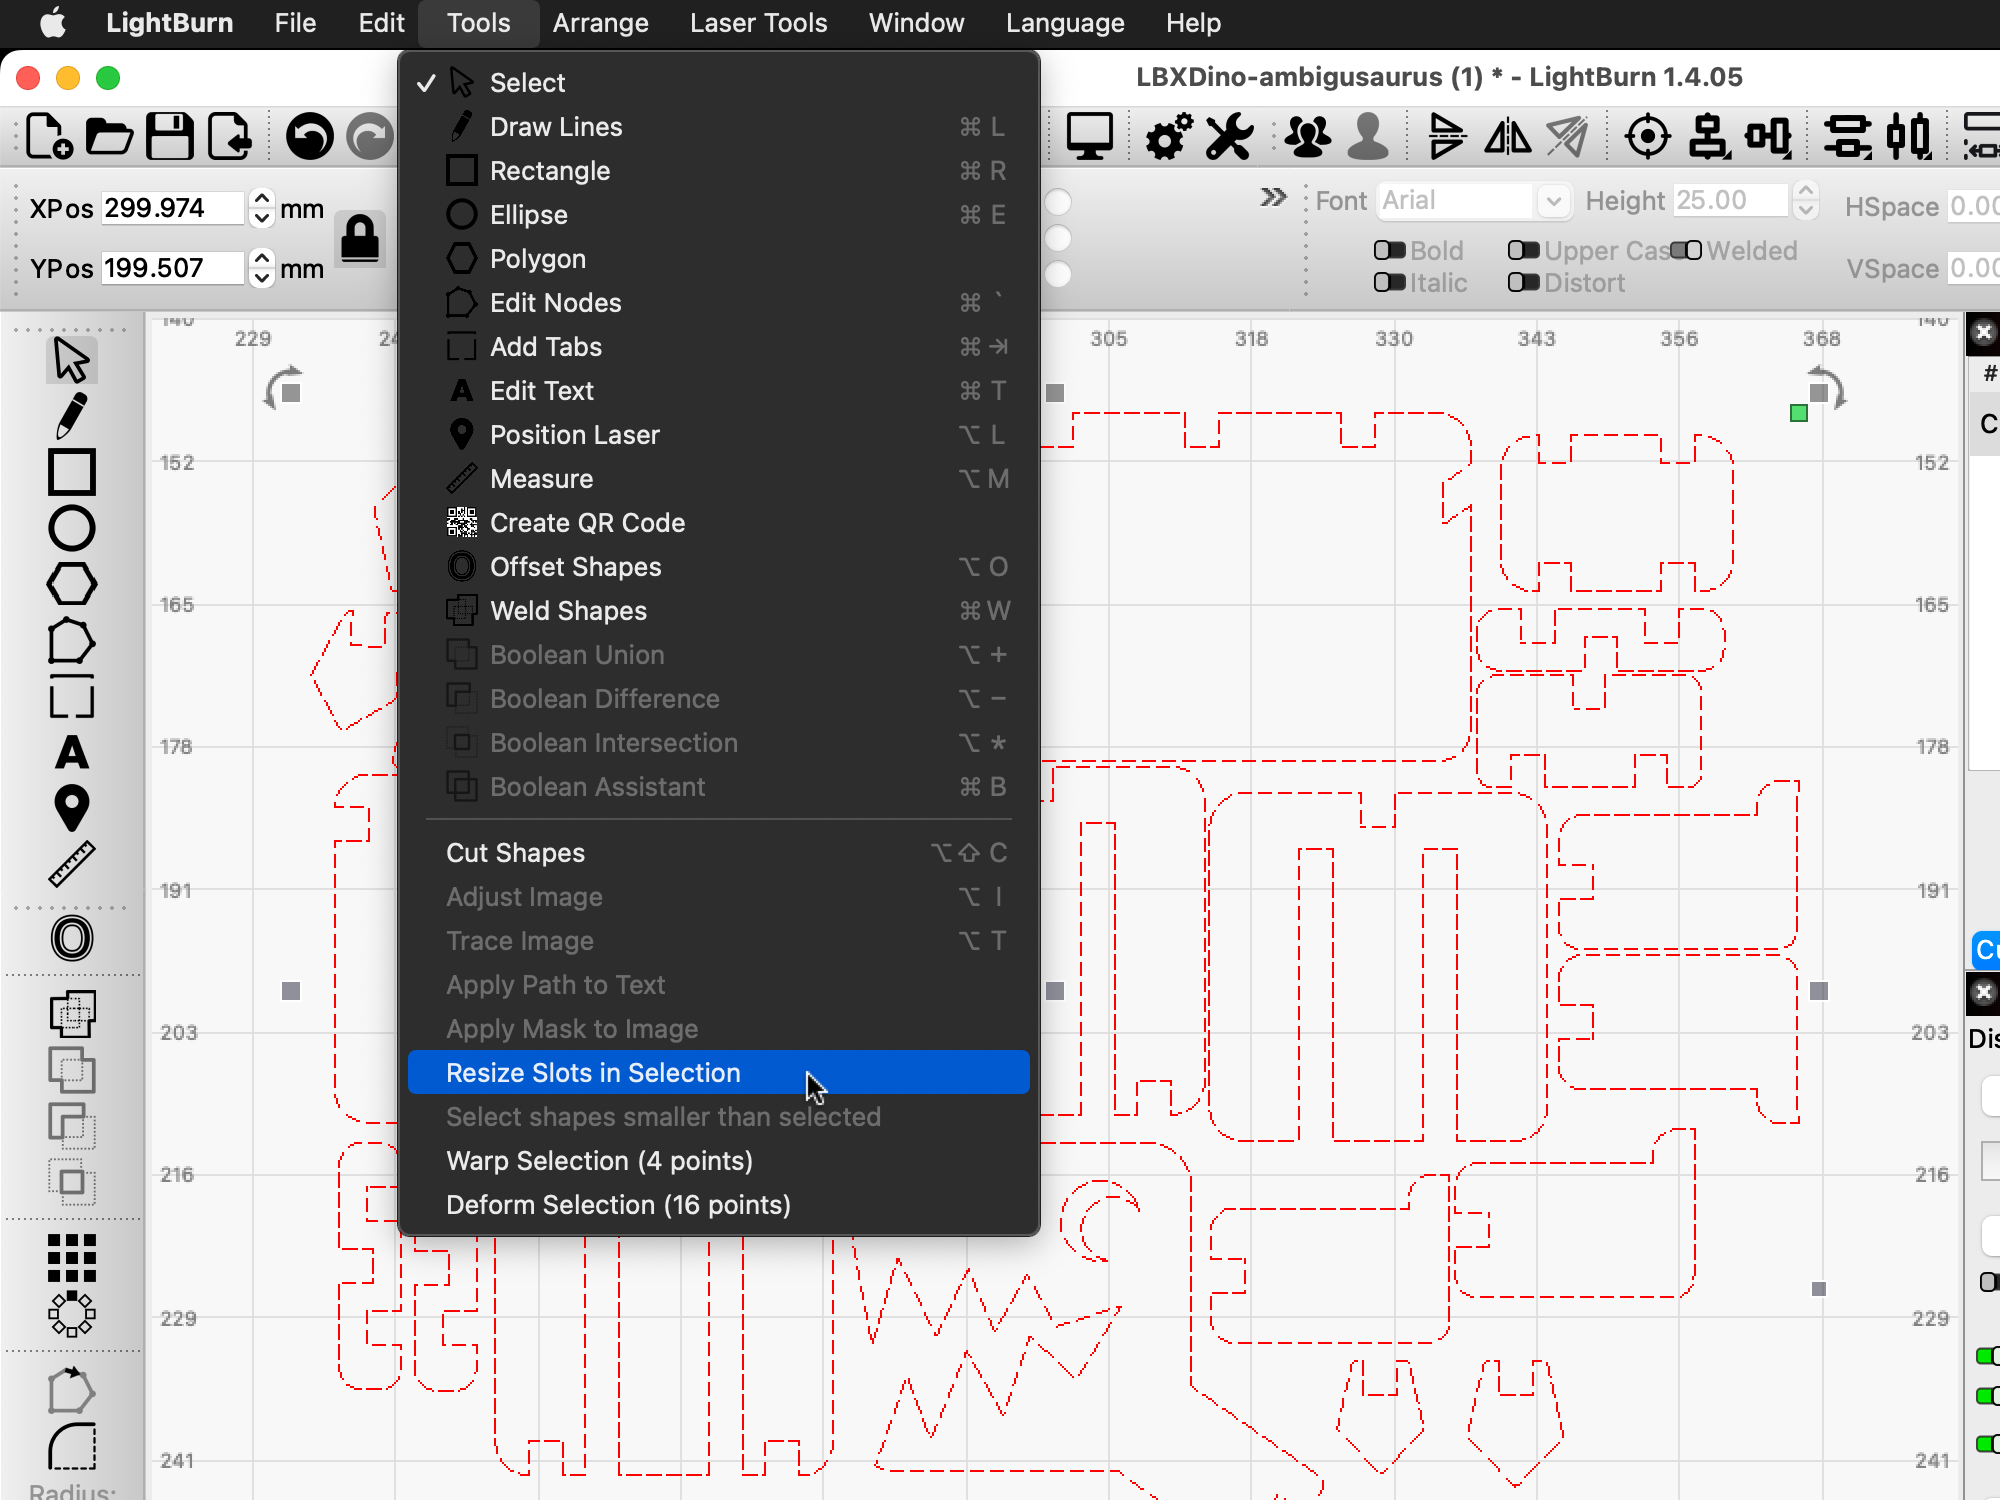
Select the parts that need to be adjusted. Pressing Ctrl+A / Cmd+A will select all graphics in your project.
-
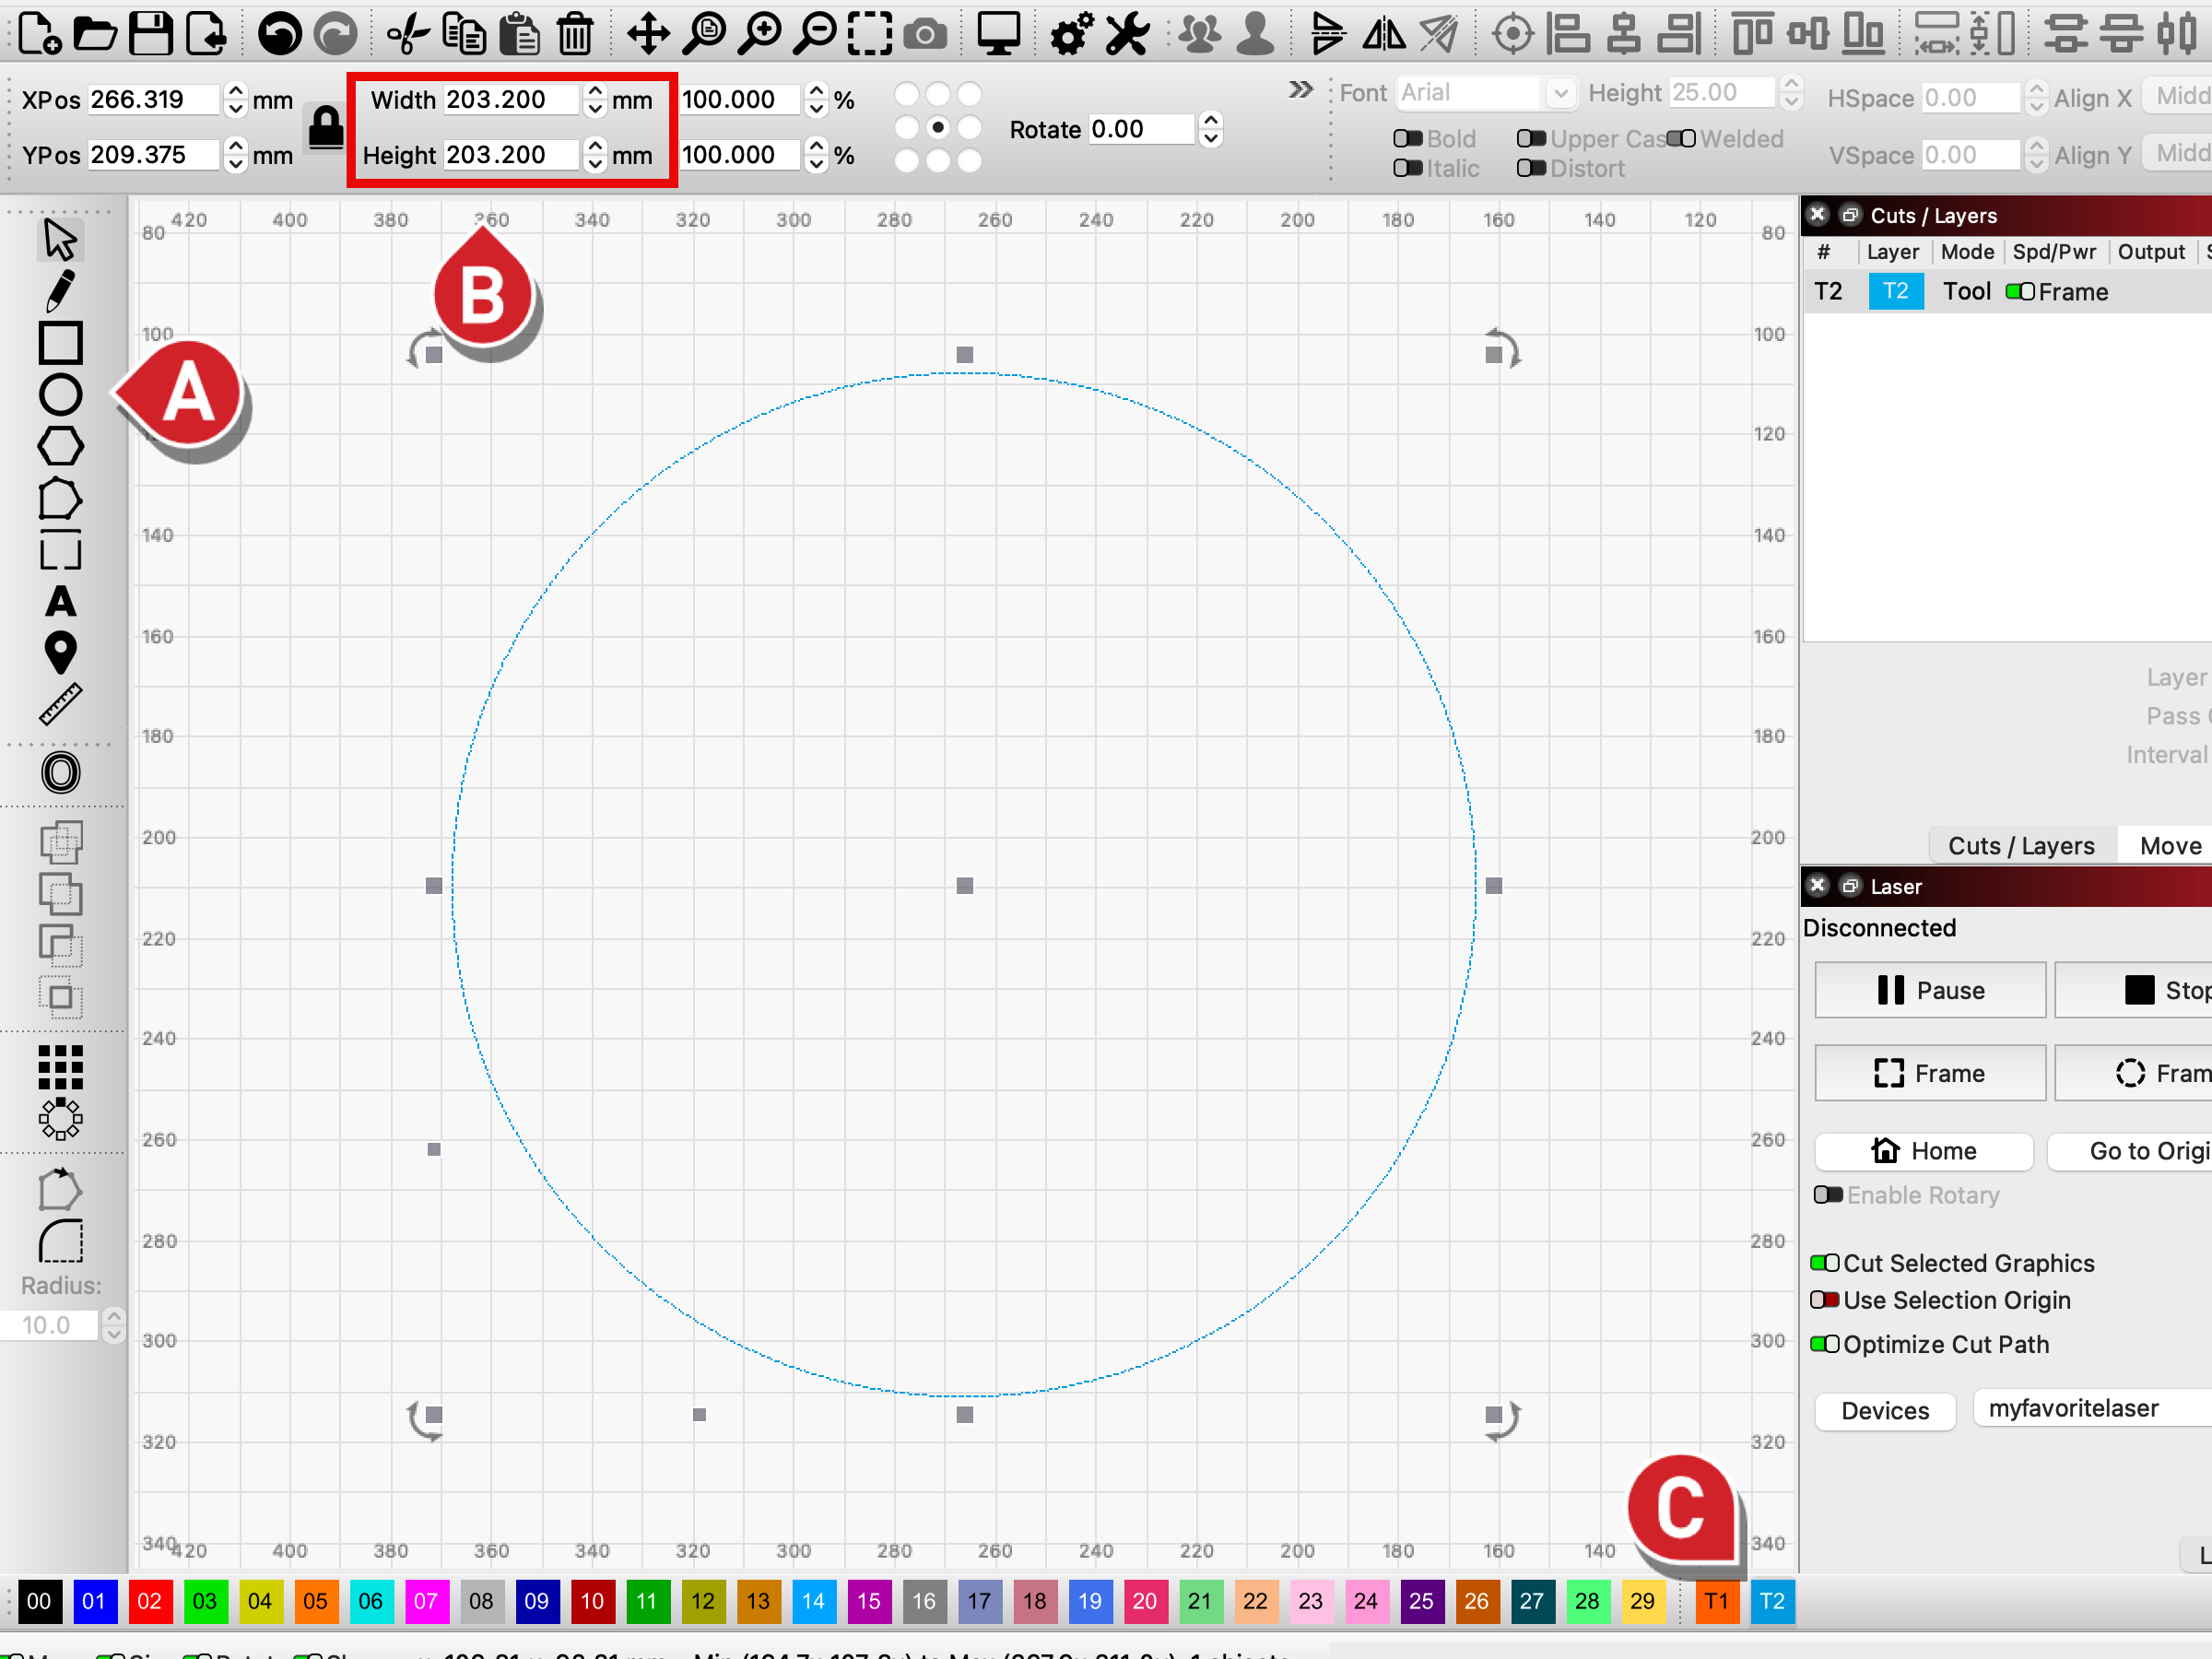
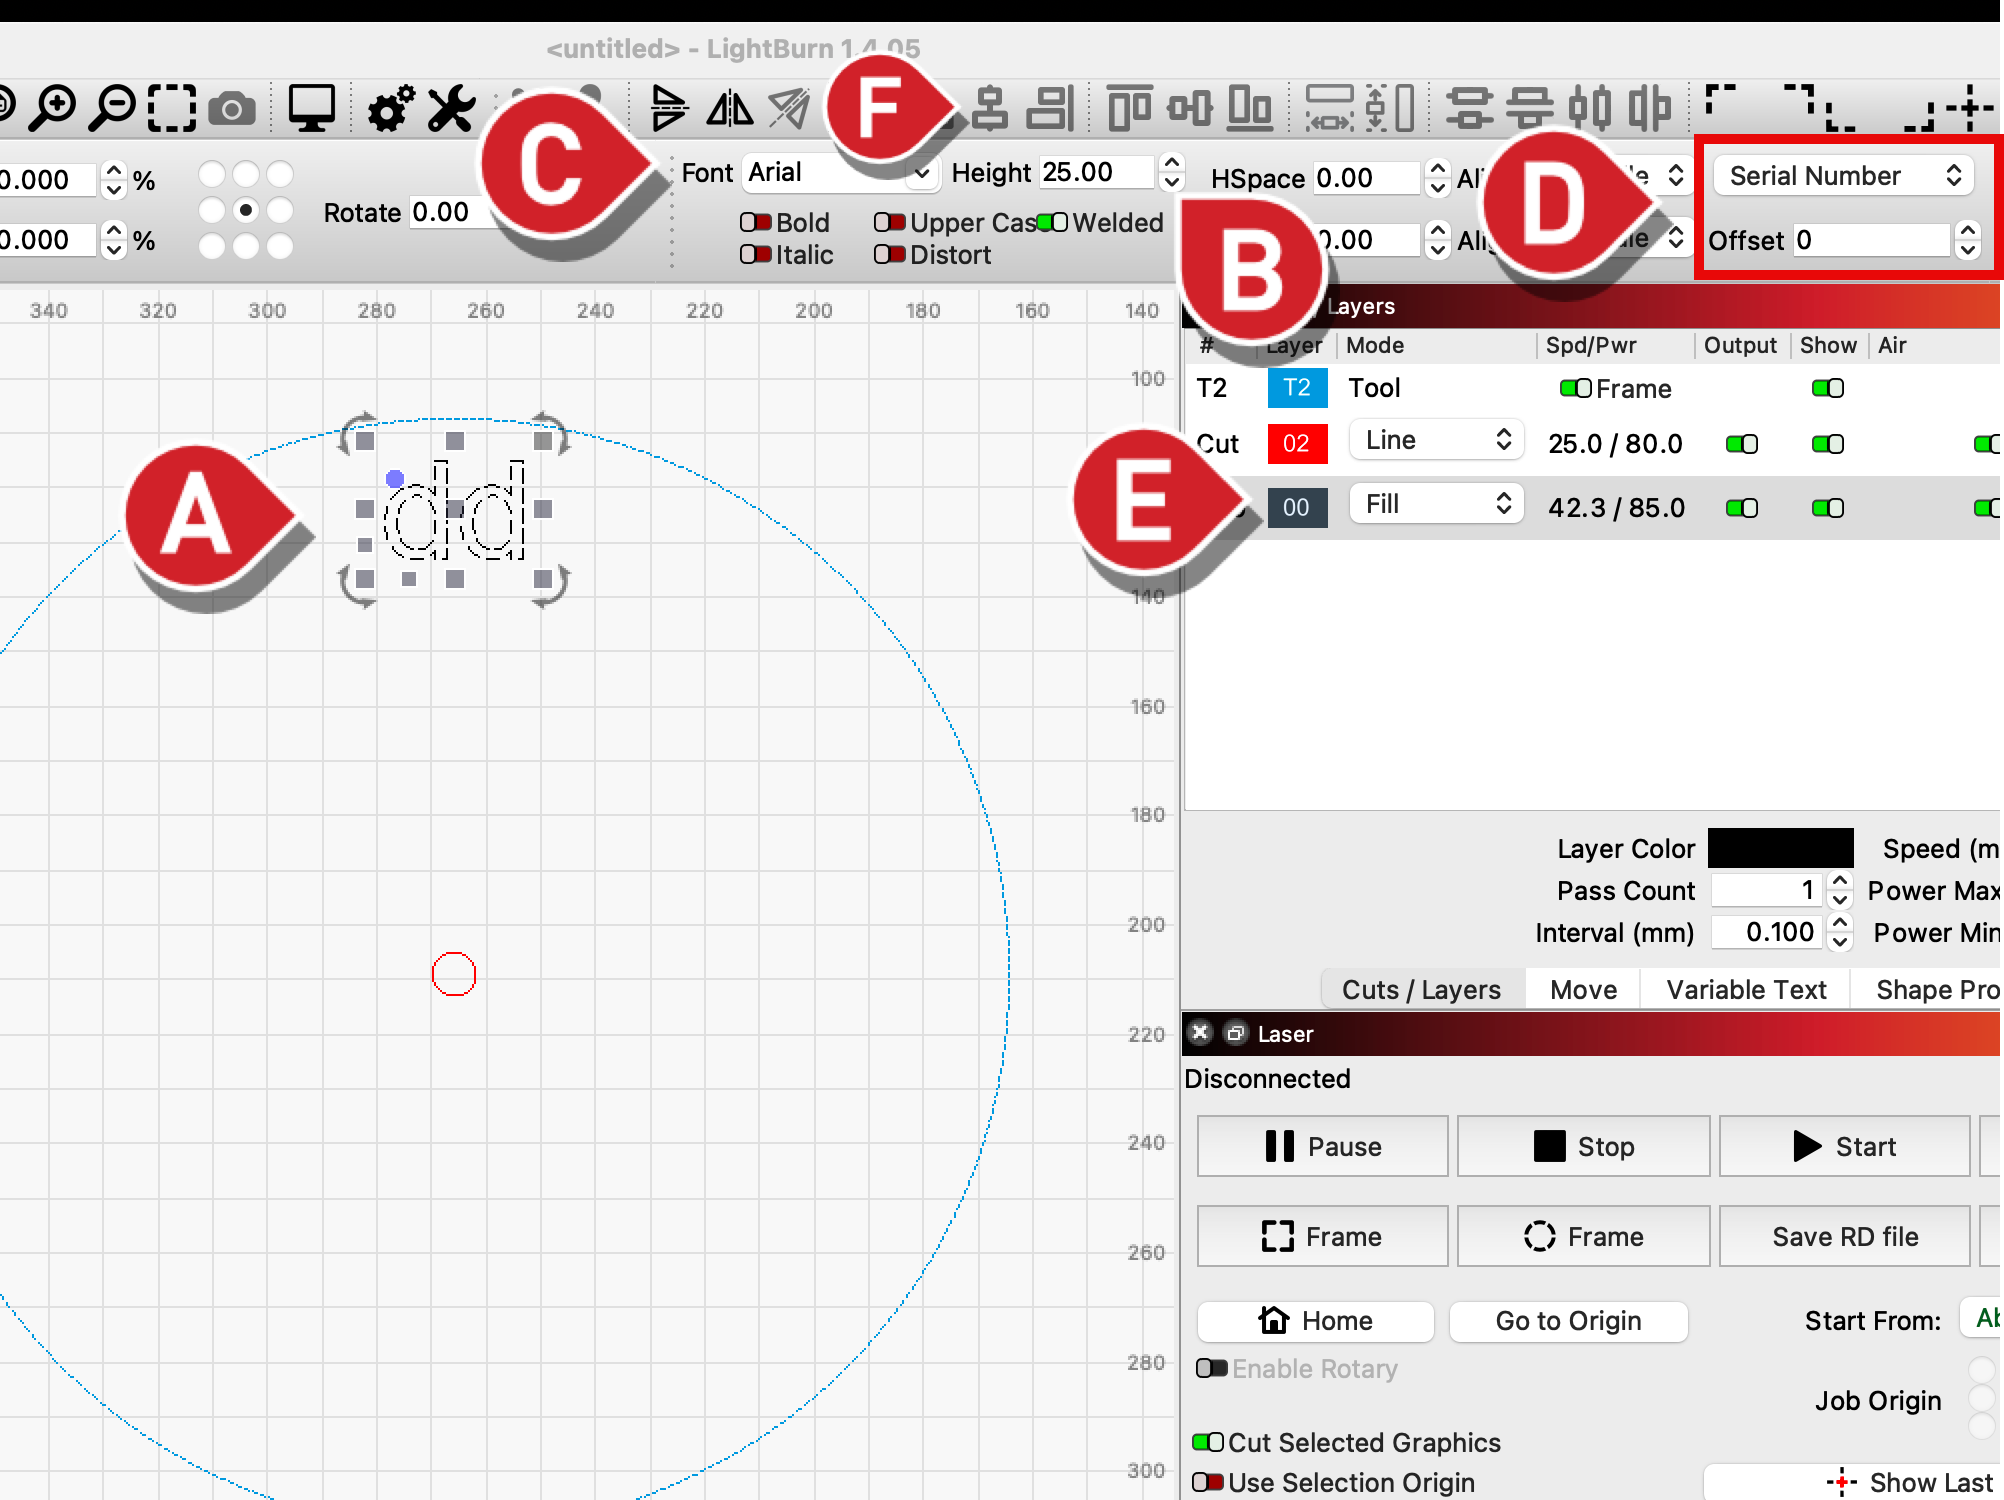
Go to Tools → Resize Slots in Selection to open the Resize Slots tool.
3. Resize Slots
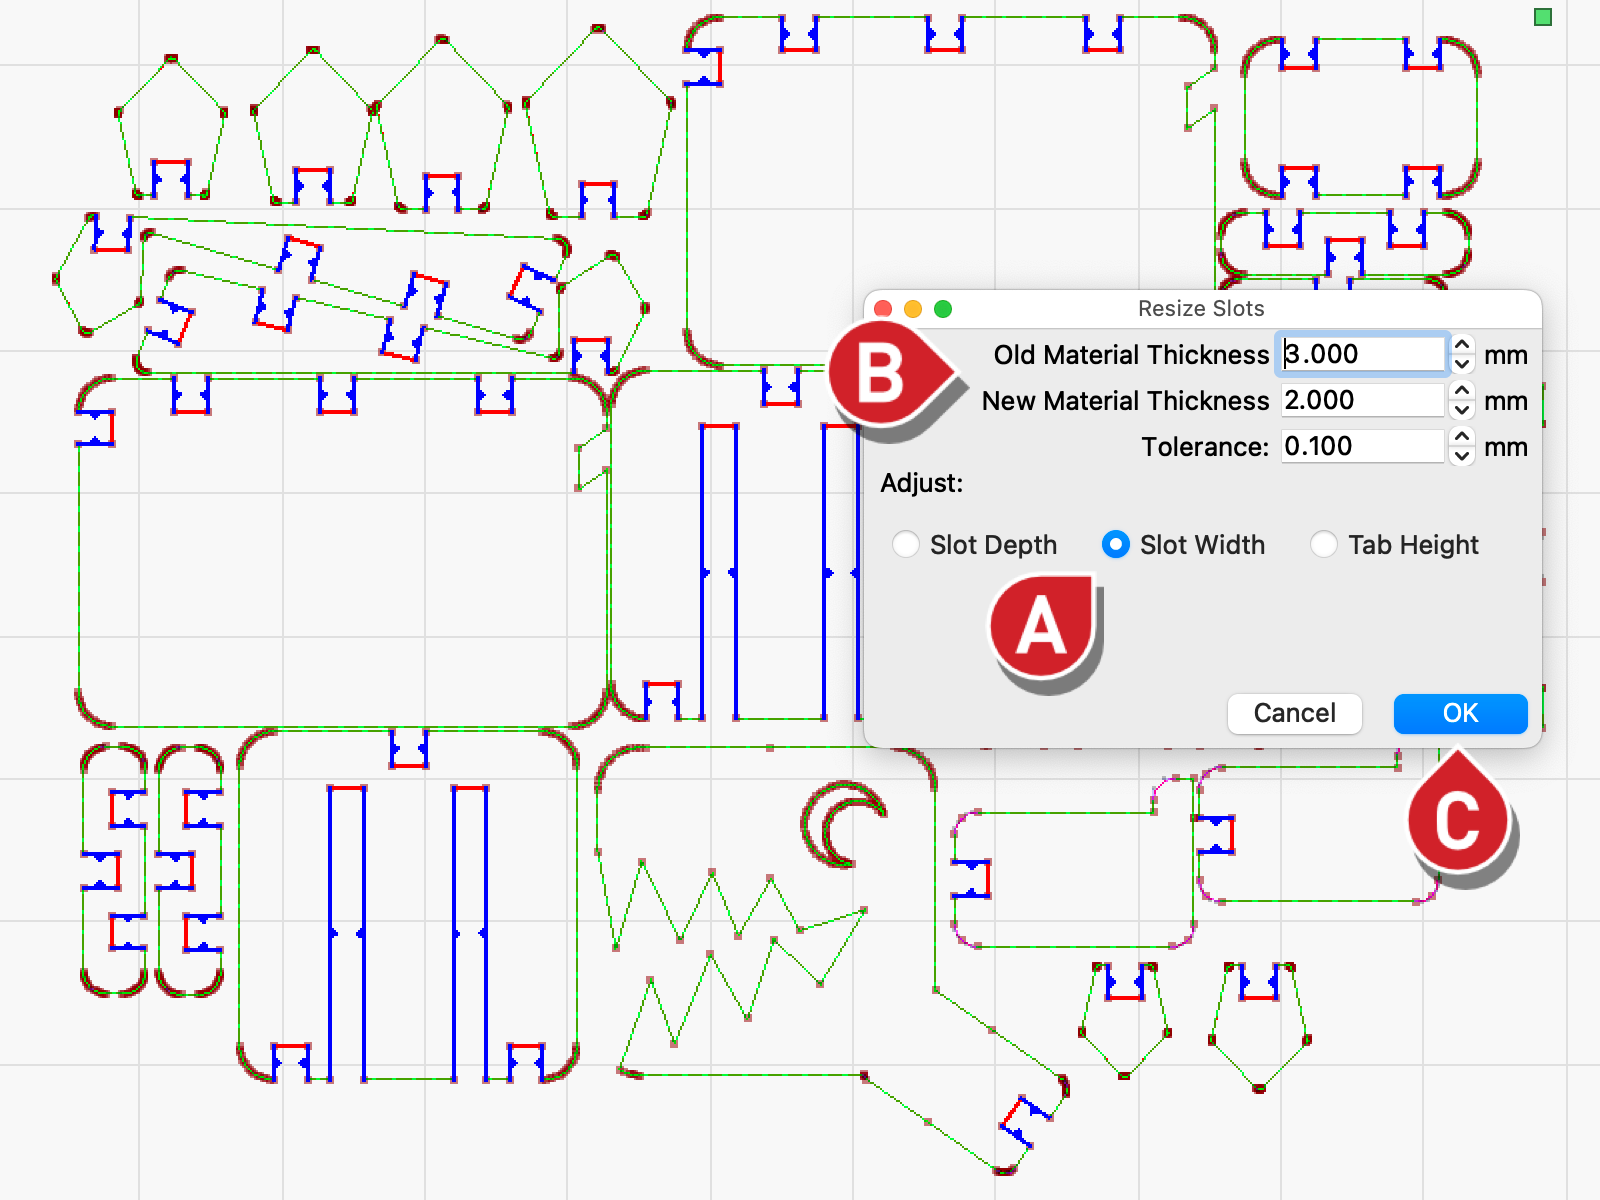
- Select the Adjust: Slot Width option
- Set Old Material Thickness to the width you measured in the previous step (3 mm in our case), and New Material Thickness to the thickness of the new material you'll be cutting (2 mm in our case).
- Now that we've set the proper values, click OK to apply the changes.
The sample file only needs adjustment for the Slot Width, but the same process can be used to adjust Slot Depth and Tab Height as well. Our Slot & Tab Resizer documentation has more detailed information on this process, including troubleshooting tips.
Kerf Offset
To ensure a snug fit between parts, you'll also need to set an appropriate Kerf Offset. Kerf is the thickness of the material burned away as your laser cuts, and is determined by the width of the laser's beam and the type of material you're cutting. This thickness needs to be accounted for when cutting slotted or tabbed parts, or the laser will burn away too much material, and the slots or tabs will end up bigger or smaller than they ought to be. Once you've determined the kerf, you will use the Kerf Offset setting to account for the kerf without modifying the underlying shape.
There are a number of different tests to determine your laser's kerf for a given material, and to calculate the necessary Kerf Offset. In this guide, we'll be using a test file with a built in Vernier scale designed by Billie Ruben, a LightBurn staff member. The file contains detailed instructions for use, and you can also use our guide. Both are linked below.
1. Cut the Test File
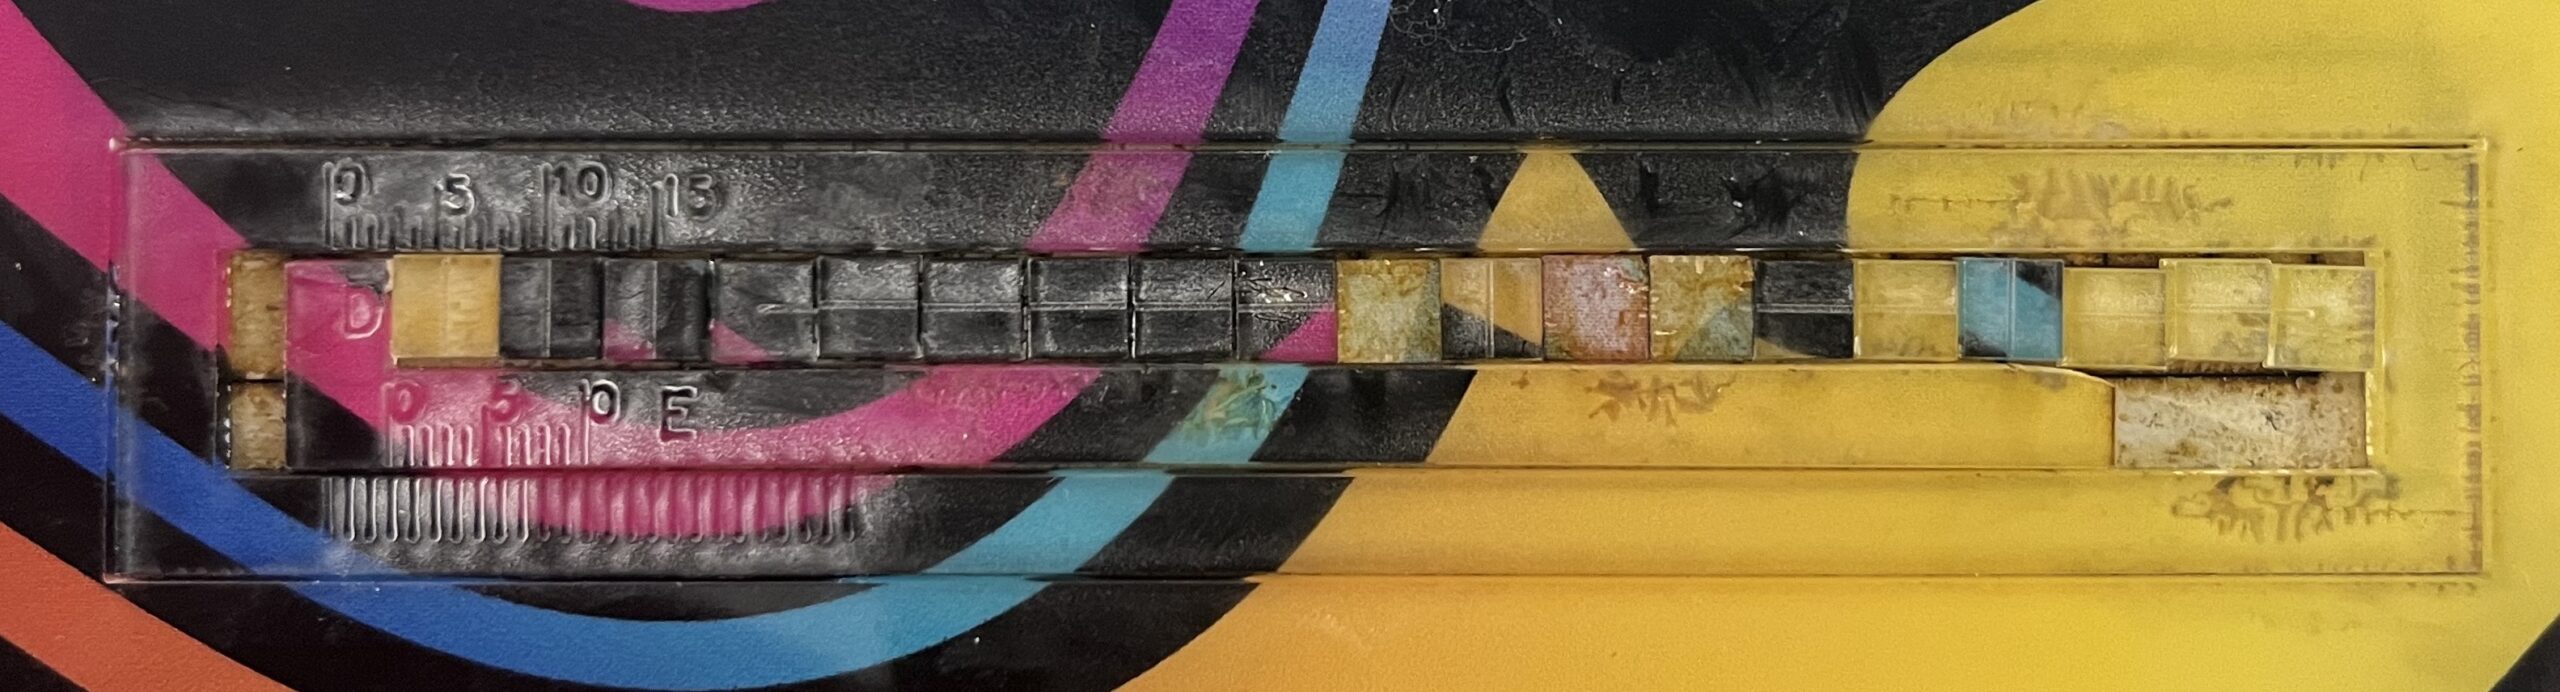
- Open the test file and set up the Cut and Score layers with your usual settings - if you're unsure of what settings to use, you can use LightBurn's Material Test feature and some additional spare material to find out. Make sure the Kerf Offset is set to 0 in the Cut Settings Editor.
- Load your material into the laser and cut the test file. You may want to place an additional sheet of material underneath to make removal easier and prevent small parts from falling through if cutting on a honeycomb bed.
- Remove the test part from the laser, keeping the pieces in place during removal by applying a piece of masking tape over the entire test part.
- Place the part on a smooth, stable surface. Discard the piece marked B, then slide the remaining pieces all the way to the right. If the parts scatter, use the horizontal line as a guide to place them back in the correct orientation.
2. Use the Vernier Scale
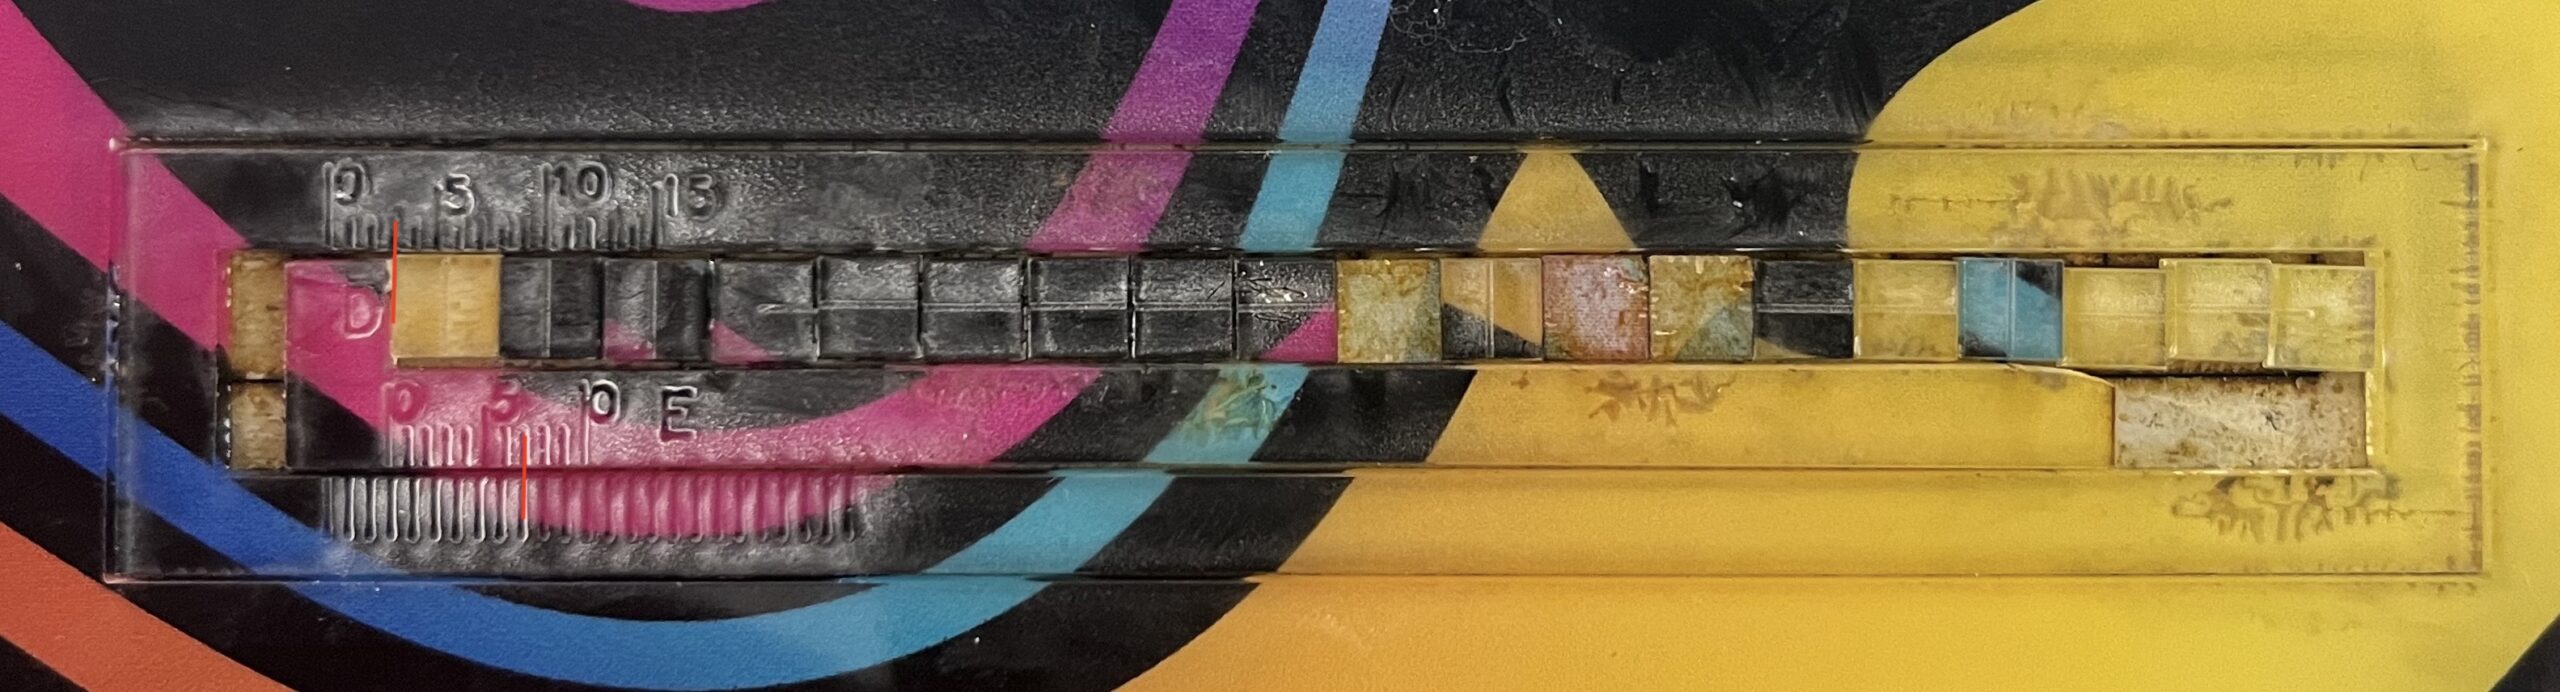
- Find and record the largest number the line marked D passes. In this example, it's 3, meaning that the measurement is at least 3 mm, but less than 4 mm.
- To determine the value to the right of the decimal place, find which of the numbered lines to the left of E matches up closest to the lines etched on the bottom frame of the test piece. In this example, it's 7, meaning that the measurement is 3.7 mm.
- To get the width of a single kerf, divide the measurement by 20. In our example, the width of the kerf is 0.185 mm.
- Next, we'll divide the total kerf by 2 - since half of the kerf will be within the material we're cutting away, we only need to worry about offsetting the half that's cutting into the material we want to keep. That gives us a final Kerf offset value of .0925.
3. Set Kerf Offset
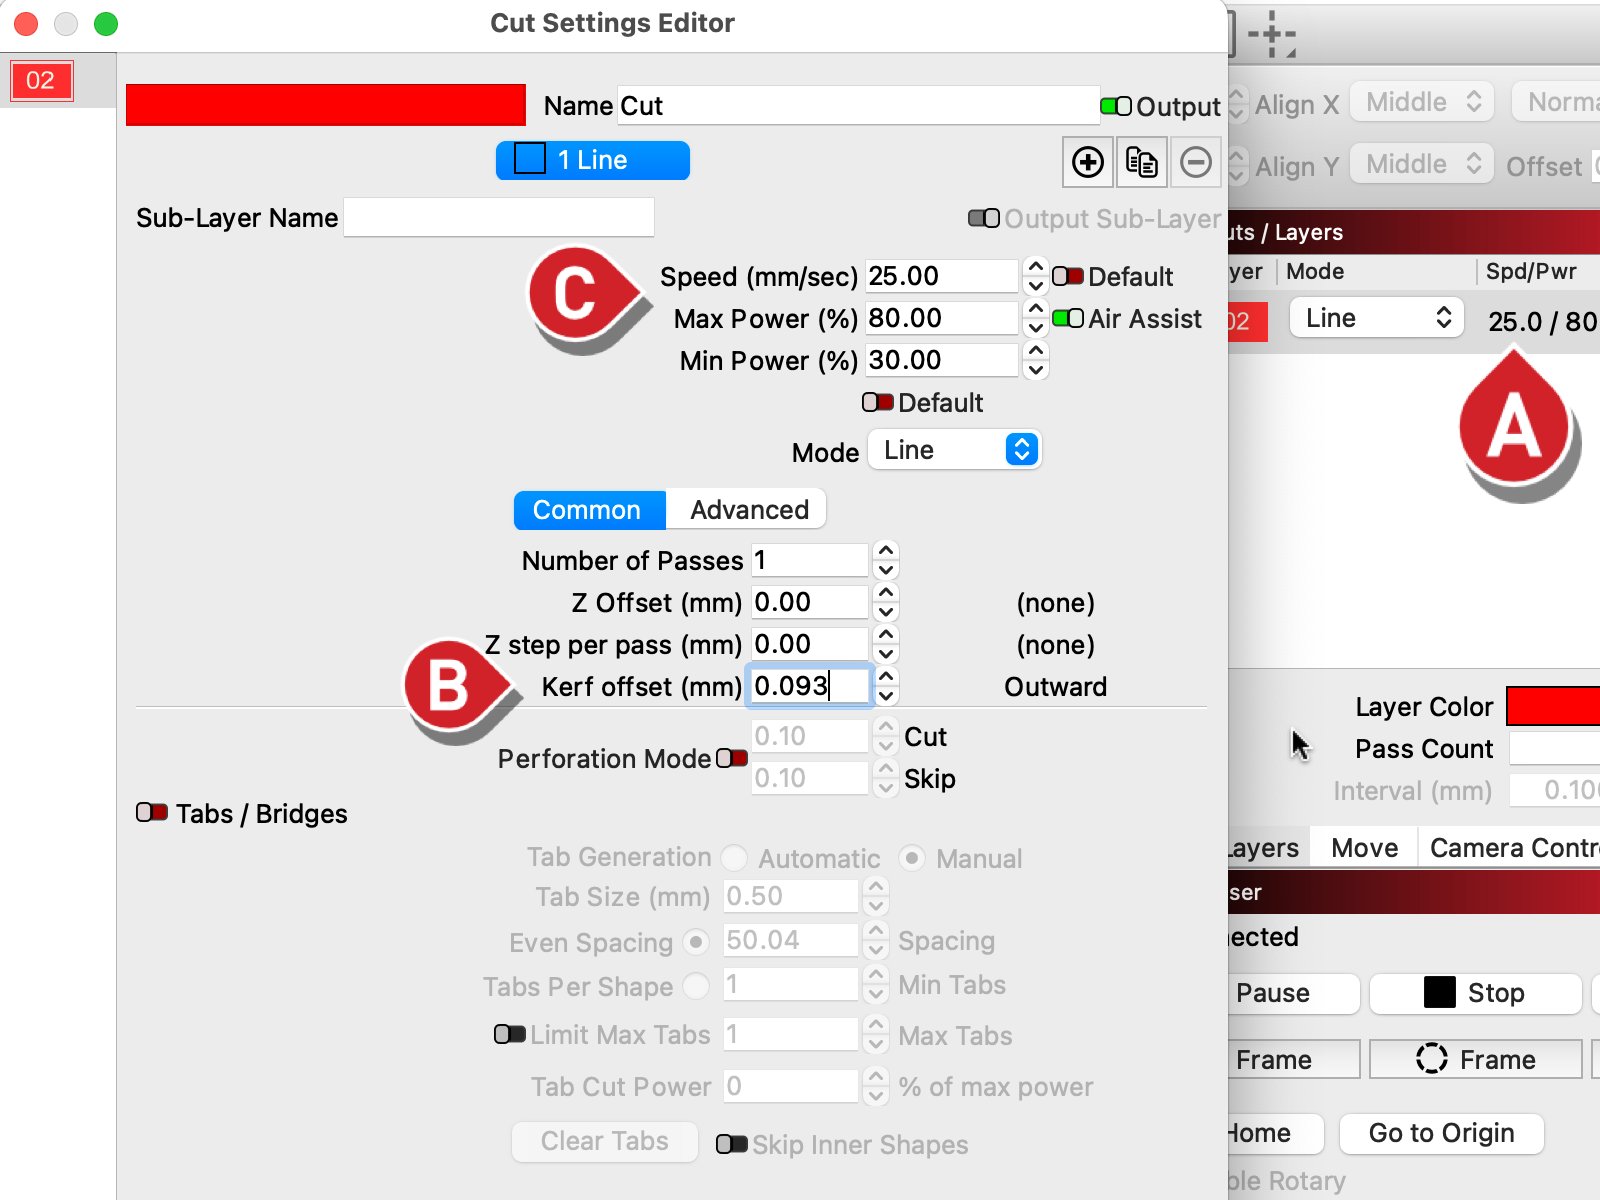
- Open the Cut Settings Editor by double-clicking the Line layer you've got your graphics set to in the Cuts/Layers window.
- About halfway down the window is Kerf offset. Enter the value you calculated in Step 2. Make sure the value is positive for an outward adjustment.
- Positive values will adjust cuts outward, or away from the shapes being cut.
- Negative values will adjust cuts inward, or into the shapes being cut.
- Make sure the speed and power settings are the same as those you used when you cut the test file in Step 1.
Now the cut path will be offset to account for the laser's kerf without changing the underlying shape, and the slots will be accurately sized to the thickness of the material we're cutting. We're ready to cut our model!
Why not just offset the shape?
The Kerf Offset will change based on the material and layer you're using. If you offset the shape itself, the adjustment won't necessarily be right for next time. Using Kerf Offset Adjustment will let you adjust for your kerf on each material without having to keep track of and undo previous changes.
Other Ideas
Using Resize Slots and Kerf Offset Adjustment is great for multi-part designs that need to fit together.
Check out our list of external resources for some great tools to create multi-part designs, such as Boxes.py and the Jigsaw Puzzle Generator we used in our Pet Puzzle Postcard project.