Camera Troubleshooting
Don't forget to calibrate and align your camera
If you haven't already done so, make sure you've gone through the lens calibration and alignment process for your camera.
Can't Connect to Camera, or No Camera Image
If LightBurn can't find your camera, or its capture is only a black screen:
- Make sure you've closed all other programs that may be using your camera.
-
Make sure your computer is able to connect to the camera. If your computer can't access the camera feed, LightBurn won't be able to access it either. To do this, use your computer's built-in camera software (Camera for Windows and Photo Booth for macOS) to view the camera feed. Directions for both operating systems are below.
I can see the camera and video feed
If your built-in camera app sees your camera and gets a video feed, your computer can see the camera. Skip checking the USB cable and jump to making sure you've granted LightBurn permission to access your camera.
I don't see the camera or there's no video feed
If you can't connect to your camera and get a video feed, you'll need to get your computer communicating with the camera before worrying about LightBurn. Try checking your USB cable as described below.
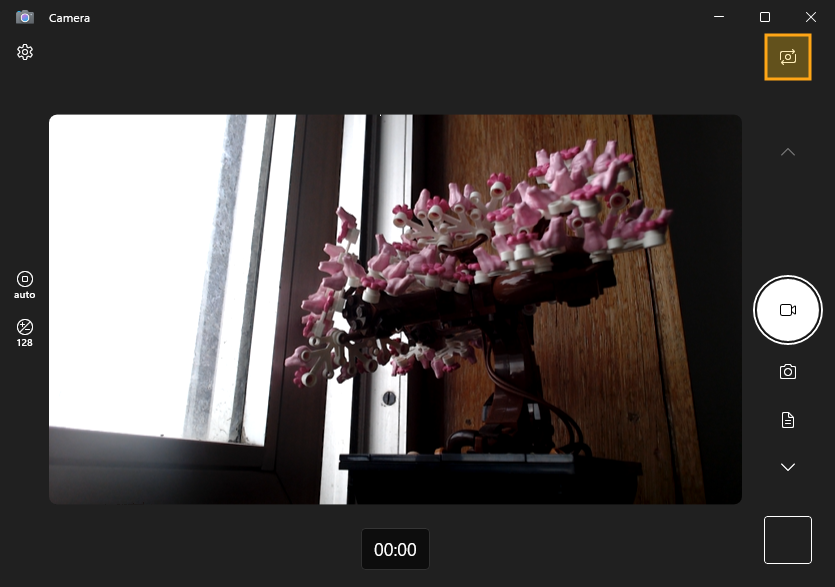
Open the Windows Camera app and select the camera you want to use in LightBurn. The highlighted button in the top right corner cycles through all of your connected cameras.
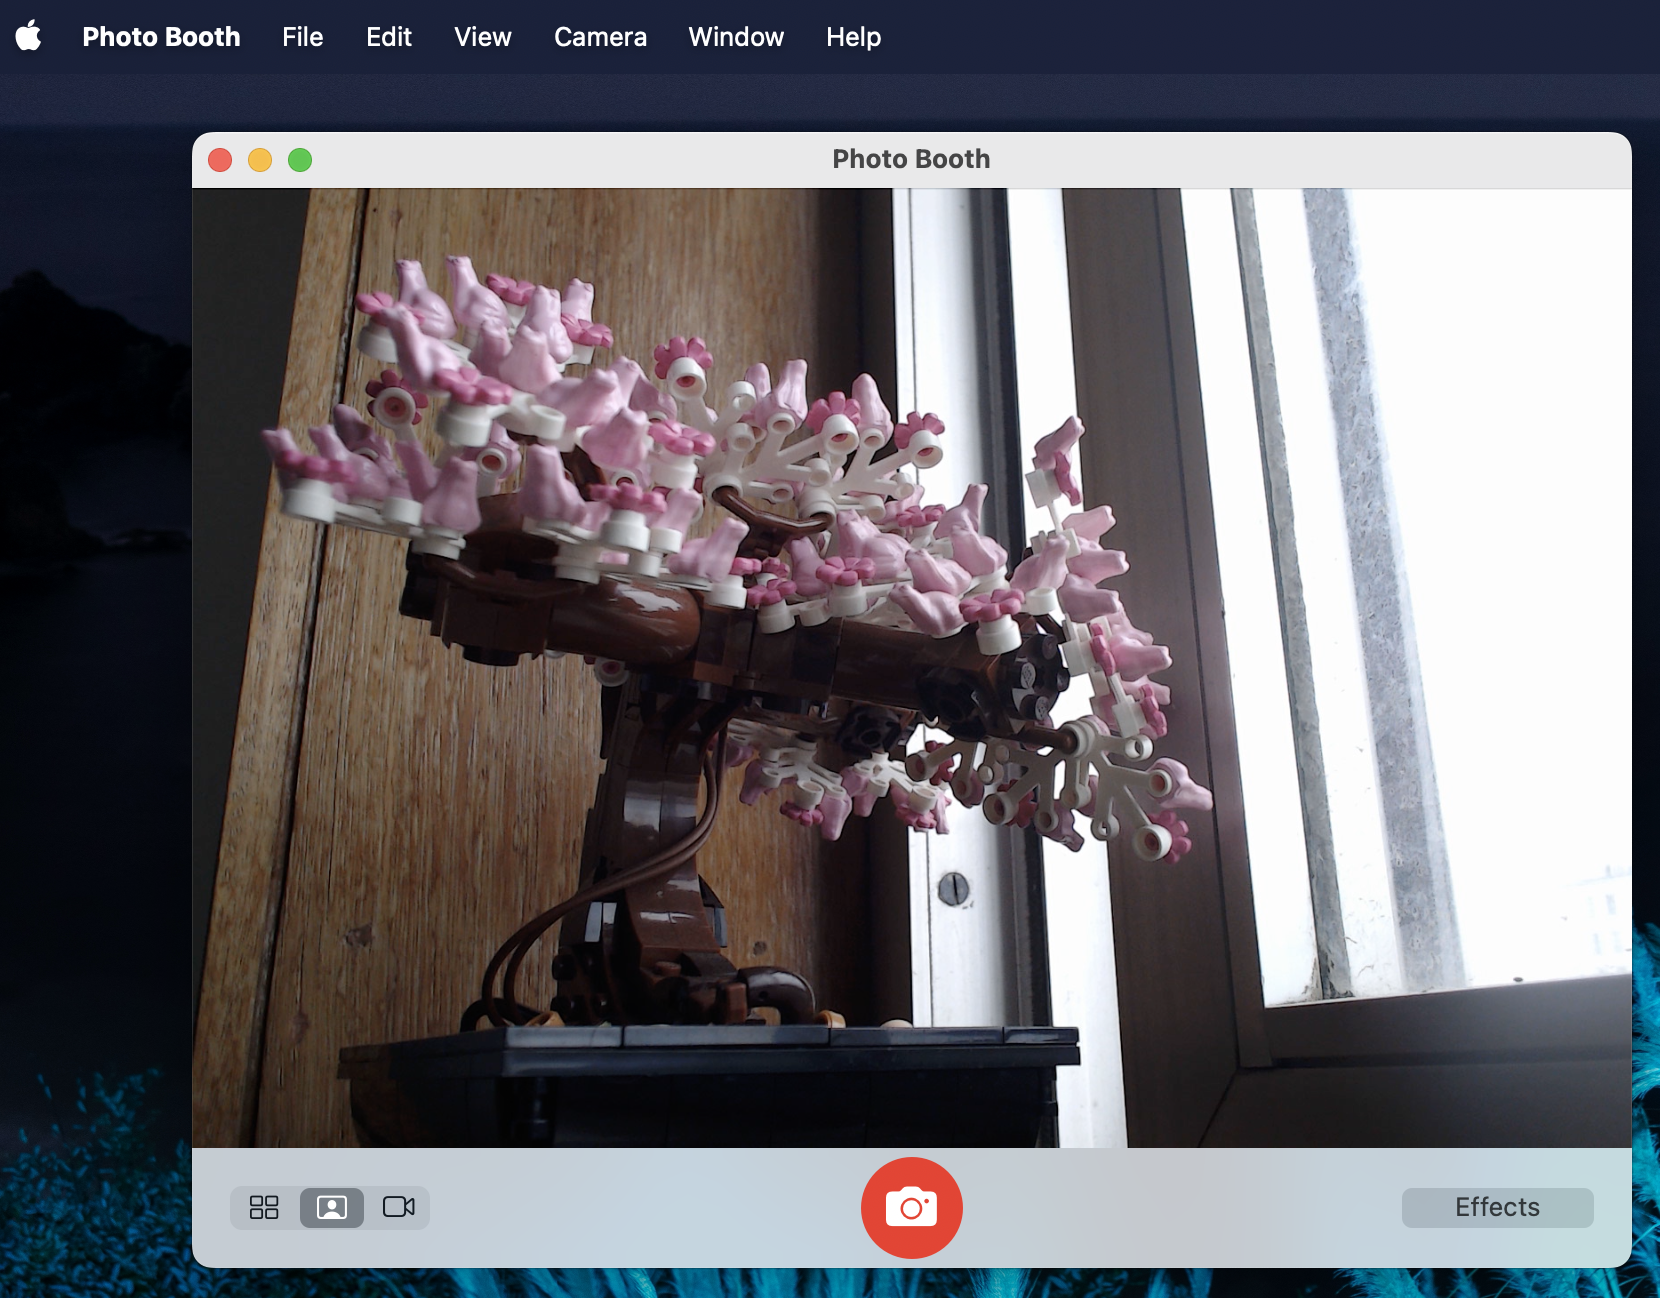
Open the built-in Photo Booth app, and use the Camera menu to select the camera you want to use in LightBurn.
USB cameras only
These directions are for USB cameras that connect with a USB cable. If you're using a network camera (wireless, or connected with an Ethernet cable), directions are in Network Cameras.
-
If you're using a USB extender, try taking it out of line and connecting the camera directly to your computer. USB cables are limited to 3 meters (16 feet) long — anything longer can cause transmission loss. To connect over a greater distance, you must use an active, externally powered extender.
-
Make sure you have granted LightBurn permission to access your camera in your system settings:
- Click the Start menu, type “camera privacy” and click the Camera Privacy Settings entry.
- Check that Allow apps to access your camera is enabled.
- Scroll down below the list of Windows apps and check that Allow desktop apps to access your camera is enabled too.
- If LightBurn isn't in that list, it should be.
- You might need to reboot your machine and try again after the settings change.
- If LightBurn still can't access the camera, and you're using Windows, try changing the Camera Capture System from Recommended to Fallback in your Settings/Preferences.
- Go to System Preferences → Security & Privacy → Privacy → Camera
- Make sure the box next to LightBurn is checked
- In some cases, Macs require active, externally powered USB-A to USB-C adapters/hubs in order to connect to cameras.
Network Cameras
Typically, the URL for the video feed should be provided by the hardware manufacturer, or within the software if software is included.
Most security-style IP cameras use RTSP to stream video, which is not supported in LightBurn.
In general, if you can load your network/IP camera feed in a web browser and see a simple video feed — no UI for commands or controls — it should work in LightBurn. Any URL starting with rtsp:// is using the RTSP protocol and is not compatible. Some RTSP cameras can provide both RTSP and MJPEG streams. See your camera's user guide for more information.
If you're looking to buy a new camera, look for one with MJPEG streaming.
Getting the Correct Feed URL
The web URL provided by many camera manufacturers is to a page that displays the camera stream, not the camera stream itself. If you can see the camera preview in your browser but get an error saying "URL seems to be invalid. Ensure that you are connected to the same network as your device", this is often the reason.
In the GIF below, using the URL provided for my example camera (http://192.168.1.70/video.html) results in this exact error.
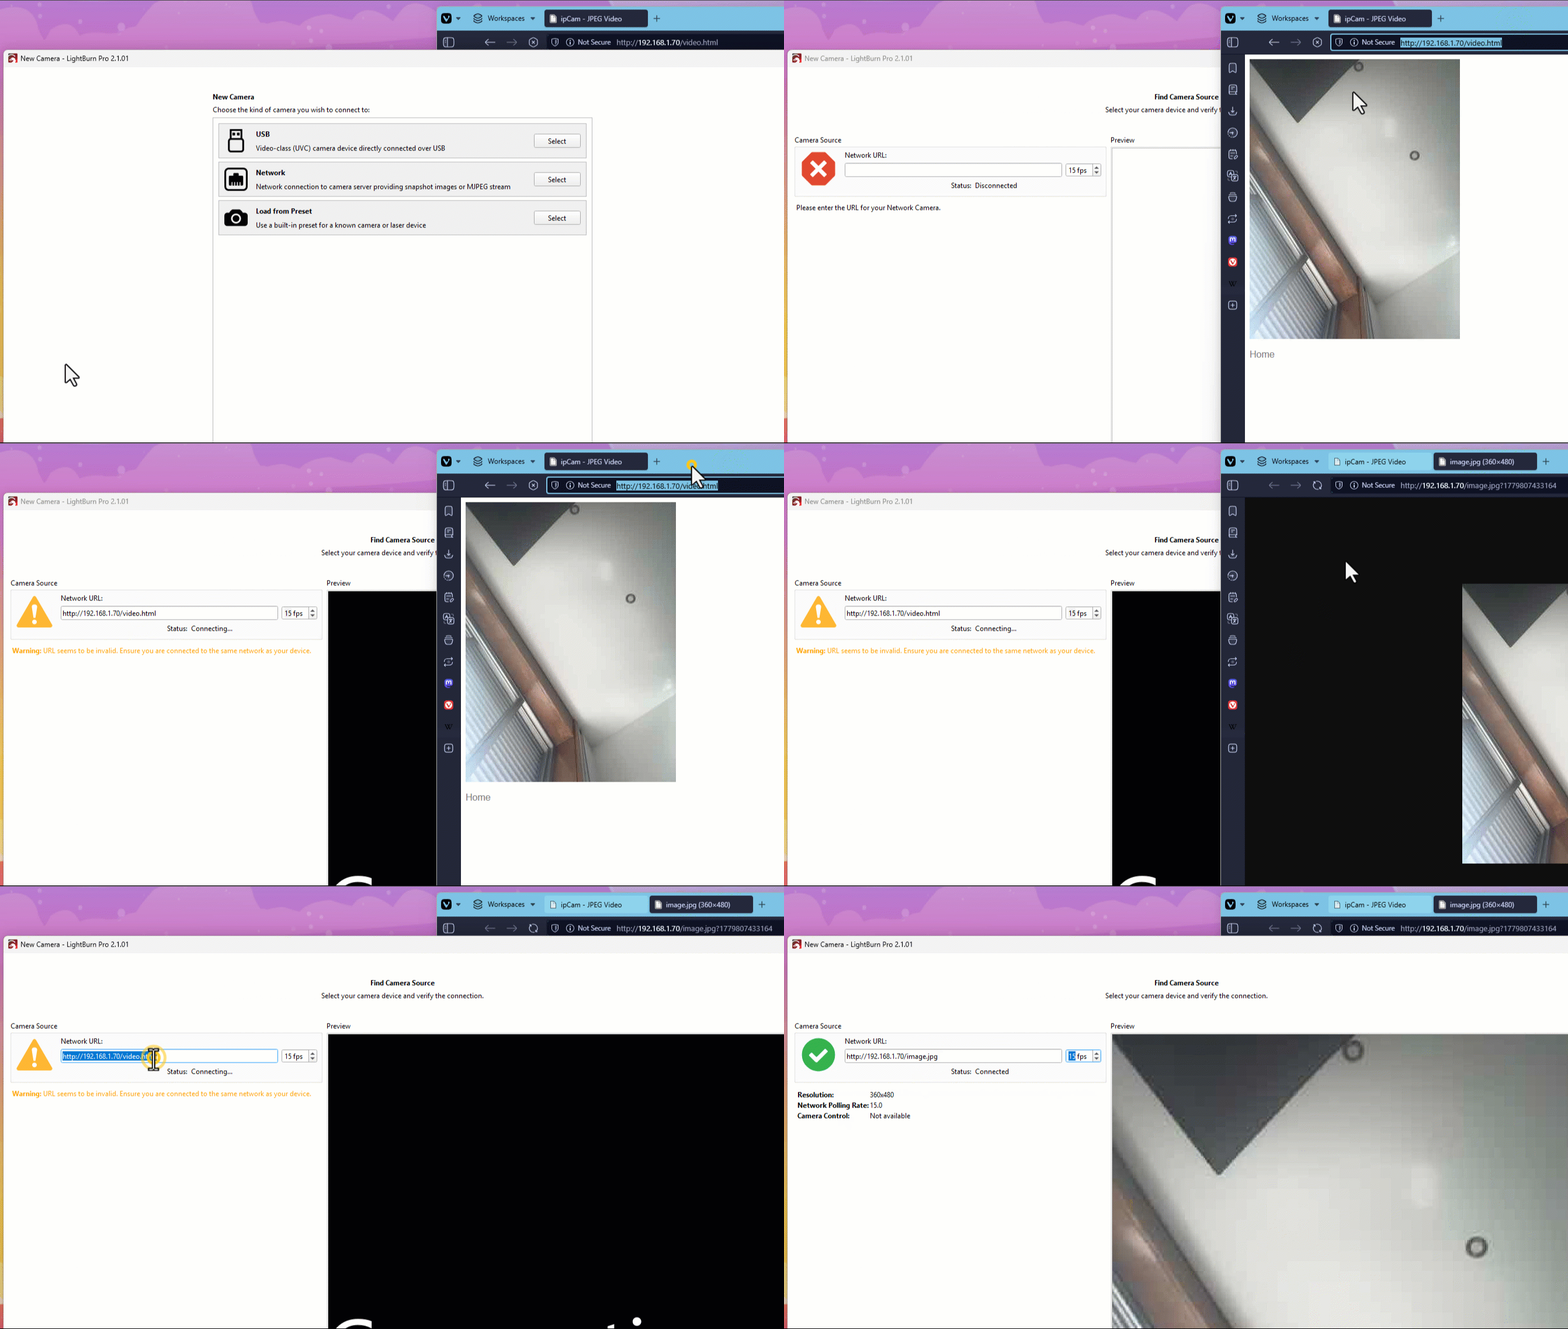
To fix the error, try the following, as shown in the GIF:
- Right-click on the camera feed in the browser.
- In the context menu that comes up, choose Open Image, Open Image in New Tab, or Open Image in New Window. Depending on your computer's operating system and your preferred browser, these options may be named slightly differently.
- You should now have a page displaying a single image. Copy the URL from this page, and paste it into the Network URL bar. If this URL is valid, your camera feed should load when you click out of the box.
Why not copy the entire URL?
If you see a ? followed by a bunch of characters, it may or may not be a necessary part of the URL. This particular camera works fine with or without it.
If this method didn't work:
If right-clicking on the video feed doesn't offer you the option to Open Image, Show Image, Load Image, or something similar, you may not be able to get a valid video feed, or you may need to get the feed another way. Please reach out to support for help, and include what camera you're using.
Lens Calibration
If you're having trouble getting valid captures, or a good final calibration:
- Make sure you're using the newer AprilTag calibration pattern, which is linked from the Calibration wizard and from our Camera Calibration page. For your convenience, you can also download it here. Some hardware manufacturers link to or ship a card with the older circle pattern, which doesn't work with our updated calibration method.
- Keep the calibration pattern as flat as possible by gluing it to wood, foam board, or any other perfectly flat material. If it isn't flat, the curvature will be considered part of your lens distortion.
- Make sure the pattern is in focus, and not shaking. If you're unable to keep your hand steady while holding it, place it on something instead.
- The calibration card should be facing directly at the camera for a fisheye lens, or perfectly flat and parallel with the lens for a non-fisheye lens.
- The pattern should fill roughly 1/9th of the view of the camera for each captures. If it's much too small or too large, you won't get good results. You can rescale the pattern or move the pattern or camera closer or farther from one another to adjust the relative size of the pattern in the camera's field of view.
- The camera doesn't need to be on the machine for the lens calibration — it's only the lens and pattern that matter for this part.
Overlay Misaligned
Any time your Camera Overlay is misaligned, please check the following:
- Make sure your Start From mode is set to Absolute Coords.
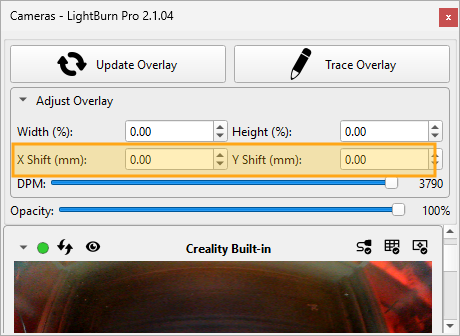
- Check the Adjust Overlay to make sure X-Shift and Y-Shift haven't gotten changed. For most users, those values should be 0.
If these checks don't fix the problem, we have suggestions below for different situations.
Misaligned on First Setup
If your Camera Overlay is misaligned immediately after your first setup:
- Re-run the camera alignment process, taking care to tag the target markers as precisely as possible.
- To improve accuracy, zoom in on the target markers using the mouse scroll wheel or two-finger dragging.
- If possible, increase the size of the target marker engraving using Pattern Width and Pattern Height. The farther apart the target markers are from one another, the more accurate the alignment will be.
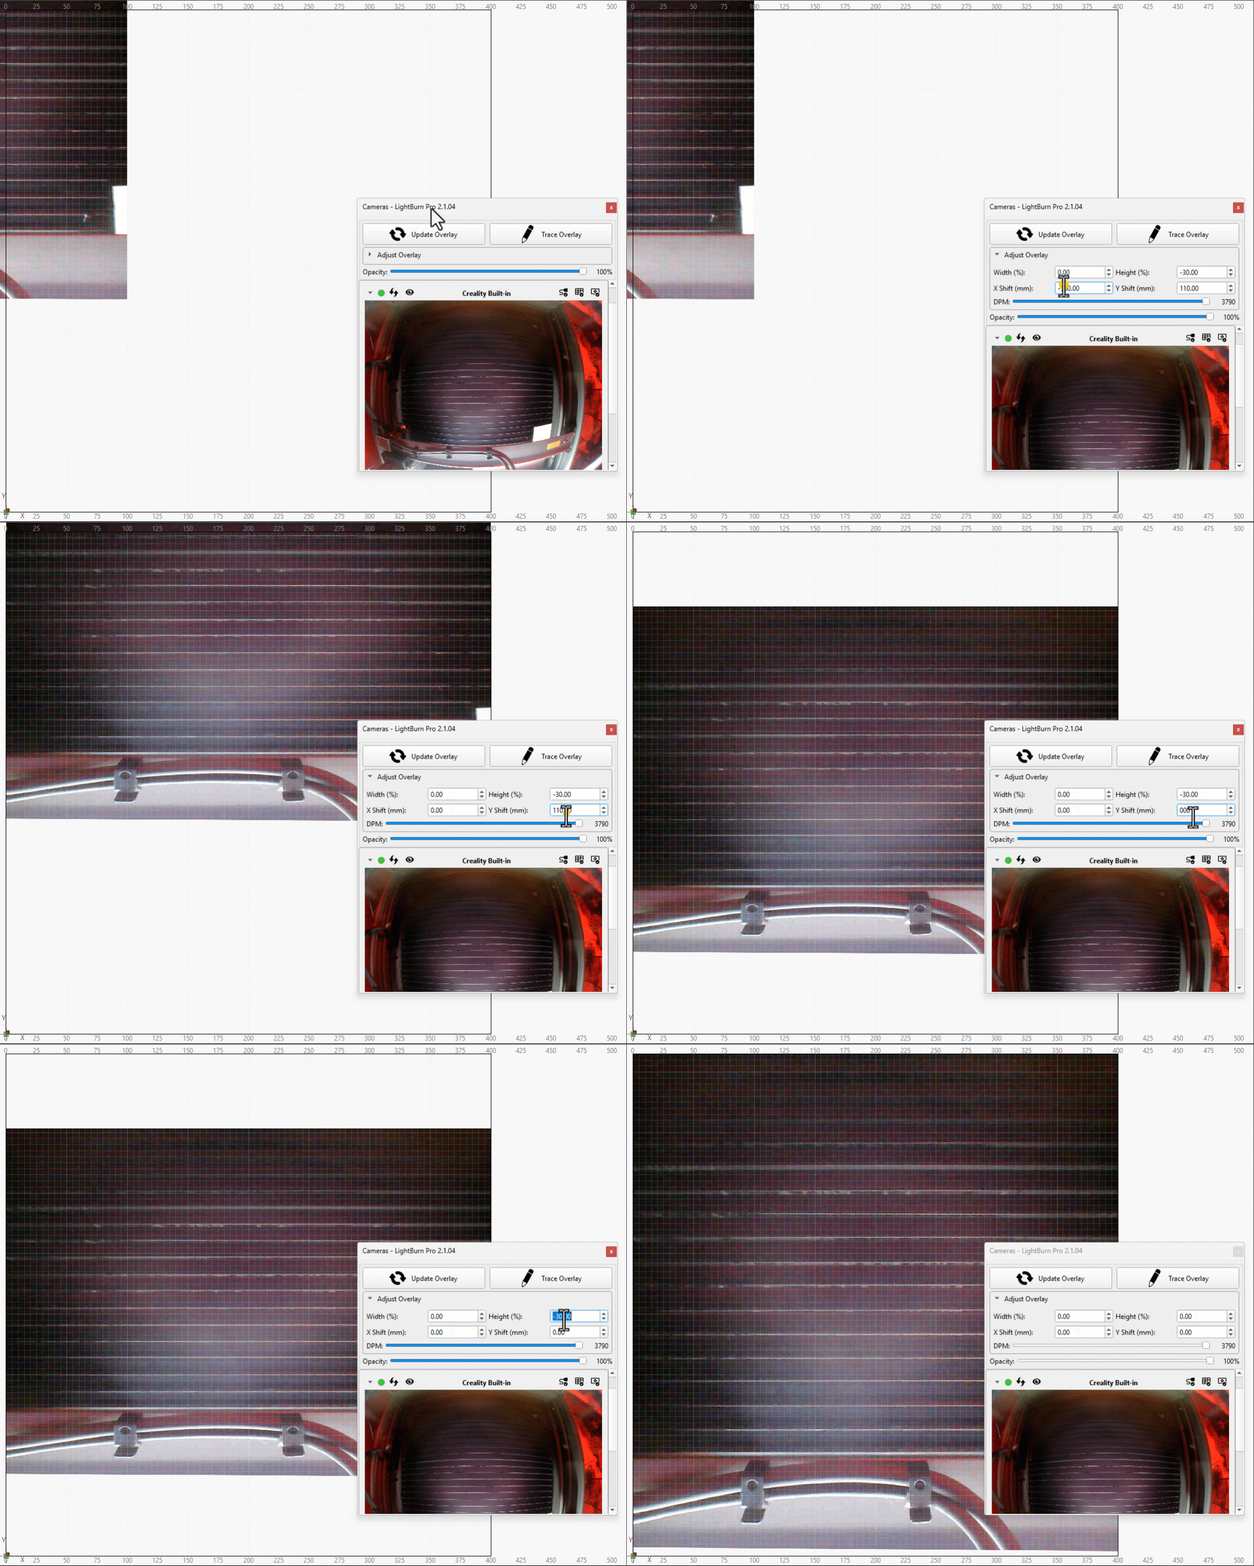
- If the alignment is close, but still a bit off, use the Width, Height, X Shift, and Y Shift fields in the Adjust Overlay section of the Cameras window to fine-tune placement and scale. You can see this window in action above.
Misaligned Between Uses
If the overlay becomes misaligned between uses, it means the position of your camera relative to your laser's work area has changed from when you did your initial alignment.
- Make sure your camera is securely mounted, with no room to wiggle.
- If it's mounted on a lid, make sure the lid is returning to exact same position it was in when you completed the alignment process.
- Make sure there is no side-to-side play in the lid's hinges.
- You can use a cord or rod to ensure the lid is always at the same position when opened.
- If you have tabletop engraver, make sure it cannot move at all — the motion of the laser head during engraving can sometimes jostle the entire machine if it is not secured down.
You'll need to address these issues, and then re-run the alignment process.
Misaligned When Switching to Thicker/Thinner Materials
Improvements in LightBurn 2.1
LightBurn 2.1 made improvements to how LightBurn's camera system handles camera alignment for different material thicknesses so you don't need to go through the export/import process described in older versions. You can read more about it here.
If you're using a version older than LightBurn 2.1, please use the older version of this page.
If you switch to a thicker or thinner material than the one you used to complete the alignment process, and your laser does not have an adjustable height bed, that will cause a misalignment — the height between camera and work area will have effectively changed.
The amount of misalignment will depend on the lens angle of the camera, the mounting angle, and how different the height is from the aligned height. If you're using a top-down view with a narrow angle lens, the difference will be much less than if your camera is wide angle, or viewing from an angle.
Fixing the Problem
- Make sure your Material Height is set correctly in the Cuts / Layers Window.
- If you've already aligned your camera for multiple heights, open the Edit Camera Window and select the alignment for your current Material Height in the Alignment Dropdown. The Material Height for each saved alignment is included in the name.
- If you haven't gone through the alignment process at the current Material Height, you'll need to either align for the current height or try using the Interpolate Alignment Height option described there.