Docking Tool
The Docking tool can be used to bring your objects closer together in your workspace, to allow for more efficient use of your space.
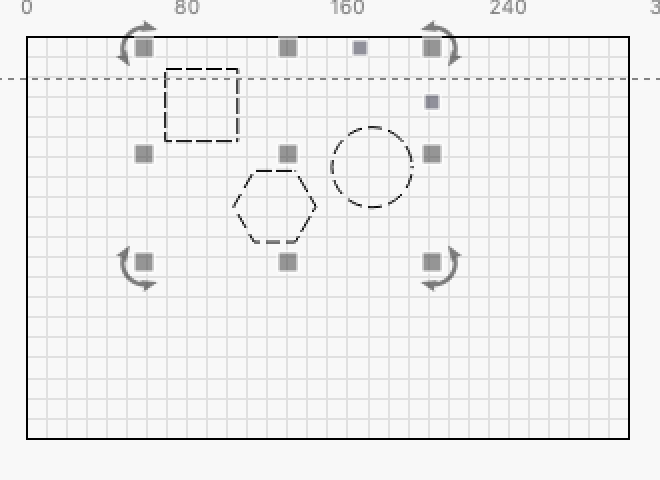
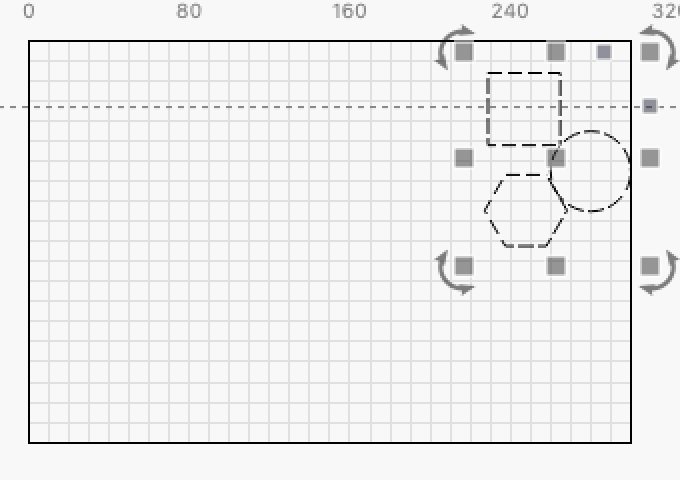
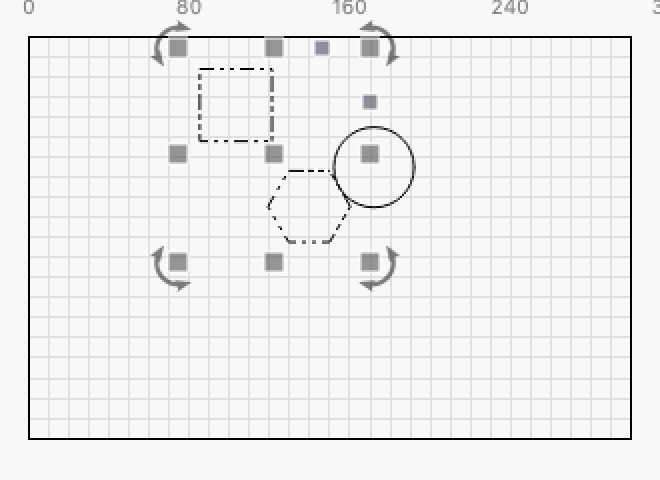
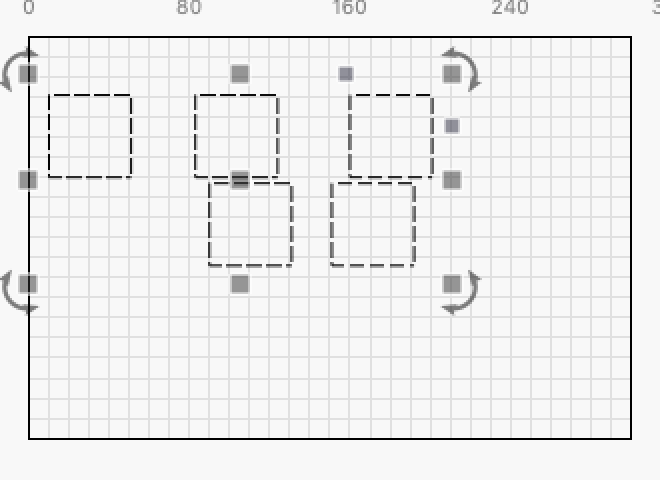
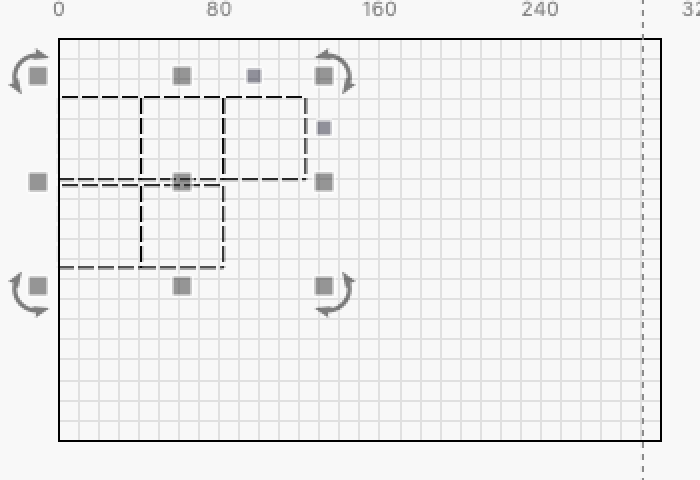
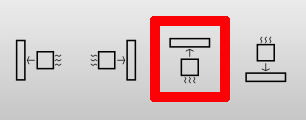
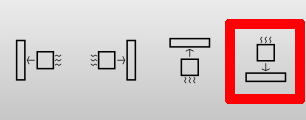
Each of the Docking buttons will tell your selected objects to move in that direction, until they hit something.
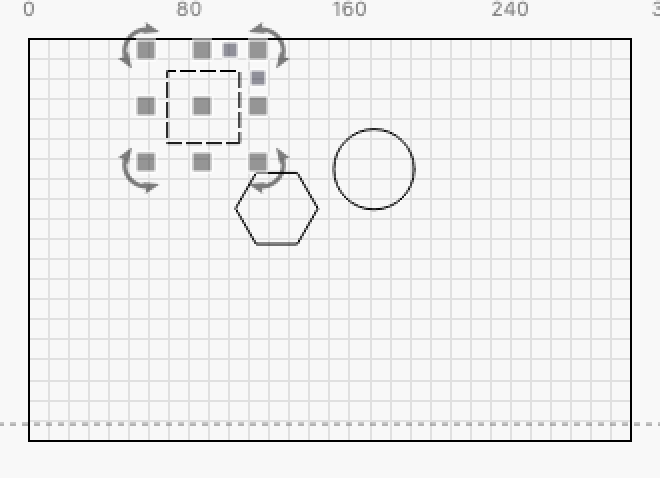
By default, the Docking tool will move all selected objects, as far as they will go.
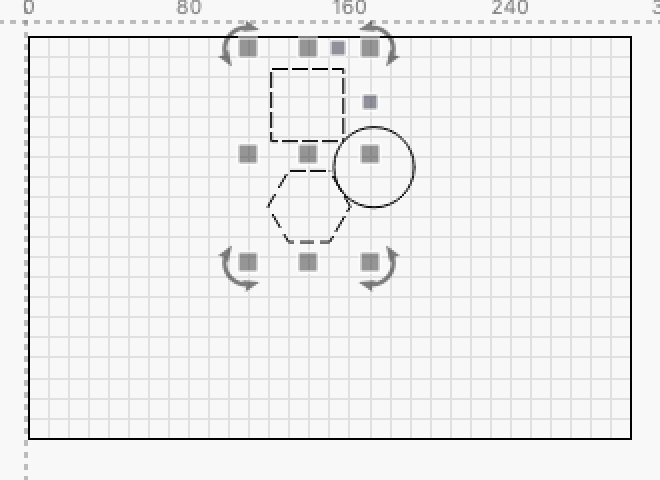
If no other objects are hit, the edge of the workspace will be used.
Grouped objects will move together, so if any of them stop, the whole group will stop.
Additional options
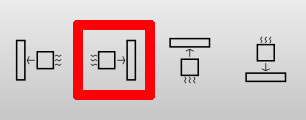
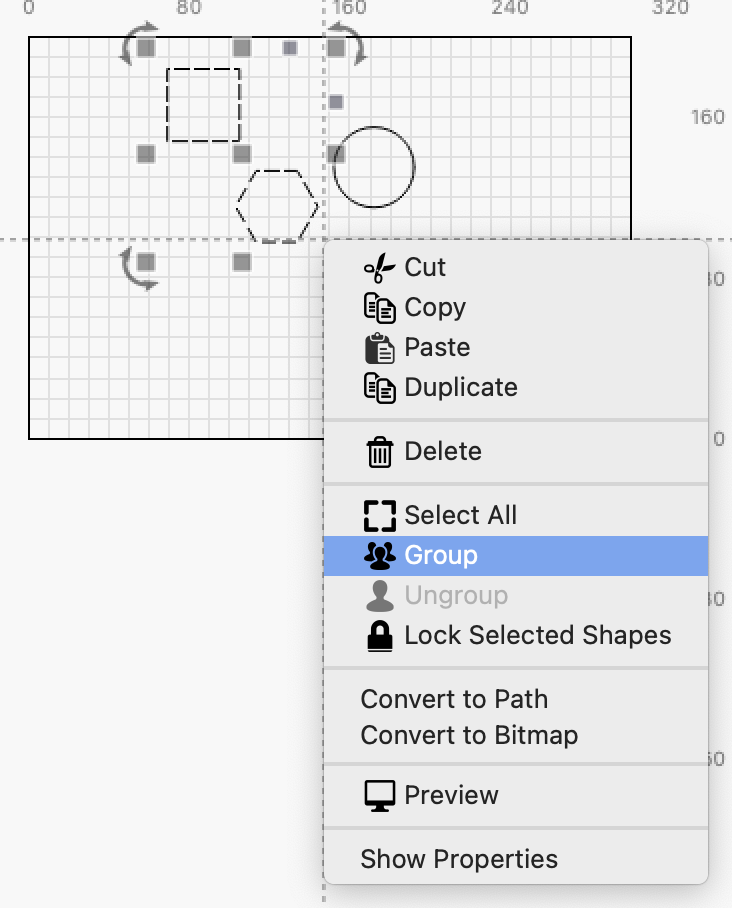
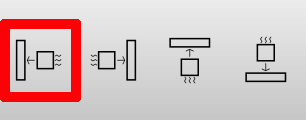
The Docking tool comes with a few extra features to change how it works. These options can be found next to the Docking buttons:
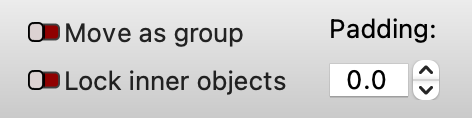
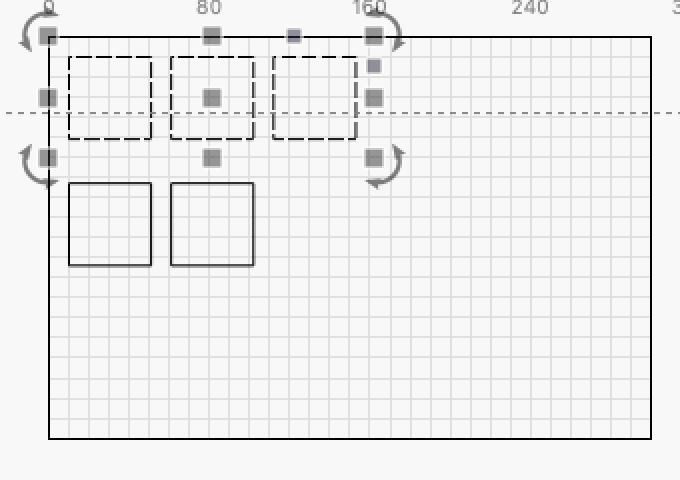
Move as group
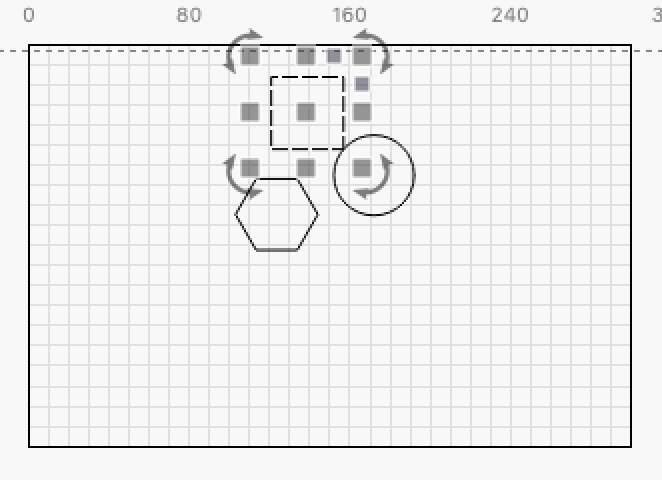
The Move as group setting treats separate objects as if they were grouped.

This means that they will only move until one of the objects stops, and the rest of the selected objects will also stop.
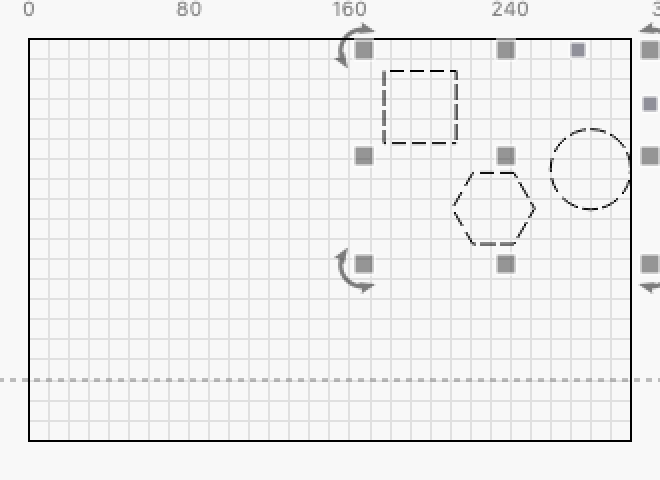
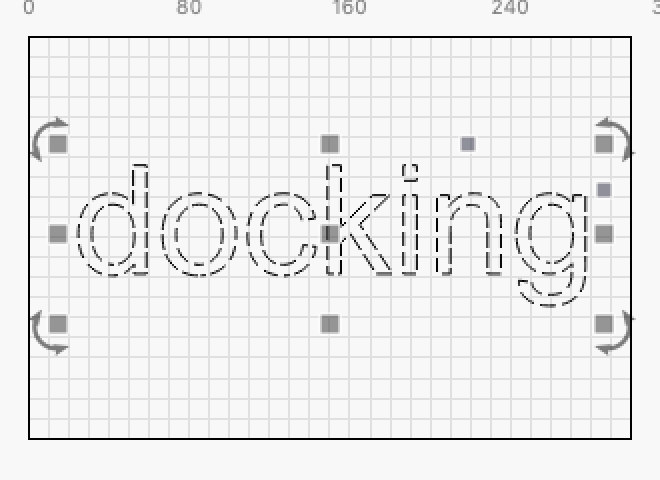
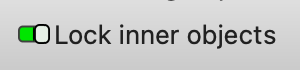
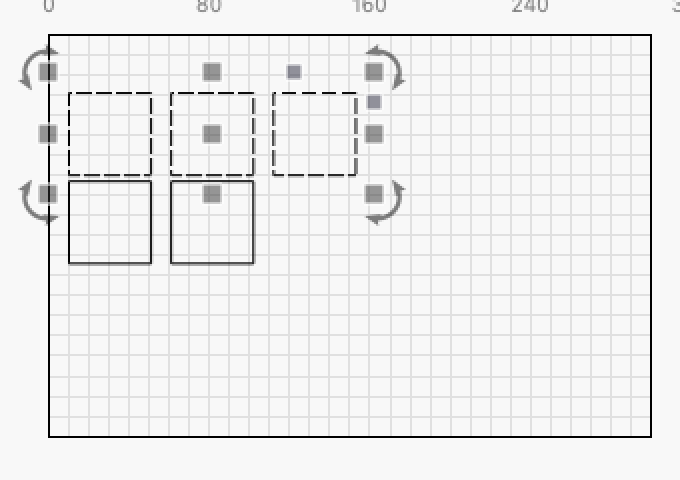
Lock inner objects
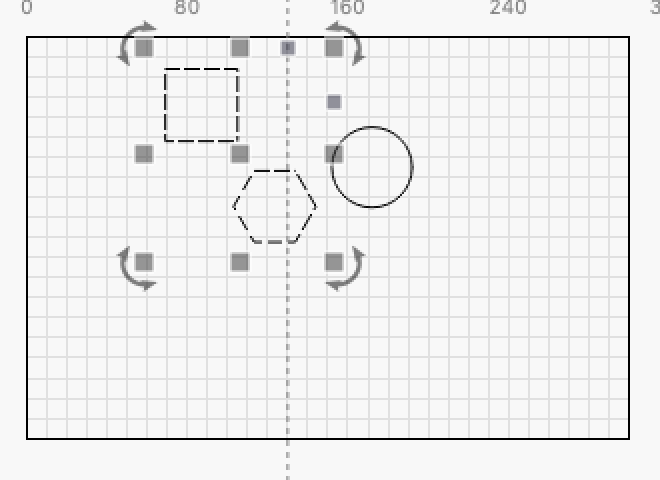
The Lock inner objects setting keeps objects inside other objects together.
When this setting is Off, the inner objects will continue to move, even when the outer object has stopped.
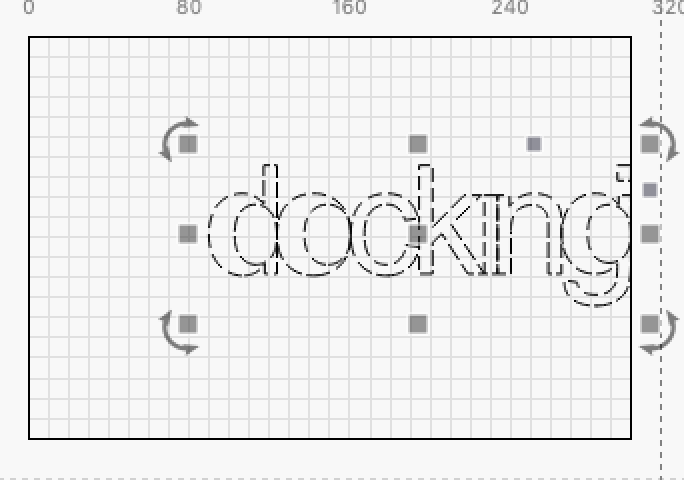
When turned on, the setting will keep the inner objects with the surrounding object.

Note that this does not affect objects that are overlapping; in this case, the objects will each move independently, finding their own object to dock against (unless you use the Move as Group option above).
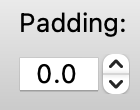
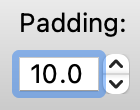
Padding
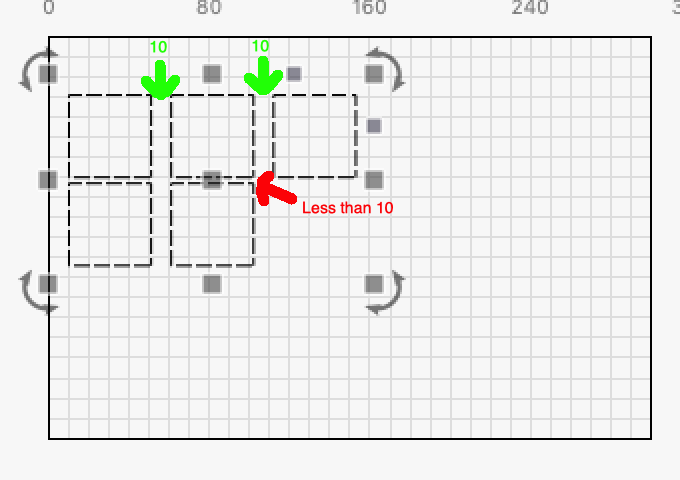
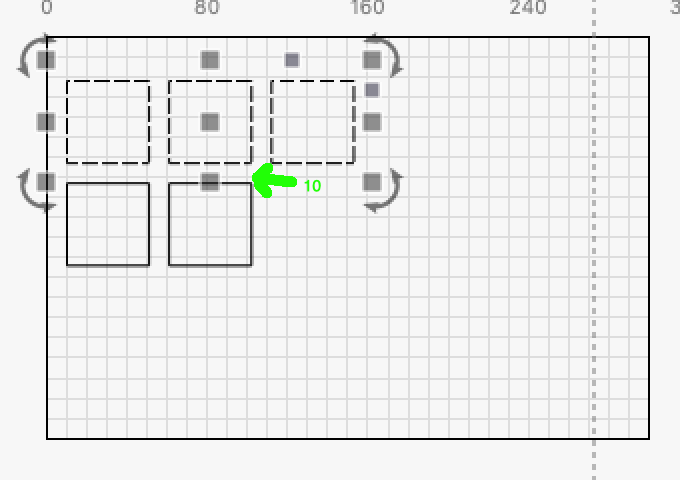
The Padding setting allows you to specify a distance that will be maintained between objects that are docked.
By default, this value is 0.0, which means that objects will dock right against each other.
By increasing this value, you can have objects leave some space when they meet.

Note that the Padding is only applied in the direction the objects are docking - it won't be enforced in the other directions.
You can fix that extra padding by moving the objects away, then back:
The units for the Padding tool (in / mm) are the same as other tools, such as the Numeric Edits tool.
