QR Code Generation
Info
The QR Code tool can be found in LightBurn 1.6 and earlier. Starting in LightBurn 1.7, it's been replaced by the Bar Code tool.
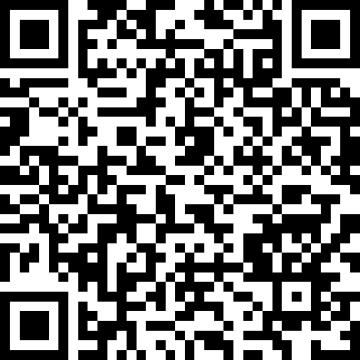
QR Codes are square 2D barcodes that can be scanned by a mobile device with a camera. They are able to store and convey a wide variety of information, such as simple text, a URL, or even WiFi access information, such as the example shown below.
Most modern mobile devices with a camera include some sort of built in QR code scanning ability, often direct from the stock camera application. Simply point the camera at the code and it will recognize it and provide a prompt to proceed with whatever information is contained. If this does not work, check the documentation for your specific device. In some cases, you may need to download a barcode scanning application.
Usage
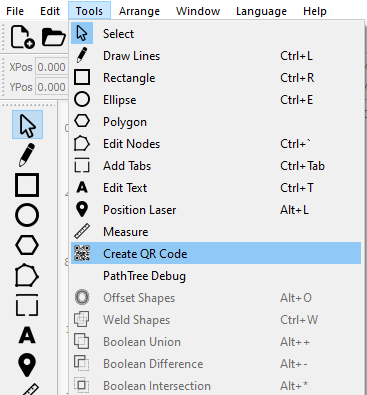
LightBurn can easily generate QR Codes for you using the QR Code tool. Navigate to the Tools Menu and then select Create QR Code as shown below.
With the QR tool selected, click and drag in the Edit Window where it will show a square being drawn, this will be the initial size of your QR Code. Once you release the mouse button, you will be shown the QR Code Properties dialog.
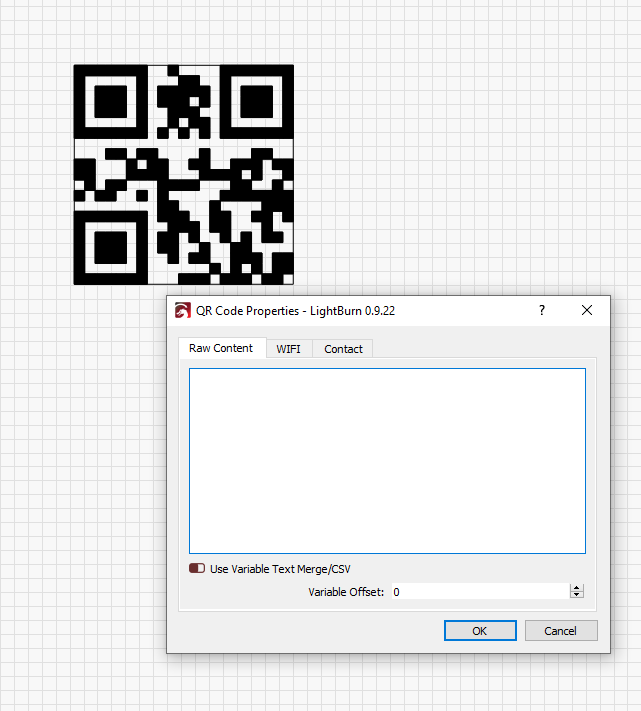
From here there are 3 main options for QR code content:
- Raw content: typically plain text or URLs
- WIFI: Creates a WiFi access point configuration code for mobile devices.
- Contact: Creates a "Contact Card" code which will load contact info into your mobile device's contacts.
As you enter QR Code content you will see the QR code in the edit window update in realtime. The more content you add, the smaller the sub-squares will become to fit all of that data. You can always scale the size of the QR Code after the fact, if needed.
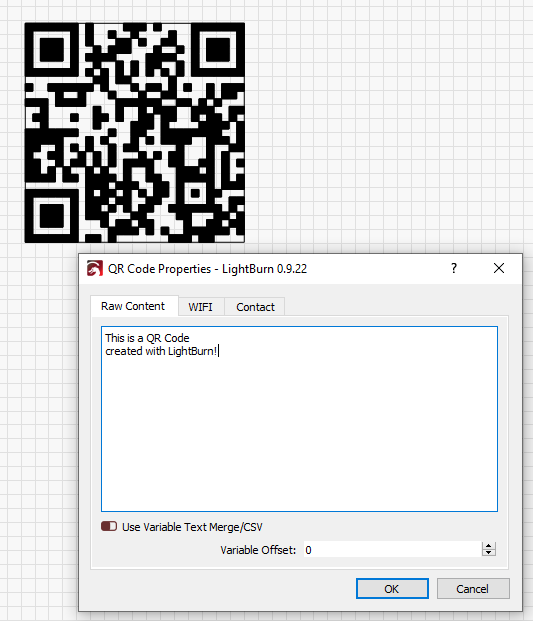
Note that you may also edit an existing QR code object by selecting it, right clicking, and choosing the Edit QR Code option. This will bring up the same QR Code Properties dialog as before with all the information filled in.

Raw Content
This is the simplest and most flexible option as it allows you to enter any text you would like. At the simplest this is just basic plain text or a URL. But there are a wide variety of other options supported by many mobile devices such as email addresses, phone numbers, geo-location information, and more. There is a great list explaining the options and how the text must be formated on the zxing barcode scanner documentation.
WiFi
With with WIFI tab you can create a barcode that, when scanned, will allow that mobile device to automatically contect to a WiFi access point with all of the connection informtation provided.
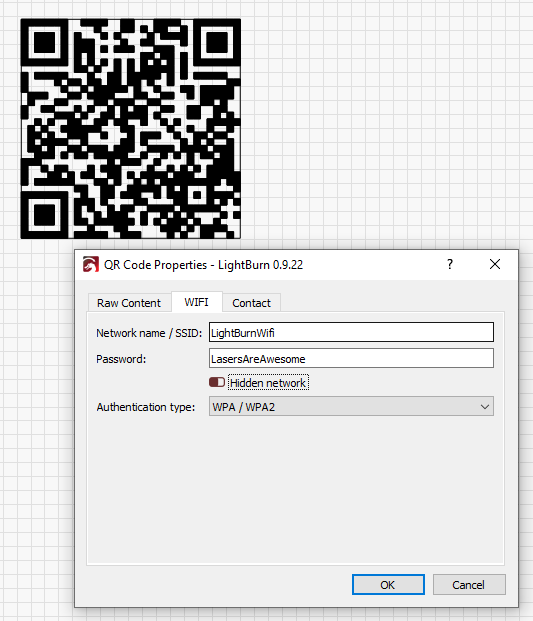
The input options are:
- Network name / SSID: The configured name of the access point
- Password: The WEP or PSK password for the network if one is required (see Authentication type below)
- Hidden network: When checked this specifies that the SSID of the network to connect to is not broadcast publicly and that the mobile device should act accordingly.
- Authentication type: Choose from WPA/WPA2, WEP, or None. Typically most modern access points use WPA2. Check the configuration on your access point if you are unsure.
Once you've entered the WiFi access point information the content under the Raw Content tab will automatically be updated to reflect the WiFi configuration. As shown below:
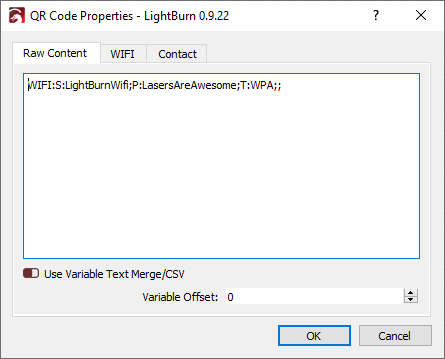
The WiFi raw content format is described in more detail in the zxing barcode documentation.
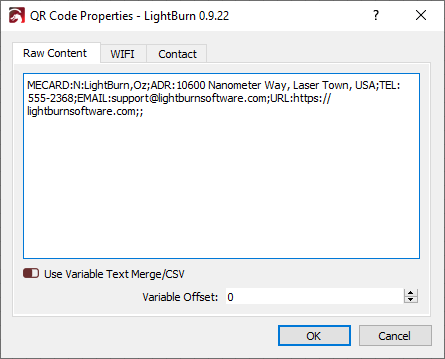
Contact
With the Contact tab you can create barcodes that contain contact information which can then be automatically loaded into a mobile device's contacts storage.
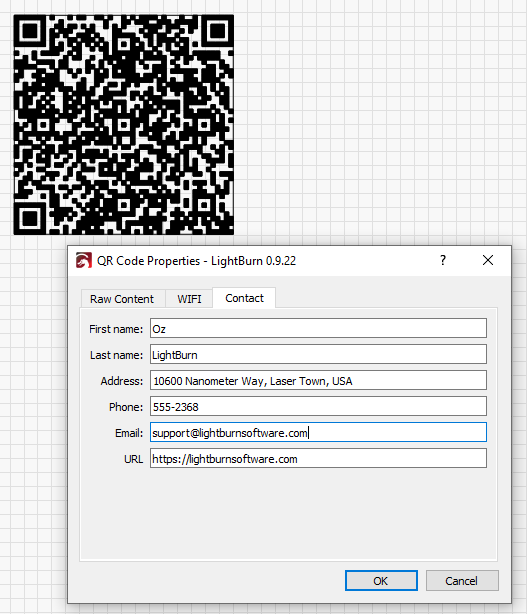
Just like with the WiFi tab, once infomation is entered on the Contacts tab, if you go back to the Raw Content tab you will see the raw contact card shown, which in this case is in the "MECARD" format.
Cut Settings
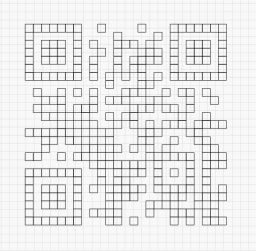
Because of the way QR Codes work it's assumed that there is a high amount of contrast between the light and dark sections of the barcode. Most importantly the dark sections must be completely filled so you should be sure to use the "Fill" mode on the cut layer being used for the QR Code. If in LightBurn you see the QR Code render as shown below, that means you either are not using "Fill" mode on that cut layer or filled rendering is turned off.
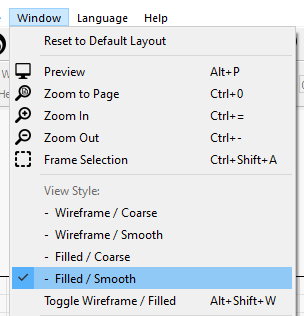
You can enable filled rendering from the Window menu by choose Filled / Coarse or Filled / Smooth
If you would rather not enable filled rendering in the edit window, you can also see a preview of what the filled QR code will look like by launching the cut Preview. You will, of course, still need to have the QR code on a "Fill" mode cut layer.
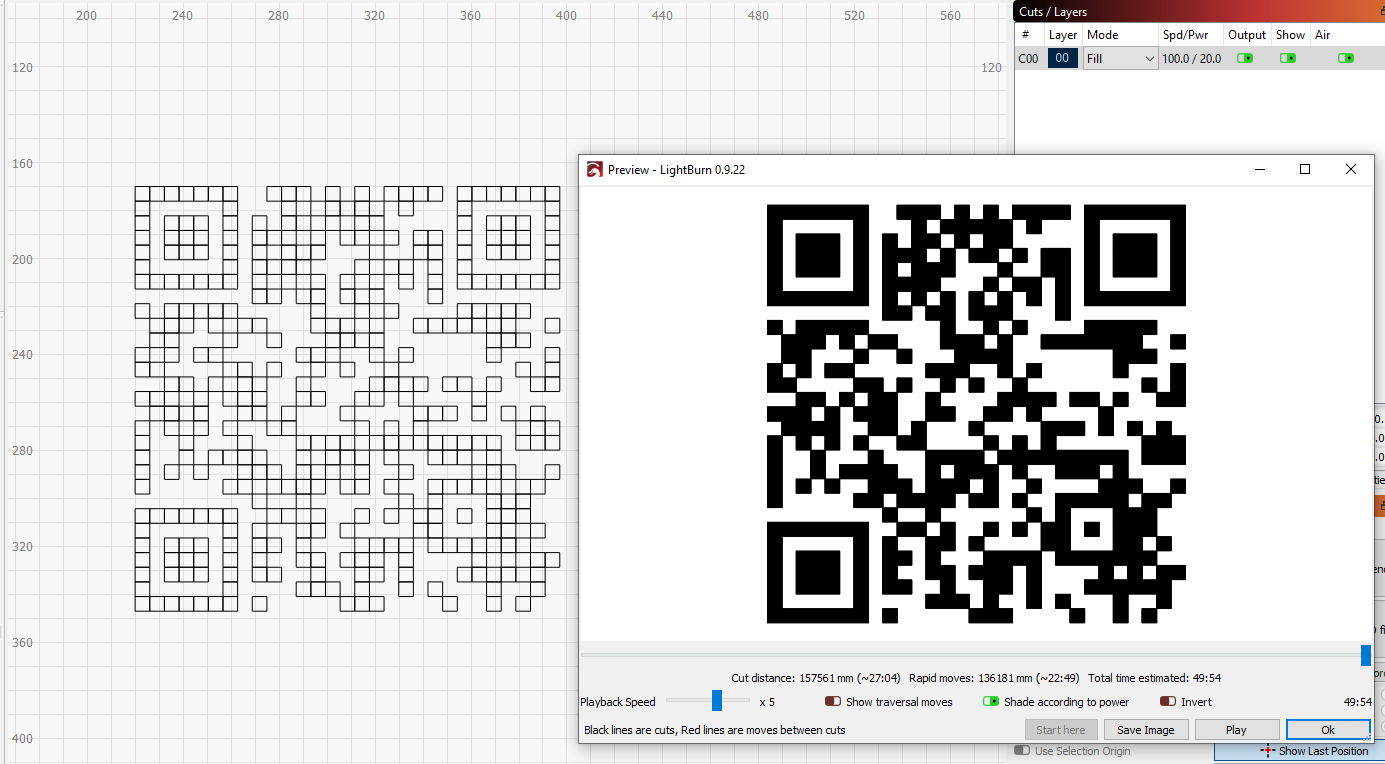
Once in "Fill" mode, be sure to set an appropriate power level for the material you are using in order to provide sufficient contrast between the fill engraved areas and the base material similar to what you see below:
