Center Finder
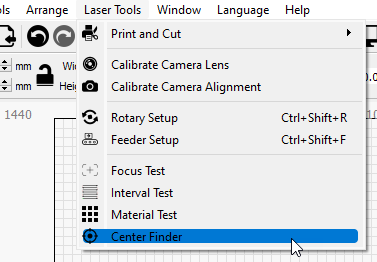
The Center Finder is available in the Laser Tools menu. It is useful for finding the center of circular stock, as well as defining that stock in your LightBurn workspace.
First Steps
- Home your machine.
- If your machine does not have homing switches, make sure to start the machine with the laser head at the 0,0 point of your work space — that is typically the lower left corner for GCode-based devices.
- If the stock you are referencing is light or can be moved easily, make sure to secure it so it does not get bumped during the operations.
Set the Points
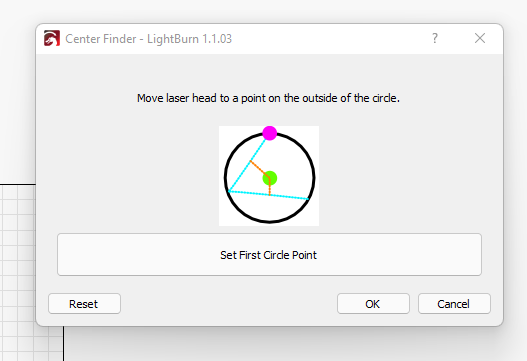
Point 1
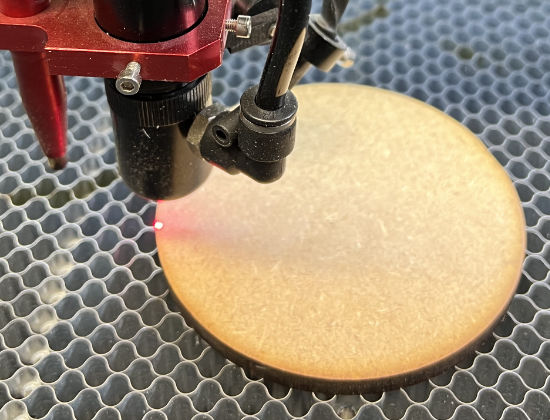
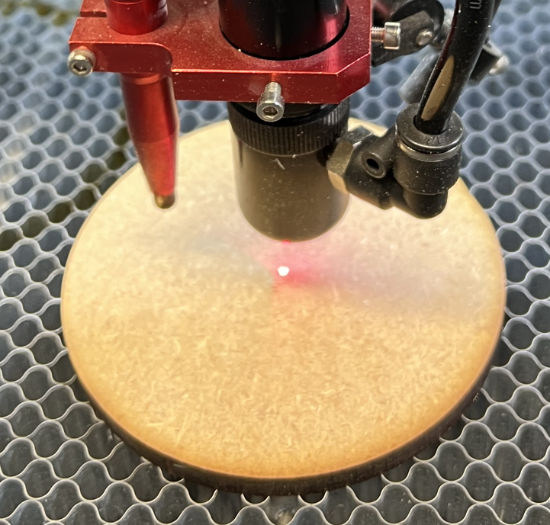
Jog the laser head to the first position on the edge of your circle, as shown in the wizard.
Note: you must jog the laser head with the laser control panel or from the Move window. Center Finder will not work if you move the laser head by hand.
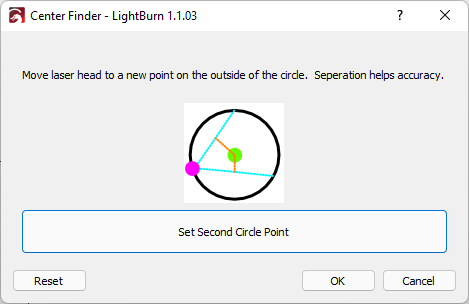
Point 2
Jog the laser head to the next position on the edge of your circle, as shown in the wizard.
Point 3
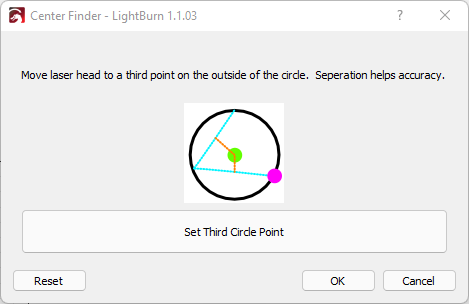
Jog the laser head to the last position on the edge of your circle, as shown in the wizard.
Align to Center
Move to Center
The last step will show you the calculated center of your circle and allow you to jog to that point.
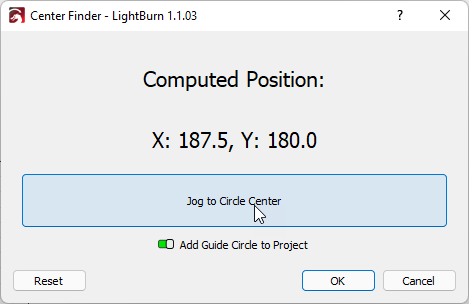
Create Guide Circle
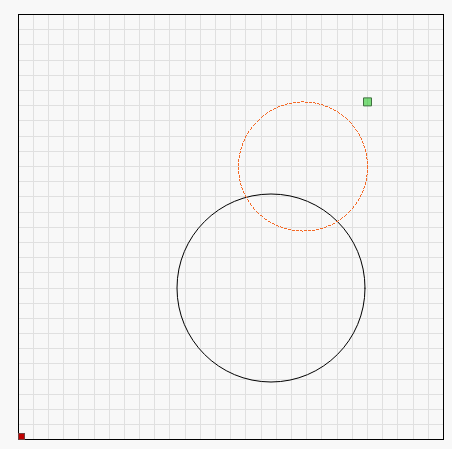
Toggle on Add Guide Circle to Project to create a circle on the T1 Tool Layer that will provide a representation of your stock in your LightBurn workspace.
Set Origin
Absolute Coordinates
If you use Absolute Coordinates for your workflow, move your design to the guide circle, and make sure your Start From mode is set to Absolute Coords.
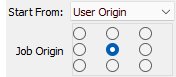
User Origin — Center
If you use User Origin make sure the center radio button is selected as Job Origin.
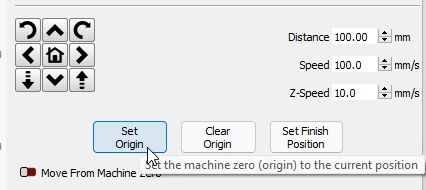
After you move the laser to the center of your stock, press the Origin button on your DSP control panel or the Set Origin Button in the Move window.
Notes
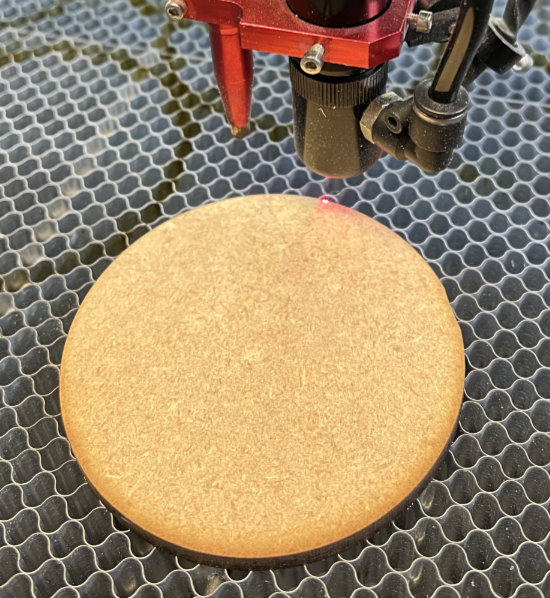
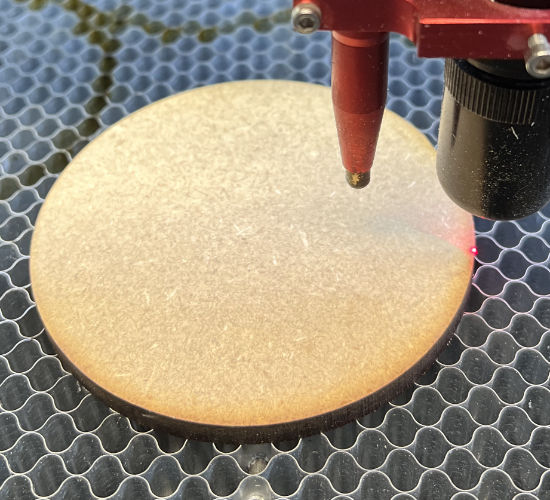
- The accuracy of the Center Finder depends on the accuracy of your point placement. If you have a red dot laser that is accurate, one trick is to try to split the dot on the edges of your stock.
- You can set the points in any order, and they do not need to be positioned exactly as shown in the reference photos — they need only be far enough apart from one another along the perimeter of the shape that they are valid for calculating the center. The reference photos are meant as guidelines for acceptable distance.
-
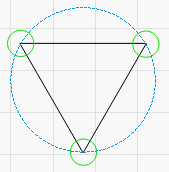
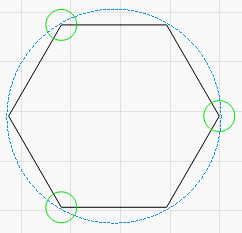
This tool can find the center of any shape that can be described with a circle diameter:
-
Squares (pick 3 corners)

-
Equilateral Triangles
-
Hexagons
-
Troubleshooting
Set a Point Incorrectly
Hit the Reset Button. This will clear all points saved. After, restart from the current point. You can set the points in any order.
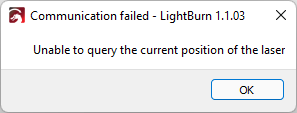
Unable to query the current position of the laser
This happens when LightBurn is unable to get the position of the laser from the controller. Often, the laser is still moving, or another command is still in process. Click OK, and try again after waiting a few seconds.
If the warning persists, make sure the controller is still connected and is showing Ready at the top of the Laser window. If you are unable to connect, see Troubleshooting: Connection Problems.
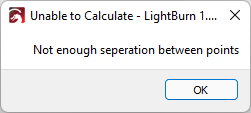
Not enough separation between points
You have not moved the laser away from the last point or have not moved it far enough to make an acceptable calculation. Try moving farther away and setting the point again. You must jog the laser using its control panel or the Move window, and not by hand.
Unable to Calculate Center
LightBurn can't calculate center, or it would be outside your workspace. This typically happens on machines without homing switches that were not manually homed properly. Restart your machine with the head at your machine origin and try to run the wizard again.