Cut Settings Editor
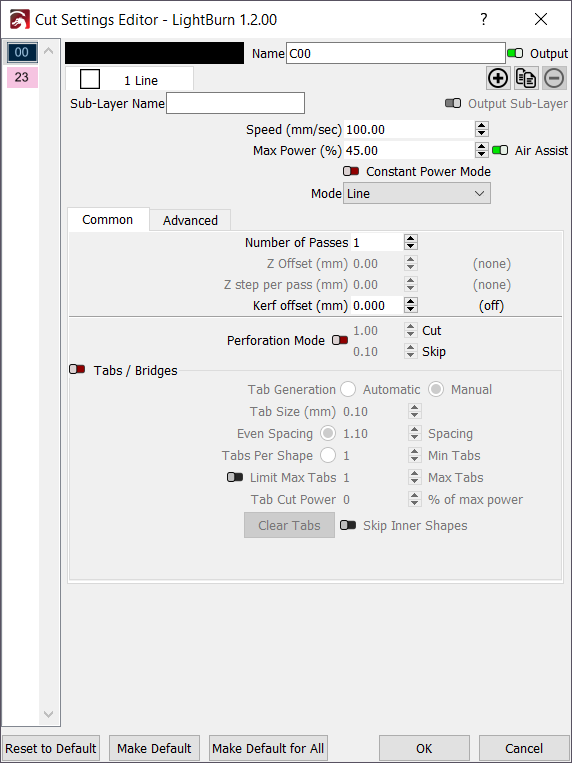
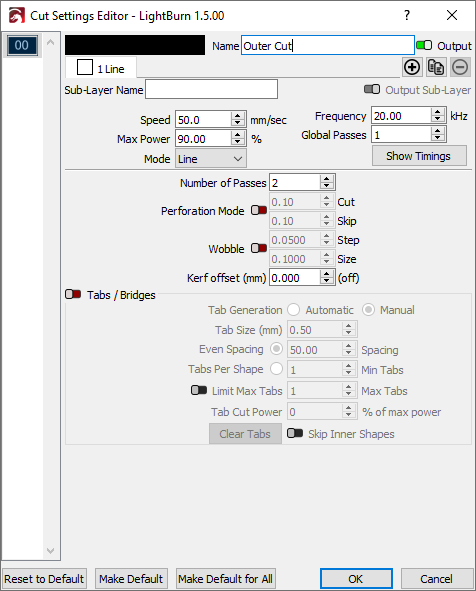
The Cut Settings window in LightBurn is accessed by double-clicking an entry in either the Cuts / Layers window or the Material Library list. The window you see may vary from the screenshot, as different laser features, LightBurn modes (Beginner) or updates can change its appearance and settings.
In the Cut Settings Editor (CSE) you can create, edit, adjust, and clone layers and sub-layers for your projects. This gives you finer control when operating your laser. Line mode follows the vector lines in your design, fill mode scans back and forth to remove material from the "inside" of a shape, and offset fill removes material on the "inside" of a shape following a spiraling pattern based on the outside shape. You can create sub-layers to combine these modes, which replaces LightBurn's older "Fill + Line" option while also opening up many more options.
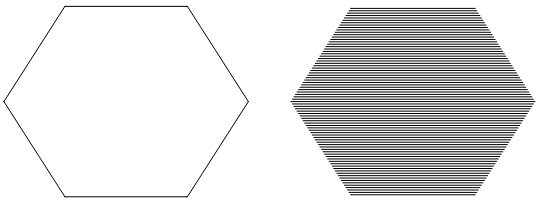
For a comparison of Line (left) versus Fill (right) modes, see below.
Operating Modes
There are four different 'modes' in LightBurn that choose how the laser will render your design:
- Line mode - traces along the outlines
- Fill mode - fills the design with parallel lines
- Offset Fill mode - fills the design with lines that follow the original shape
- Image mode - Works similar to fill, but with specific settings for images
In all variations of the Cut Settings Editor, the most basic settings are displayed at the top of the window (speed, power, output toggle, air assist, and mode). The lesser used, more specialized options follow below, and are split into two panes - Common and Advanced.
We'll go through the different settings used in each mode, and explain their use.
Shared / Basic Settings
All layers have a few settings that are the same, regardless of the type of layer.
Speed: how fast the laser will (ideally) move when tracing your design. Depending on your laser, its firmware settings and limits, and the design, it may or may not actually reach this speed.
The next two require a bit of explanation:
Max Power: The power level to run the laser at
Min Power (DSP Only): The Min Power is used when the laser moves slowly, such as at the ends of lines and direction changes/corners.
Some DSP controllers refer to this as the Corner Power for this reason.
Pause before (Galvo Only): The number of milliseconds to pause before starting a sub-layer. Click the Show Timings button to show this setting or Hide Timings to hide it.
Pause after (Galvo Only): The number of milliseconds to pause after finishing a sub-layer. Click the Show Timings button to show this setting or Hide Timings to hide it.
Defaults and Changing Between Files
Colors normally start with their last used settings, but if you wish you can set LightBurn to load default settings for each layer when you create a new file. If this option is enabled, a new drawing will have a clean slate with default color settings for all layers.
Working With Defaults
At the bottom of the Cut Settings Editor, there are three buttons to manage layer default settings.
Make Default: Remember the settings for this palette color. Whatever your current settings are will become the default for this color.
Reset to Default: Reset the layer to the default settings.
Make Default for All: Your current layer settings will become the default for all palette colors.
Layer defaults are separate from material libraries, and you will likely find it useful to use the two together. A common use for layer defaults is to set up layers with common cut settings for your own projects, and then use material libraries to apply settings for different materials and processes.
Sub-Layers
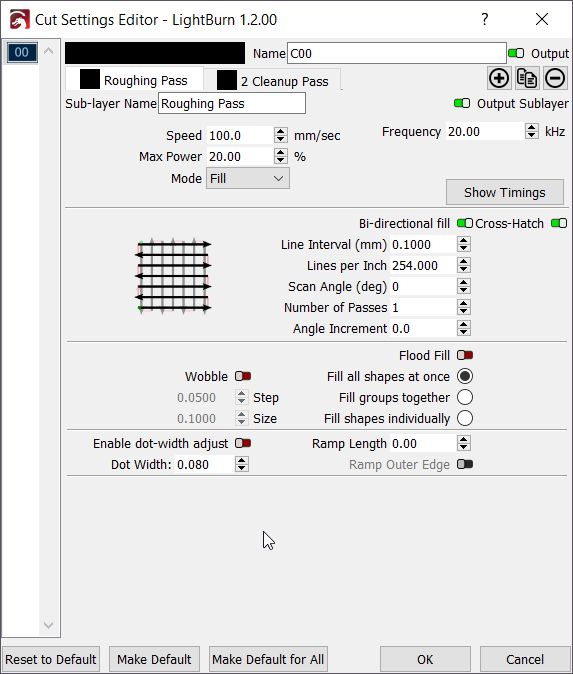
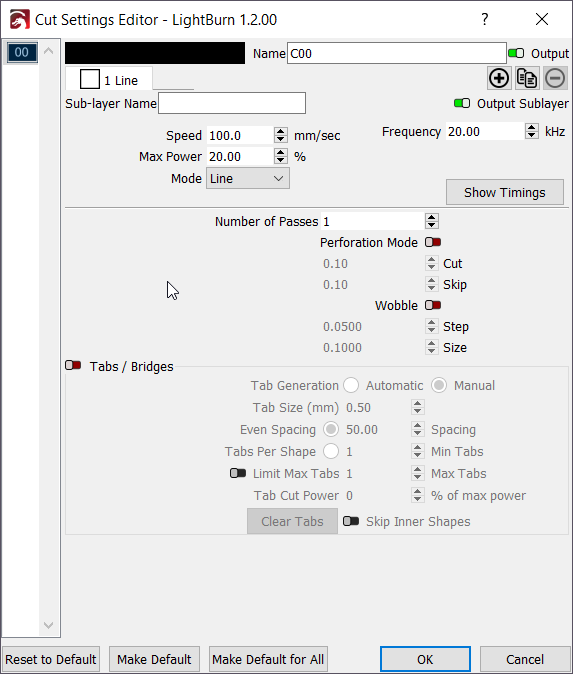
Sub-Layers allow you to set multiple cut/engraving settings on the same layer & geometry. This can enable the use of single-setup etching & cleanup passes for galvo lasers, as well as staggered engraving, cutting, and other operations for more complex jobs regardless of machine type. You may have up to 11 sub-layers per layer.
Comparison of Sub-Layers vs Single Layer
With the Sub-layer feature, you can configure count, type of pass, speed, frequency, and more, without duplicating geometry in your design.
To make a new Sub-layer, you can either click the plus icon or the duplicate icon (two overlapping pages) in the tabs area of the Cut Settings Editor. The plus sign will create a new sub-layer with default settings, and the duplicate icon will create a copy of the current sub-layer. The minus sign icon on the far right will delete the currently open sub-layer, so long as it's not the only sub-layer.
LightBurn 1.2+:
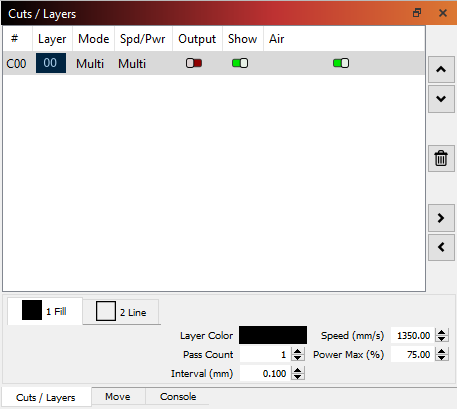
When using sub-layers, your Cuts / Layers window will show the mode as "Multi", as seen below. You can quickly reorganize and edit the tabs as you can within the full Cut Settings Editor in the quick settings, at your convenience.
Additional Settings/Information
Global Passes
Starting with LightBurn 1.5, galvo users will have the new Global Passes setting. This setting will repeat all sub-layers in the layer the specified number of times.
Constant Power Mode
This setting is only available on GRBL devices. By default, LightBurn uses Variable Power mode (M4), which ramps the power level of the laser up and down with the speed, producng a more consistent burn. However, if you ask the laser to move faster than it's able, it will never reach the requested speed or the requested power level. It's generally best to stick with the default of Variable Power mode and adjust the speed to be within the range your machine can achieve, but if you want the same behavior as LaserGRBL, whch defaults to Constant Power (M3), you can enable this option. We have more info on this in our troubleshooting section.
