Tips and Tricks
LightBurn has a decent number of user interface tricks that aren't always obvious, so we're listing many of them here. We also have a LightBurn HotKey reference guide here.
Tool Tips
Nearly everything in LightBurn has pop-up text that will tell you what the control is for and sometimes gives additional help, like this:
Topic-Aware Help
If you point the mouse cursor at a button or window and press F1 (help), LightBurn will launch your browser and open the documentation on the relevant help page for that control. This works for nearly all controls on the main window.
Reset the Window Layout
Sometimes a window gets moved off the screen or positioned in a way that makes it hard to find or move. You can reset the window layout in LightBurn in two different ways:
- In the Window menu, choose "Reset to default layout". This will undock all windows, and re-dock them in the default order.
- If that doesn't do it, restart LightBurn while holding Shift - this skips restoring the saved window layout, and always works.
Reset to Default Settings
To completely reset LightBurn's settings:
- Open LightBurn
- Go to File → Open Prefs Folder
- Close LightBurn
- Delete the contents of the prefs folder, which should contain a pair of files called
prefs.iniandprefs.old - Re-open LightBurn. All settings should be reset to default, and all devices will be removed.
Edit Window Shortcuts
The edit window has a number of single-key shortcuts that are only active when you have clicked in the edit window. They are:
- H — flip selection horizontally
- V — flip selection vertically
- L, R, T, B — Align the selected objects by Left, Right, Top, or Bottom edges
- C — Align the selected objects along their vertical centerlines
- E — Align the selected objects along their horizontal centerlines
- P — Move the selection to the center of the page
- Arrow keys — Move the selection (Shift and Ctrl adjust the size of the move)
- , (comma) and . (decimal), usually under < and 1, are rotated 90° counterclockwise and clockwise
- Holding Shift while pressing , (comma) and . (period/decimal) will rotate 45°
- Tab — Select the next shape in the shape list
- Number pad arrows — Jog the laser
Framing Mode Nudging
While framing, the keyboard can be used to make minor adjustments to your graphics. Use the arrow keys to move your graphics 1 mm at a time. For additional nudge options, please see Framing.
Equation Support in Number Boxes
The position, width, and height boxes in LightBurn will accept not just numbers, but also measurements and equations. All of these are valid:
- 50 mm, 5 cm
- 10 in, 10"
- 2 ft, 2'
- 10.25 / 2
- (10+2) * 4 + 1 in
You can also use the constants e and pi, and functions like sin, cos, tan, sqrt, abs, atan, log, pow, and more.
Copy & Paste from Other Applications
LightBurn can paste data in known formats from other applications.
- An image copied from a browser can be pasted into LightBurn
- Text copied from anywhere can be pasted into LightBurn
- Shapes copied from Inkscape can be pasted into LightBurn
Drag & Drop from the File Browser
Files in any format supported by LightBurn can be dragged into LightBurn from your file browser (Windows file explorer, or Finder on macOS).
Automatic File Backups
LightBurn by default will save backups of whatever file you are working on. If you have previously saved the file as a LightBurn project, the backup will be stored in the same folder, with the same name, but with "_backup" appended to it.
If you haven't saved the file with a name yet, LightBurn will store the backups for it in your Documents folder with the name "AutoSave_xxxx" where the x's are a random string of characters. If LightBurn crashes, you can usually open the most recent of these files to recover your work.
Auto-Start a Job on Send
Hold the Shift key when you click the Send button in LightBurn, and LightBurn will automatically run the file on the laser when the transfer is completed. This is useful if you are sending very complex or large files, and want to be certain that the transfer completes before the job starts running, but saves you from having to press Start on the controller.
Pause and Stop from the Keyboard
While your laser is running, you can use your keyboard's Pause key to pause the laser and Ctrl+Break to stop it. Break is typically on the same key as Pause, but more compact keyboards may not have this key.
Setting up a New Computer
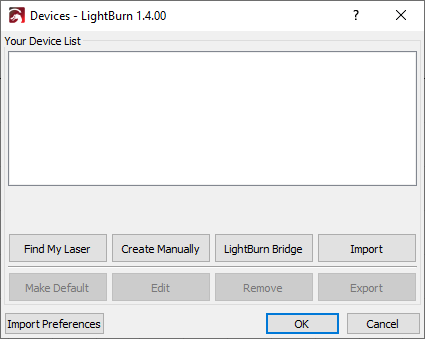
Setting up a new computer can be a pain—especially if you've put a lot of time and effort into adding machines and configuring your LightBurn installation exactly how you like it. To avoid repeating all that work, you can export your preferences on your old computer using File → Export Prefs, and then import them on your new computer using File → Import Prefs. Starting in version 1.3, there is also an Import Prefs button in the Devices window if no lasers have been added—this lets you import preference files when you first open a fresh installation of LightBurn.
Alignment Guides
LightBurn 1.5 and higher
Click here for a video overview
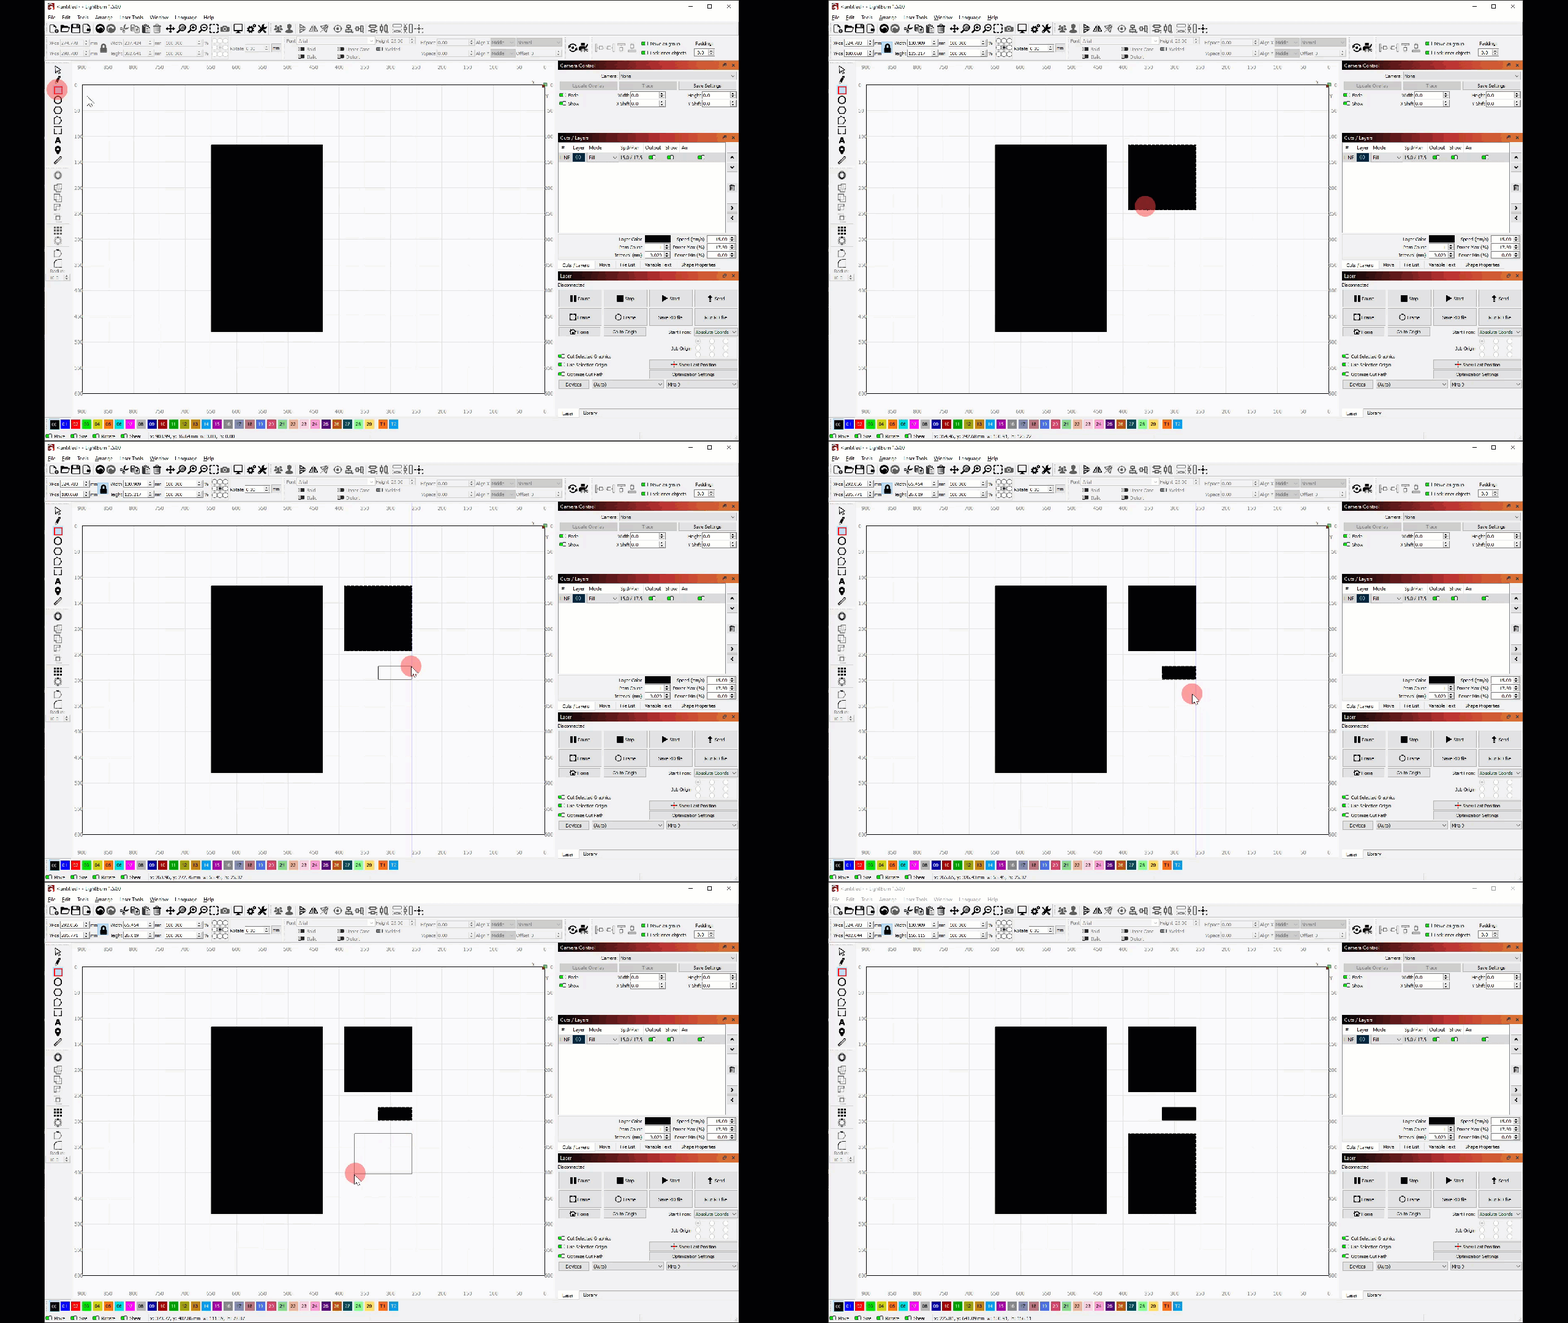
While dragging to draw, move, or scale objects, holding Alt will produce alignment guides for edges and midpoints of existing objects.
Using Alignment Guides by holding down Alt while drawing
Draggable Guidelines
LightBurn 1.5 and higher
Click here for a video overview
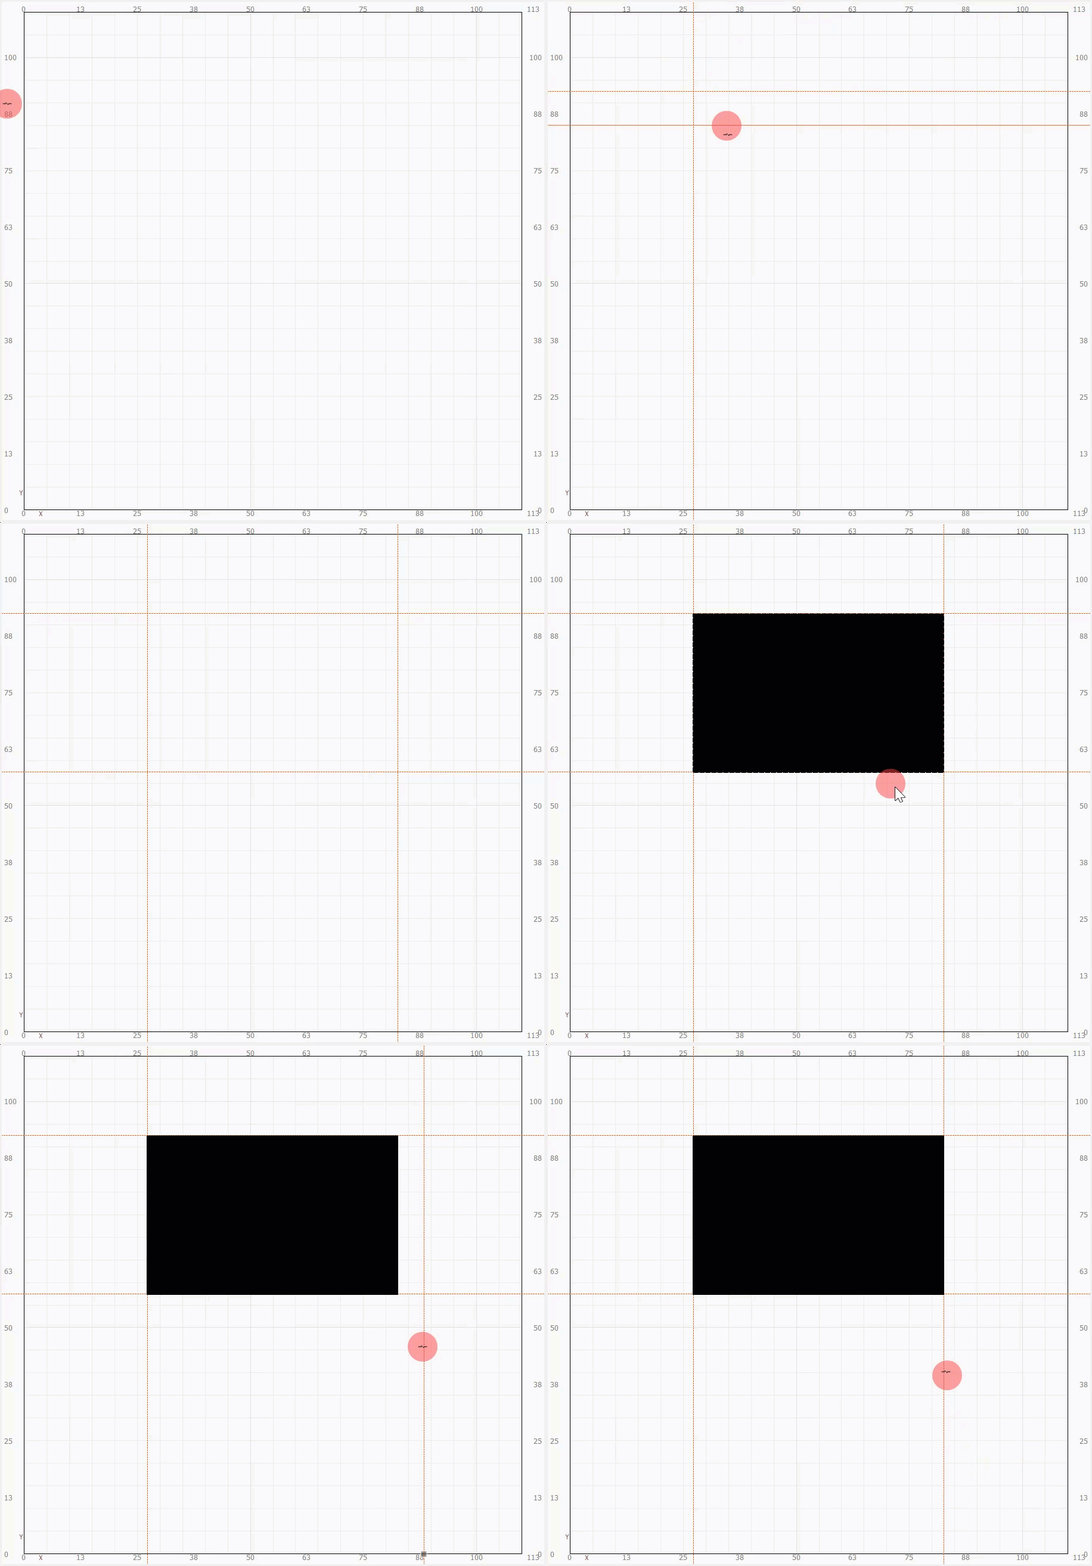
Horizontal and vertical guidelines can now be created by dragging from the ruler area of the LightBurn workspace. Guidelines can be treated like any other line. Guidelines can be locked to avoid accidentally moving them.
You can also make guidelines of any shape by drawing objects and adding them to one of the Tool Layers


