Find My Laser
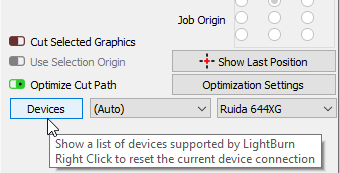
Start by clicking the Devices button in the Laser window to open the Devices window.
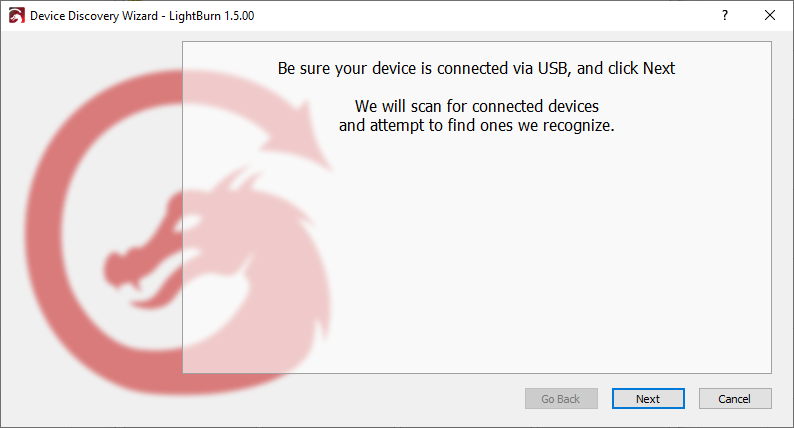
In the Devices window, click the 'Find My Laser' button, and you'll see this screen:
Make sure your laser is powered on, connected to your computer with a USB cable, and has completed any startup sequence it needs to, like homing. Click next when the laser is ready.
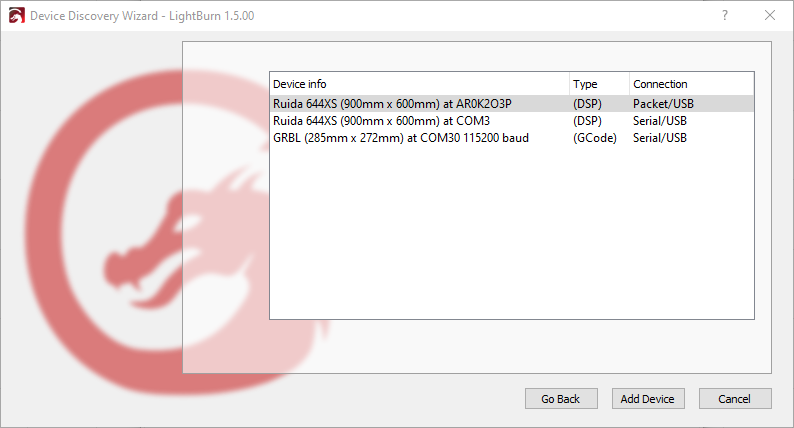
LightBurn will list the devices it was able to recognize after a short scan:
In this example, I have two lasers connected to my computer — a Ruida DSP controller on COM3 and a GRBL controller on COM30. Select your laser and click Add Device.
If your laser wasn't found automatically, or if you don't have a laser available to connect, you'll need to manually create a laser. Otherwise, continue on for additional information on setting up your GCode, DSP, or Galvo device.
GCode devices
If you have a GCode controller, you may be asked whether your machine is an X-Carve or Shapeoko because there are some specific settings that need to be configured for those machines. Click the appropriate button. If not, click Other. You will be asked where the origin of your machine is and if you want to home on startup. Nearly all GCode systems use the front left corner as the origin.
Enable homing on startup if your machine has homing or limit switches, otherwise leave it off. If you see Error: 9 in the console later, it means you've enabled this feature, but your machine isn't configured for homing. Homing and origin settings are among the settings you can change in Device Settings.
Some GCode devices will require additional configuration of either LightBurn or the controller.
Next: Connecting to the Laser
DSP devices
If you have a DSP controller, you'll select the machine's origin and whether to home on startup on the next screen. This is the corner the machine moves to when homing after power up. Most DSP controllers use the rear left corner as the origin, so select that if you're not sure. If you get it wrong, your laser's movement may be flipped, but you'll be able to change this setting in Device Settings later.
Click 'OK' on the Devices window to exit after your laser has been added.
Next: Software walk-through for beginners
Galvo devices
When adding a galvo device, LightBurn will attempt to import the markcfg7 configuration file from your EZCAD2 setup or installation drive. You will need to select the file and then enter your workspace size. See the Galvo Setup page for more information, including what to do if you don't have a configuration file, as well as our video on setting up a galvo laser.
Next: Software walk-through for beginners
What if my laser isn't found?
If LightBurn can't find your laser, it could be for a number of reasons:
- Missing drivers: Install your laser-specific drivers and software. Even if you don't plan to use it, they can include the necessary drivers that are not included with LightBurn.
- In the case of galvo devices, they have a LightBurn specific driver that needs to be used. See here for more information.
- Can't connect: Only one application can talk to your laser at a time. If you run other software, like RDWorks, Easel, Carbide Create, AutoLaser, LaserCAD, etc., make sure that software is not running when you run LightBurn.
- Networked device: LightBurn can't automatically configure a network-connected laser. For this, you'll have to click Create Manually and follow the outlined steps.
- Marlin controller - If you are using a Marlin controller, they have a variety of baud rates and configuration options. They take significantly longer to reset than most other controllers making auto-search impractical. Click Create Manually and follow the listed steps.


