Lens Focusing & Calibration Tools
Danger
Any use of a laser, as outlined in this section, requires effective and useful laser safety glasses calibrated to your galvo's output wavelength range.
Laser safety glasses should come with the wavelengths they protect against permanently marked on the glasses themselves.
To be able to use your galvo laser effectively, you'll need to have it in-focus, well tuned, and well calibrated. This enables best use of features like Cylinder Correction, 3D Sliced Engravings, and more.
Finding Your Focal Point
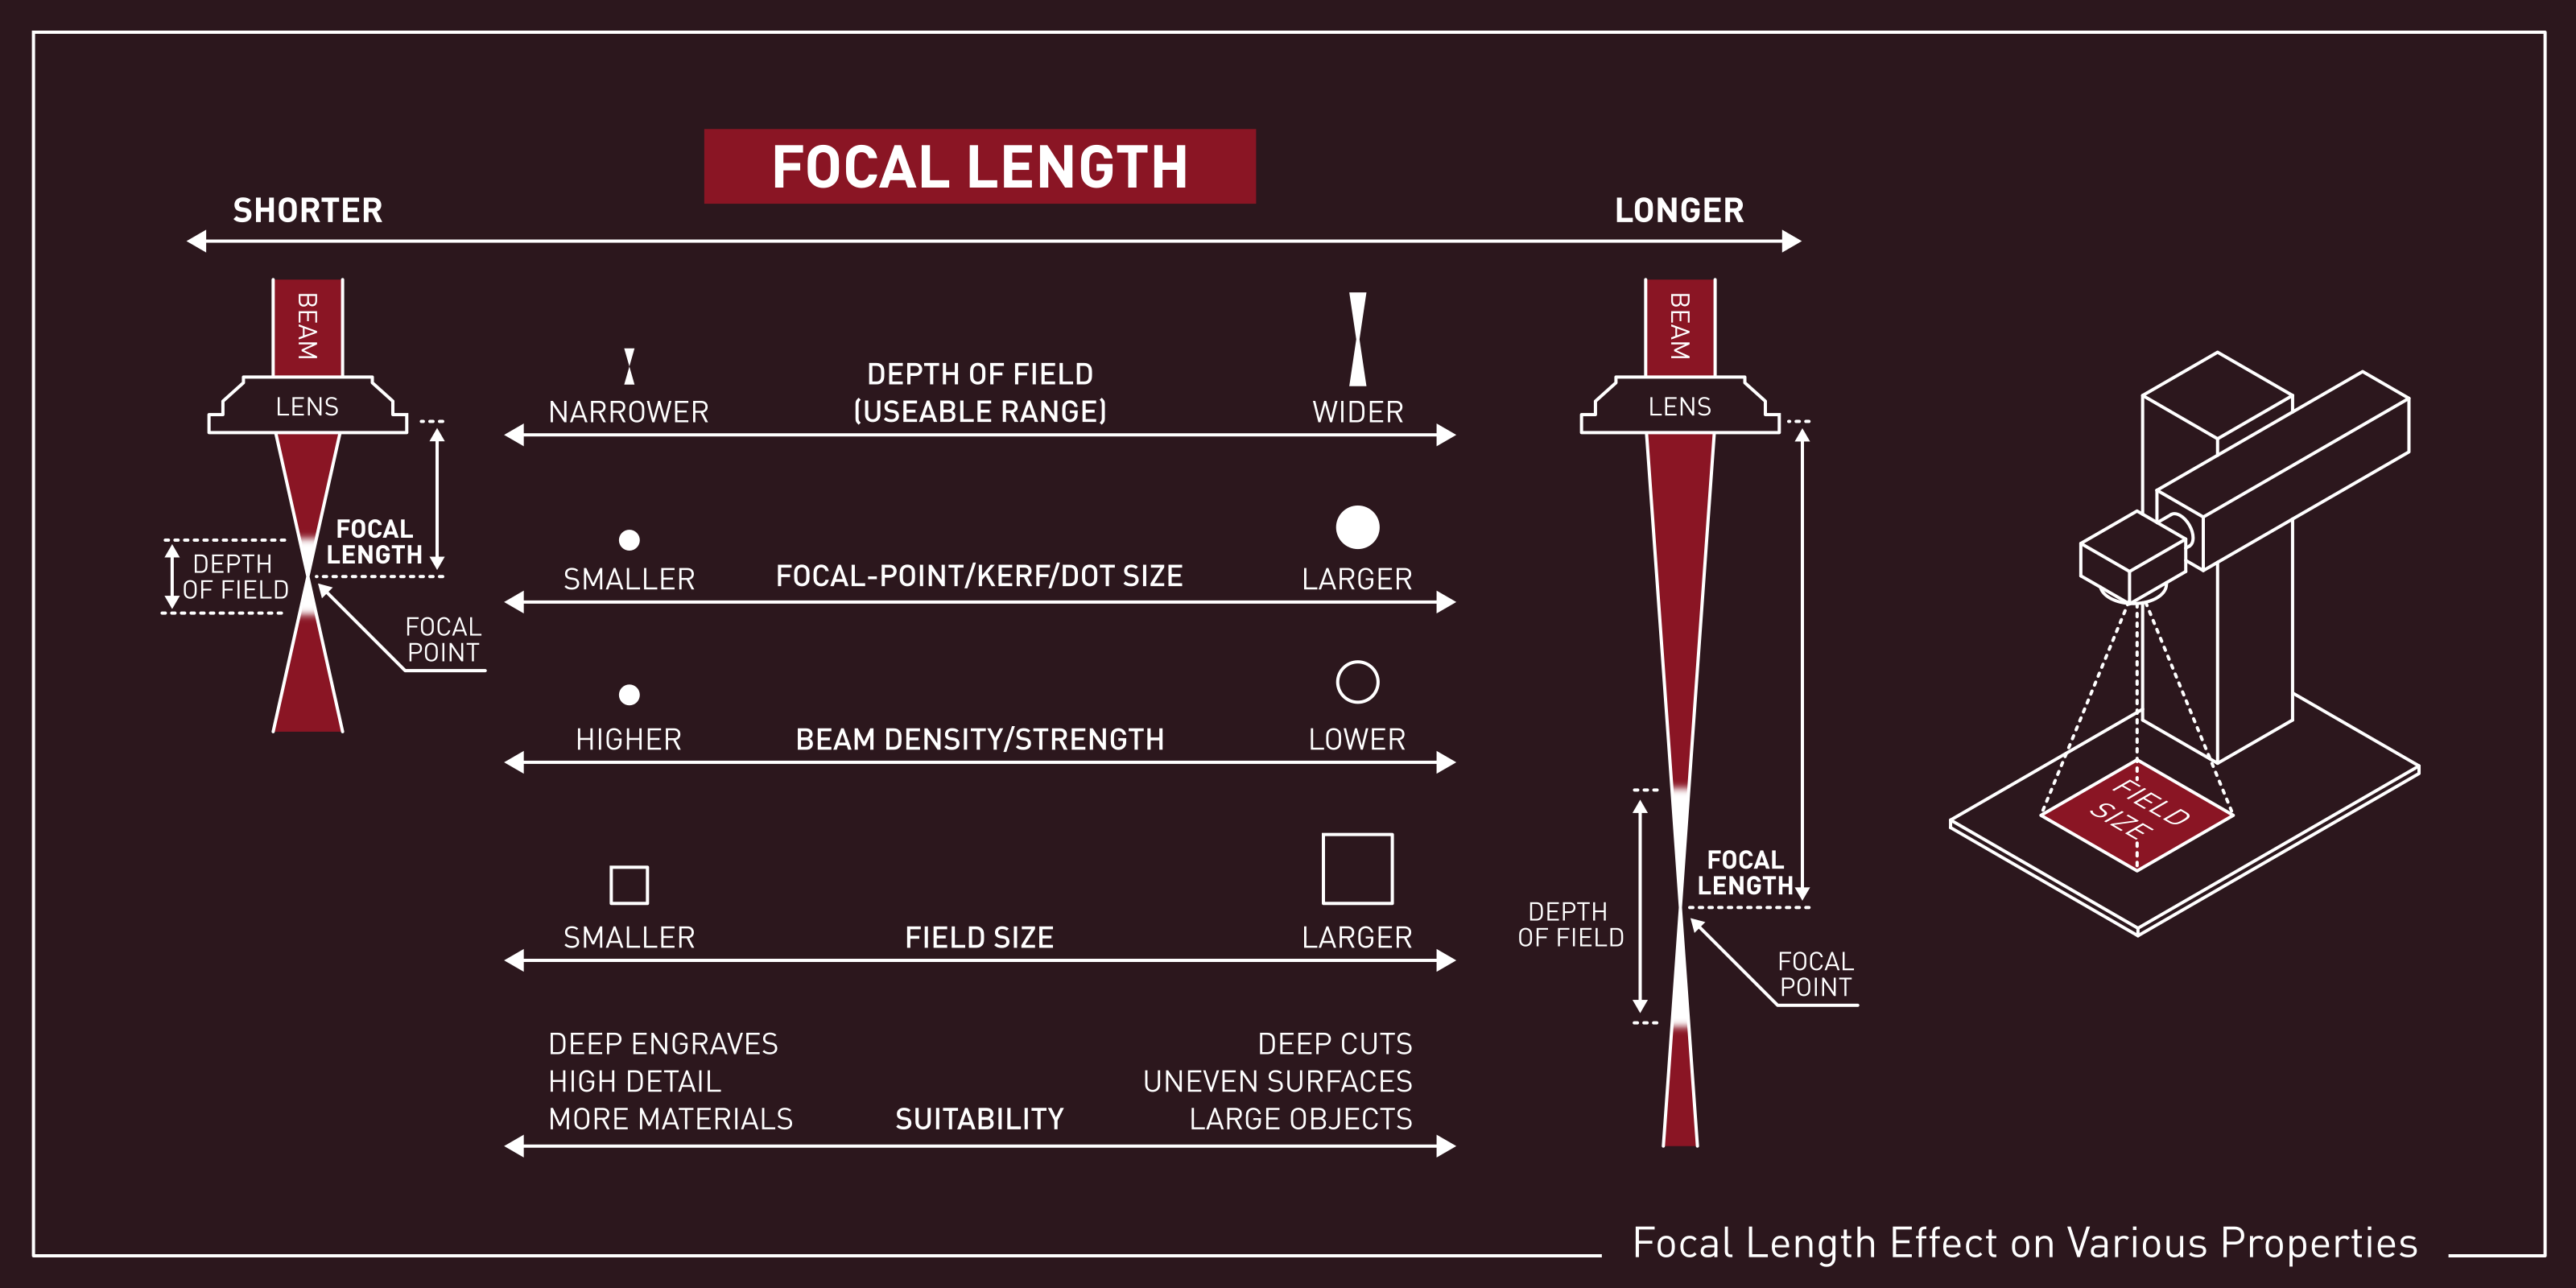
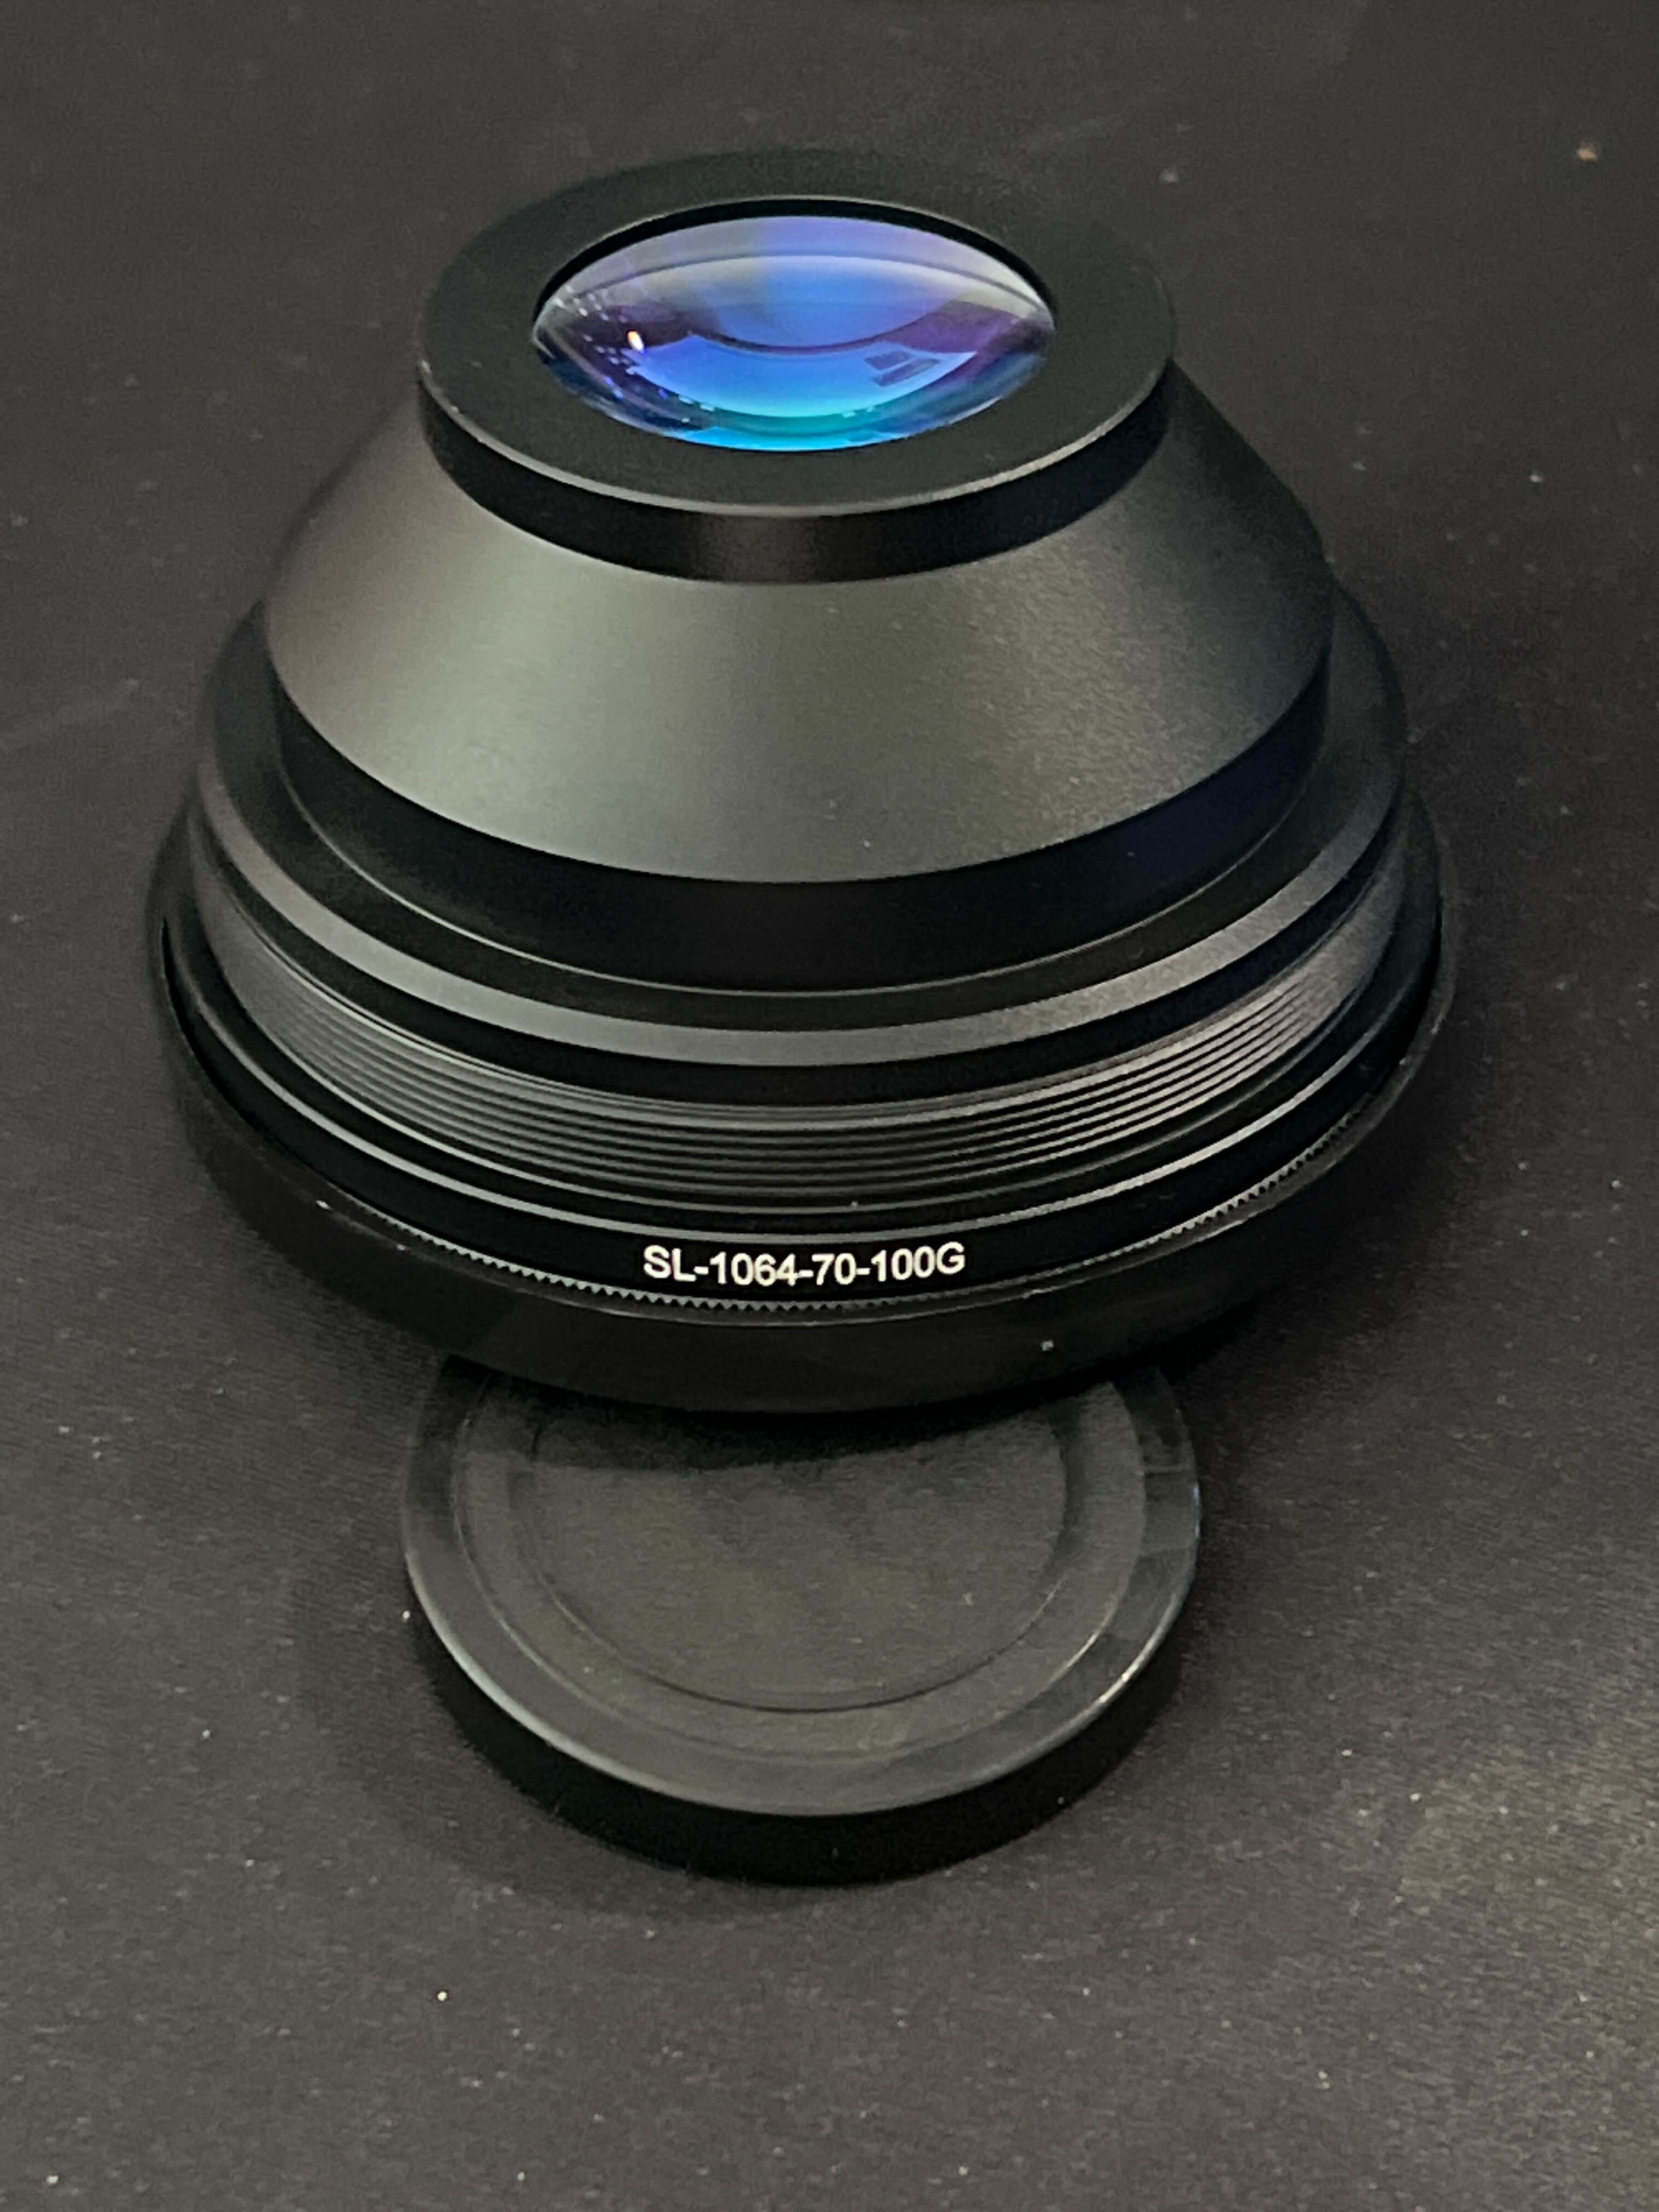
Each lens should be labeled with a focal length, such as F330 for 330 mm lenses or F160 for 160 mm lenses. This is a good starting point for focusing, but manufacturing differences result in differences between lenses so you should still fine-tune the focus. You can fine-tune the focus by looking for crisp outlines in framing or listening for audio cues.
To use "crisp outlines" to find the focal length, you'll need to frame a design and raise/lower the galvo until the edges are as crisp as possible. This requires your galvo to have an in-line red dot. With audio cues, you'll instead listen for louder burning or sizzling noises while the job is running. The correct focal length will generally make the loudest sounds.
While the depth of field is a range that produces engraved results, finding the optimal focal point within that field is important, to ensure the best results, and is best found through trial and error.
A Step-By-Step for Focusing Flat Objects
- Raise your galvo head as high as it reasonably can go.
- Start a repeat engraving.
- Lower the head until it starts making noise.
- Continue further down slowly until the engraving noise is as loud as it gets.
- if the noise tapers off, raise it back up and fine tune based on that.
- Your flat surface is now focused!
- If your laser has two-diode red-points that are manually moved, re-adjust those at this point. See your laser's user manual for help.
Measuring Focal Length
Tip
Make sure you keep track of what part of the laser your focal length is measured to! You might find it convenient to measure to a point other than the bottom of the lens, and that's fine as long as you keep measuring to the same height.
Accurately measuring the focal length above is a useful process to speed up swaps of different and diverse jobs, given the lens. Use an acrylic ruler (preferably one with the edge of the ruler starting from 0"/0 mm), to measure up to the point the ruler meets outside lip of your lens.
If your acrylic ruler has a lip, you can measure the offset with calipers to produce the formula needed to measure the focal length accurately.
To make it quicker and easier to focus the laser when working with objects of different sizes, it's a good idea to make a tool that you can place between the lip of your lens and your object, so you can easily raise/lower your galvo head to it. This can be as simple as a dowel of the right length marked to indicate which lens it goes with (if you have multiple lenses). Another popular option is to laser cut an acrylic focusing tool for the size you need.
Video Guide For Focus Sticks
Focusing For Cylinder Correction
Cylinder correction within LightBurn maximizes the depth of field usable for engraving by intentionally defocusing your laser. See here for more information.