3D Sliced Engravings
LightBurn's 3D Sliced Image Mode enables Galvo users to create engravings with both visual and physical depth. This 2.5D engraving mode does not require a live Z axis and can produce highly detailed engravings, but does not offer precise control over the engraving's depth.
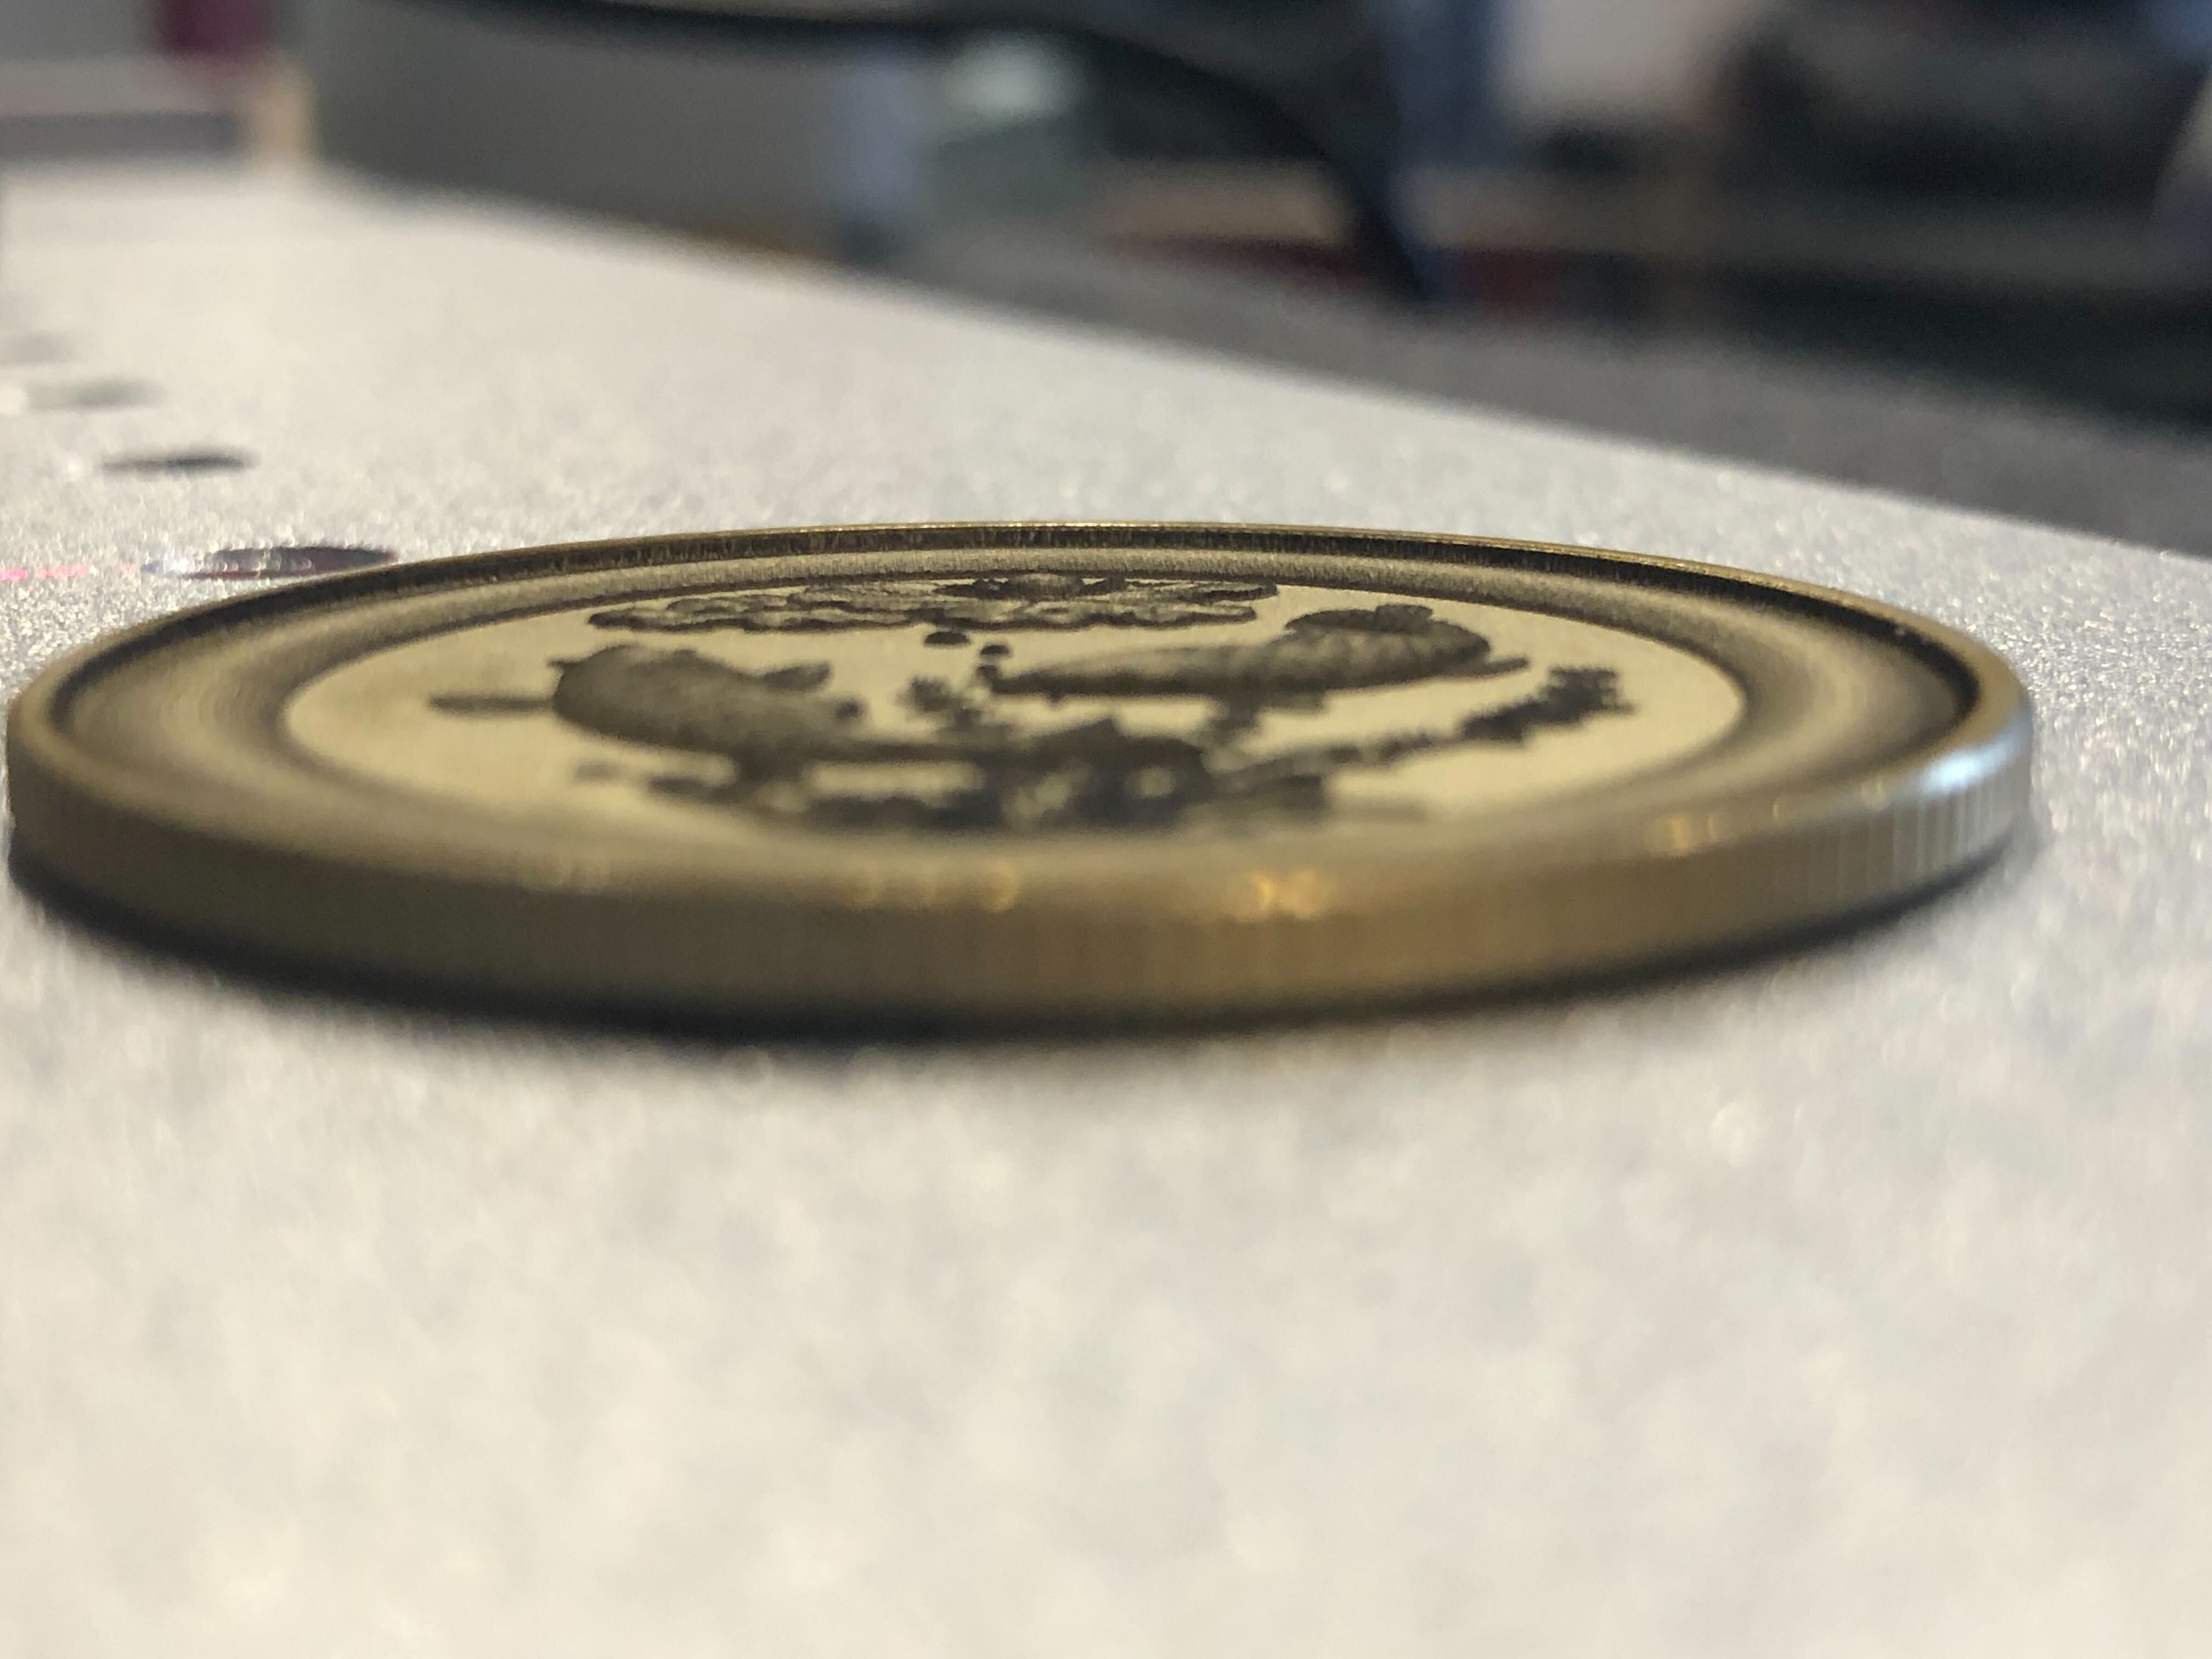
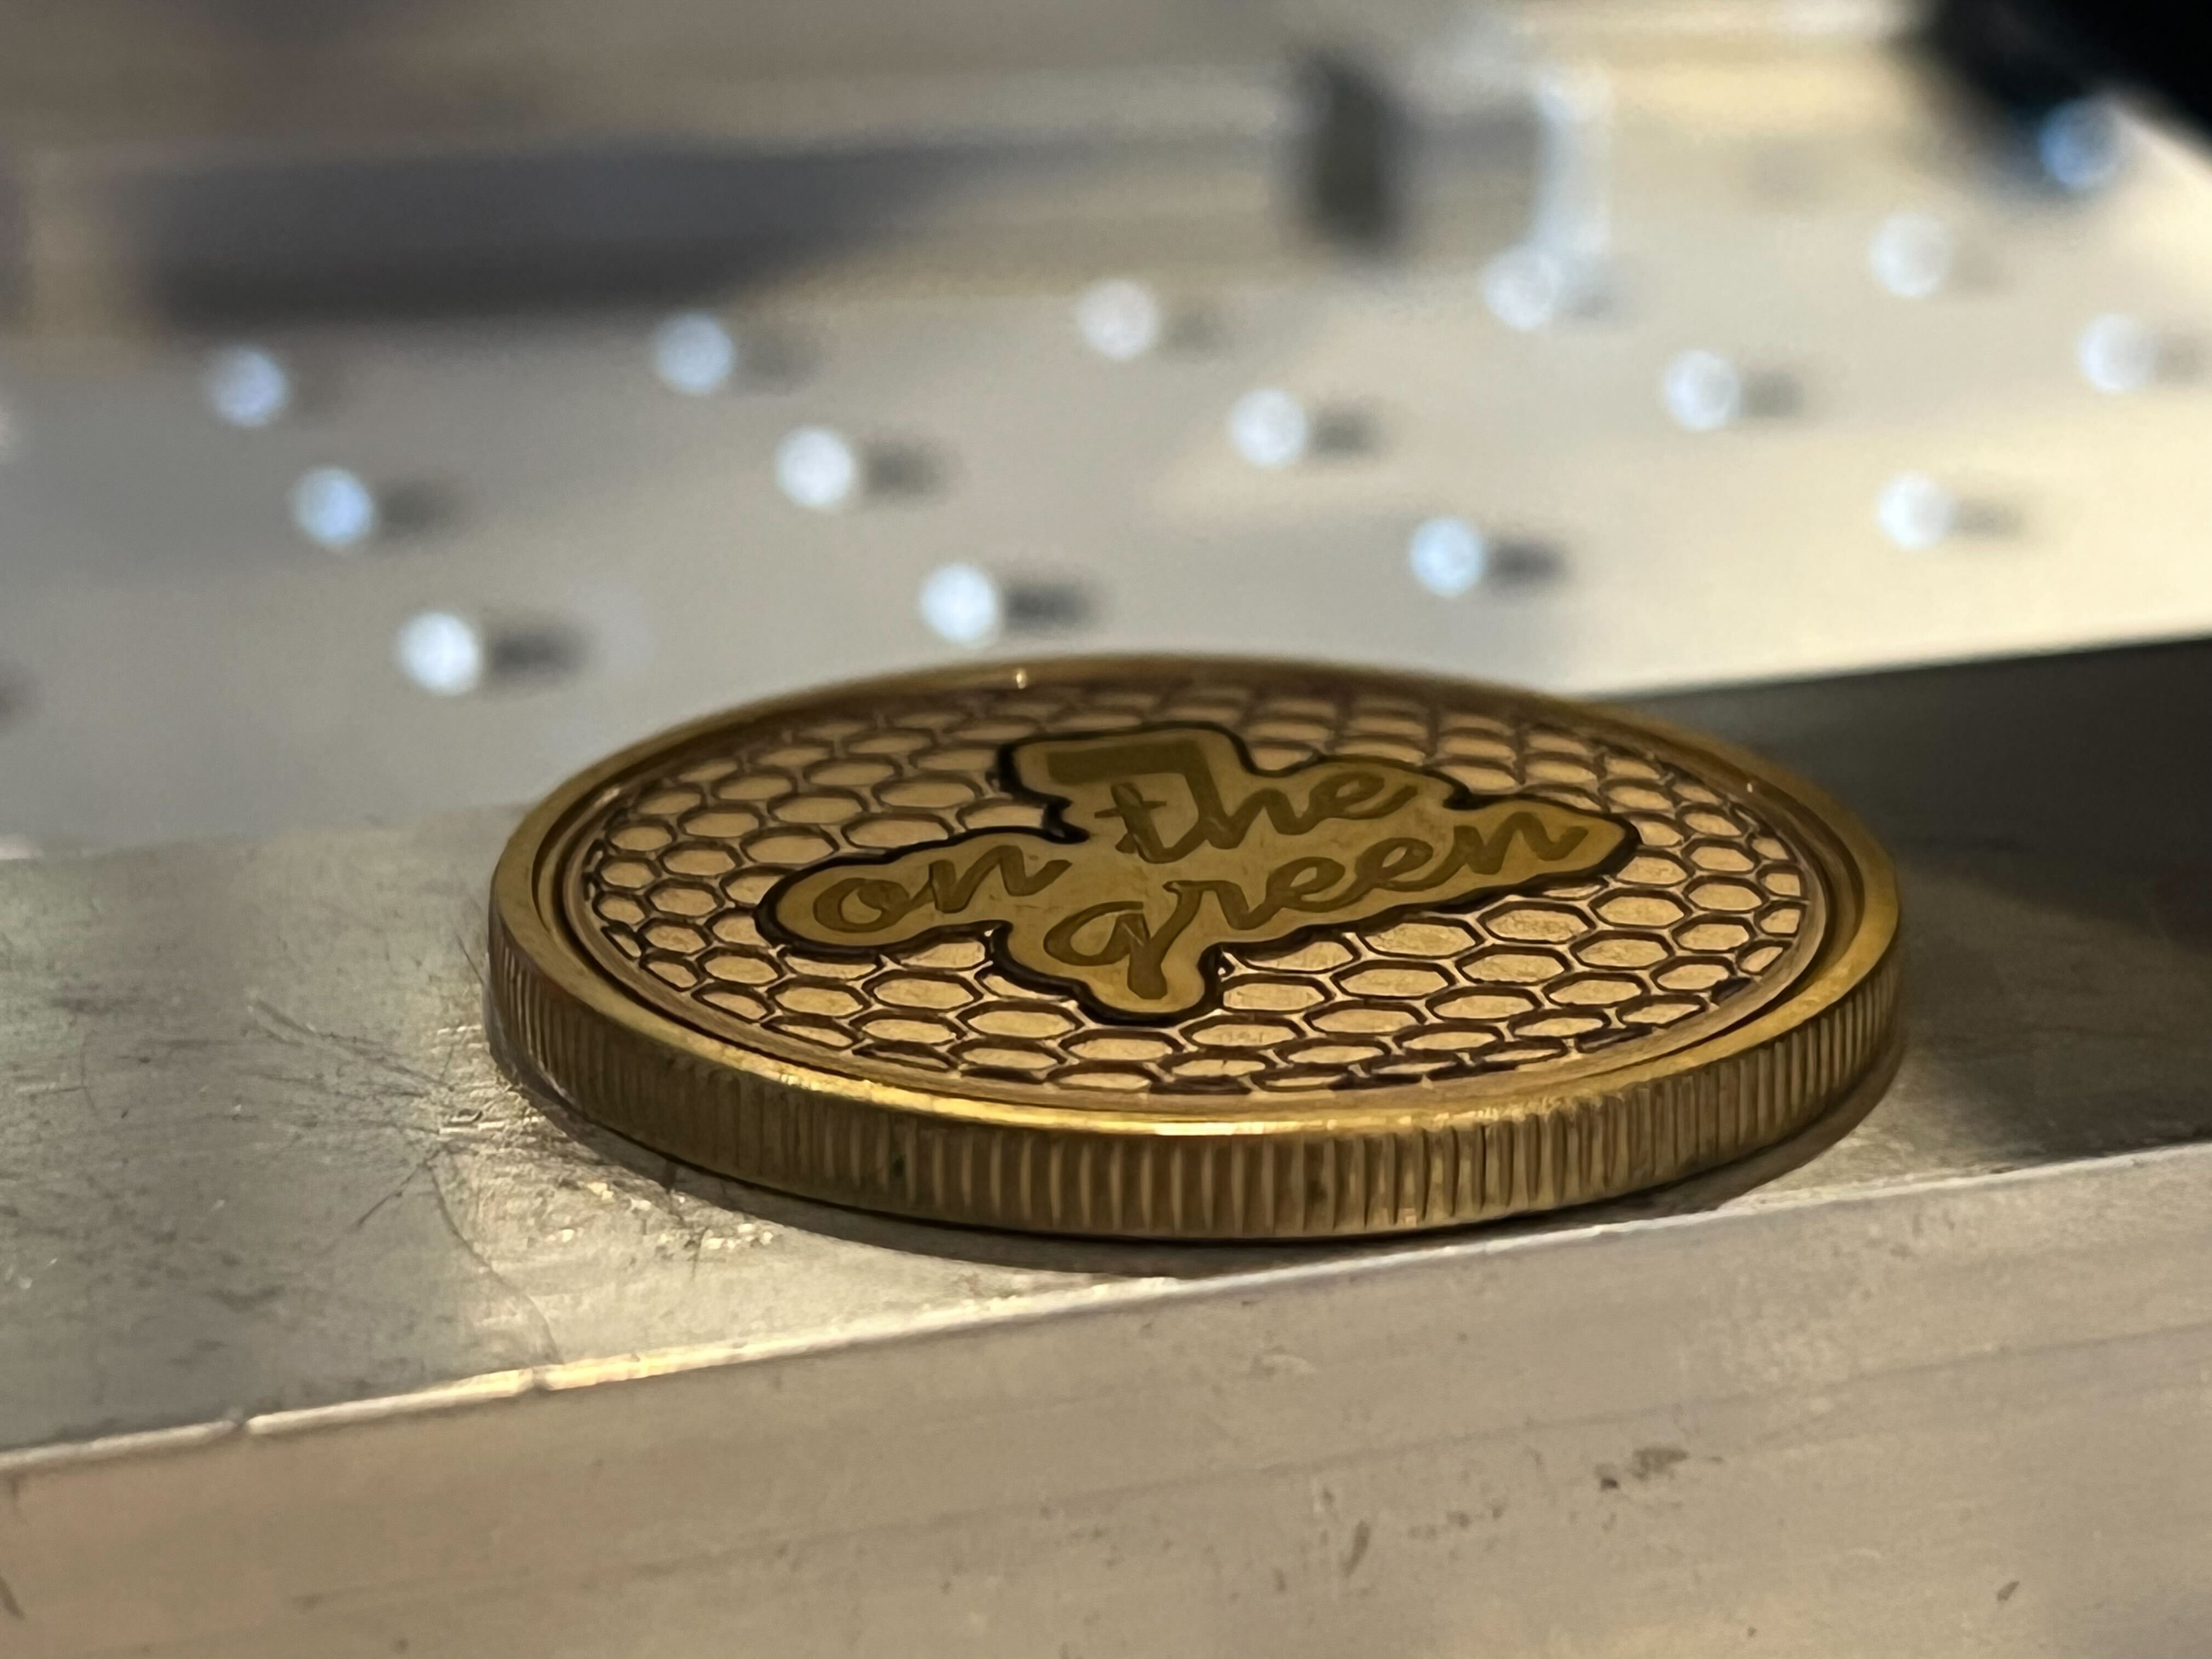
3D Sliced mode uses multiple passes to engrave a design one layer at a time. This mode is intended for use with depth maps – sometimes called height maps – which are specially designed greyscale images in which a pixel's brightness represents depth, rather than shading.
Lighter pixels are engraved with fewer passes than darker pixels, resulting in a deeper engrave in darker areas of the image. Enabling Negative Image inverts brightness, leading to lighter areas engraving deeper than darker areas.
Depth maps can be created by hand, although tools like STL2PNG can generate raster images from STL files to create more complex depth maps. Once a depth map is created, it can be imported to LightBurn like any other image.
Using 3D Sliced Mode
Create a Depth Map
Produce a greyscale depth map image in any tool you choose and import it to LightBurn.
Enable 3D Sliced Mode
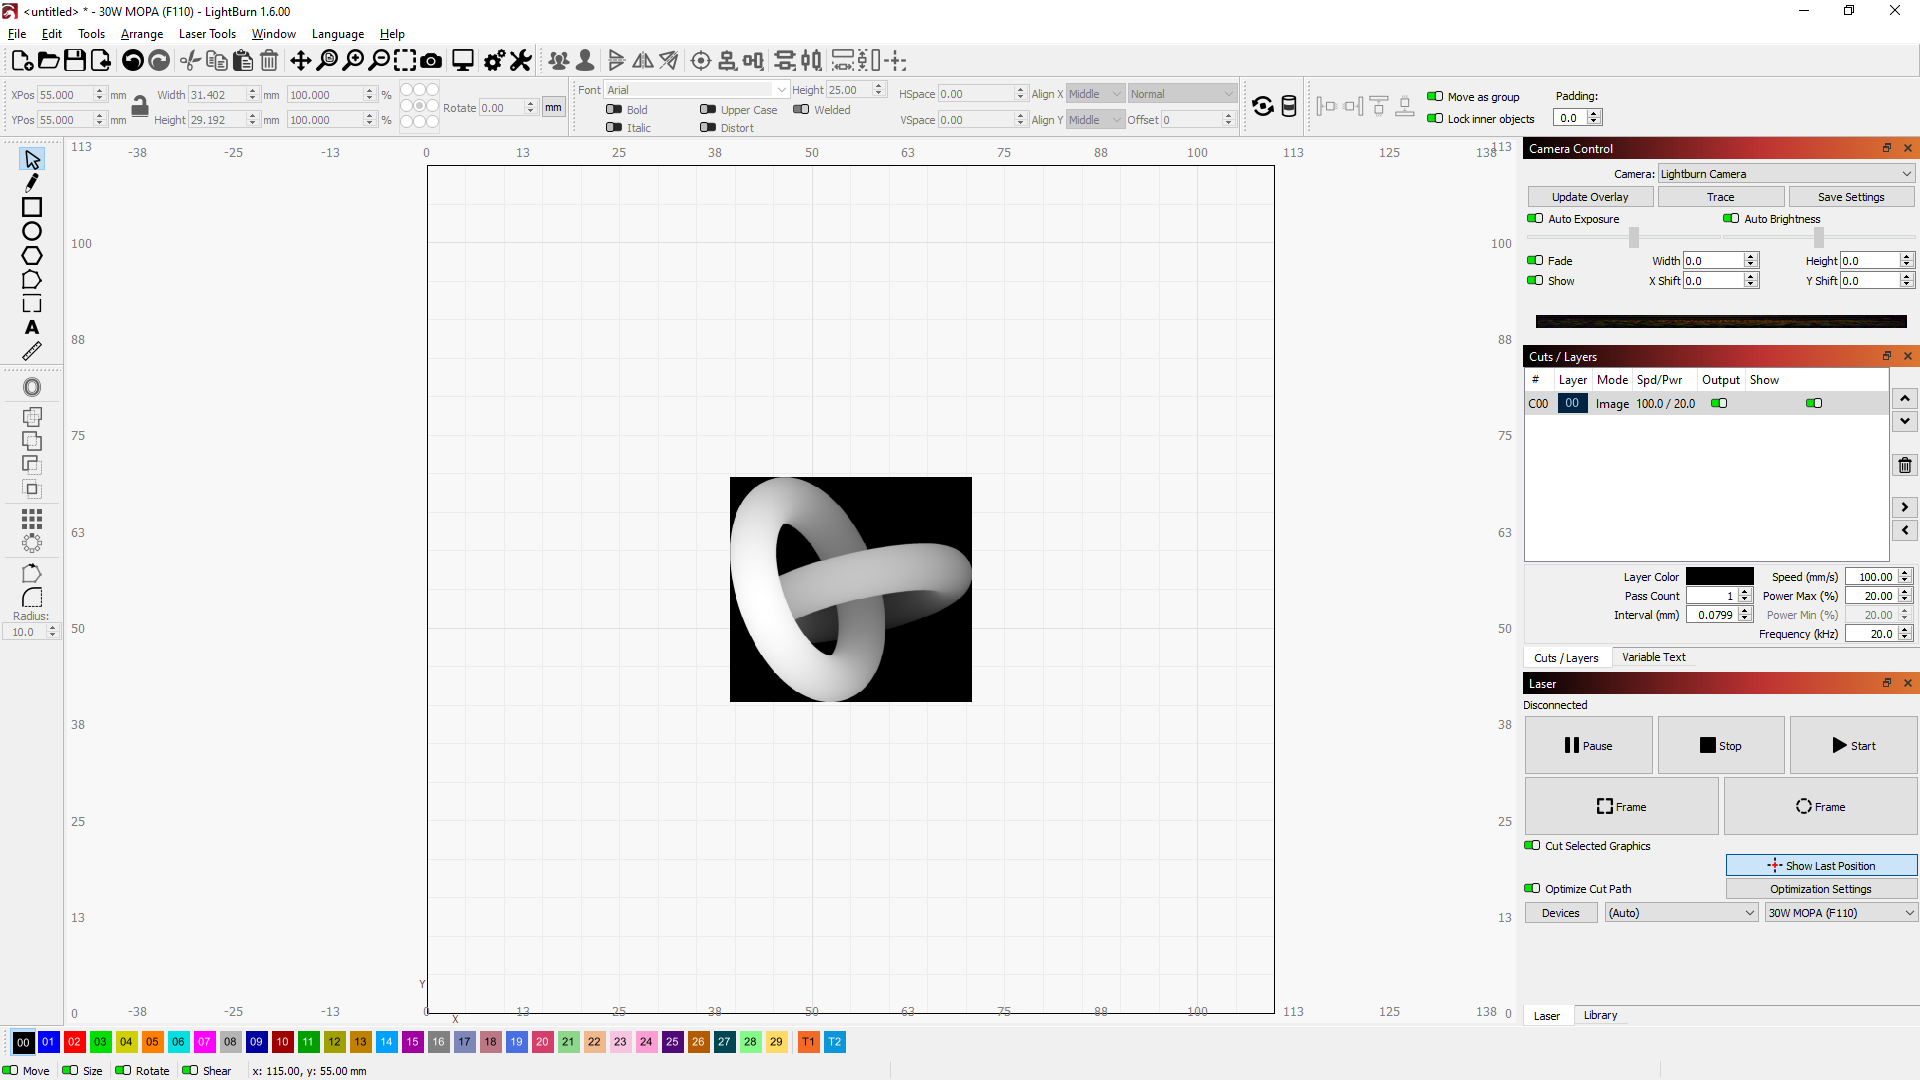
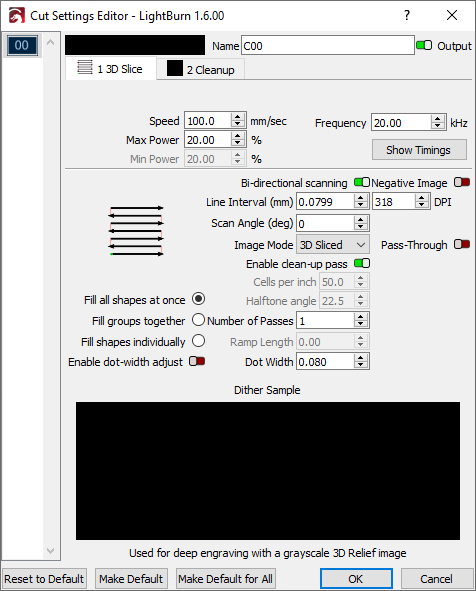
Use the Cut Settings Editor to set the Image Mode to 3D Sliced. This mode is only available when using a Galvo laser.
Adjust Settings
Most settings are shared with the other Image Modes, but there are a few details specific to this mode.
Number of Passes
In 3D Sliced mode, raising the Number of Passes splits the depth map into more layers, increasing the effective resolution of the engraving. The darkest shades in your depth map will be engraved with the full Number of Passes, and all lighter shades will be engraved with progressively fewer passes, down to zero passes for pure white shades.
Using a large Number of Passes may require decreasing power to avoid burning deeper than intended. This has a similar effect to decreasing layer height on a 3D printer.
Note
Larger, more intricate designs may take more time to process, due to the complexity of generating each pass. If you see this dialog, please be patient as your computer may need some time to prepare your design.
Cleanup Passes
Toggling on Enable cleanup pass will automatically add a Cleanup Sub-Layer in the Cut Settings Editor, where you can specify how often automatic cleanup passes should run, and adjust the settings for those passes.
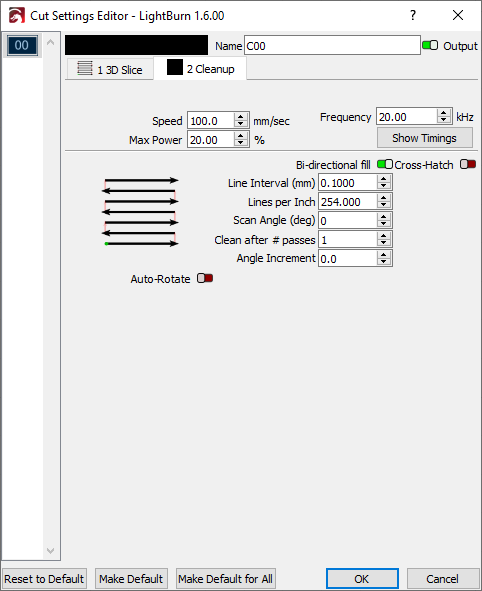
Cleanup passes are typically run with a tighter Line Interval, higher Frequency, and lower Max Power than the main engraving passes, and are used to clear debris and produce a better finish.
Preview and Run
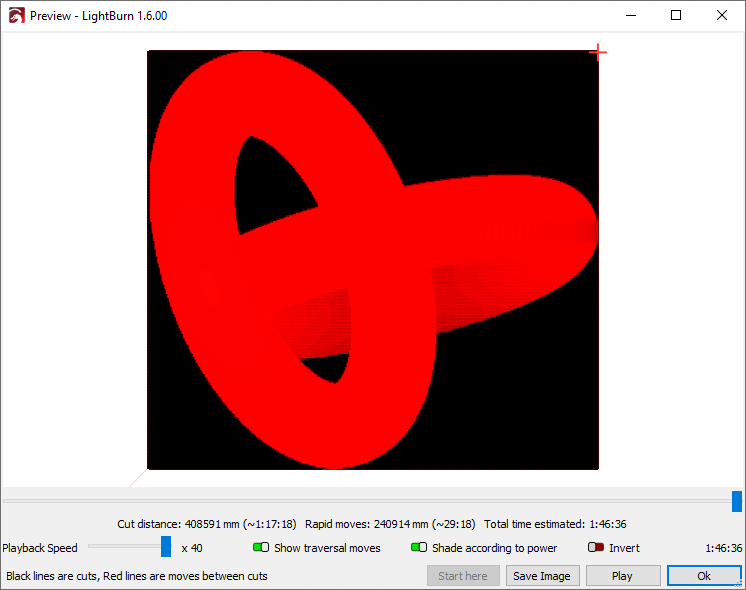
Check the Preview to confirm your design is outputting as you're expecting. If you click the Play button, you should see your design render from the bottom to the top, with black indicating the engraved portion for each layer.
Enable Show traversal moves and check to make sure that the red areas expand with each pass. The red areas are made up of lines indicating movements made while the laser is off, so, as the job progresses, the laser should be passing over increasingly large areas of lighter shading, while continuing to engrave increasingly small darker-shaded areas.
More Examples