Preview Window
The Preview window allows you to preview the path the laser will take and verify your order of operations while getting a rough idea of your final result, while giving an estimated time of how long the job will take.
You can open the Preview window in a few ways:
- Press Alt + P
- Click the preview button on the toolbar — it looks like a TV
- Go to Window → Preview
- Right-click and choose Preview in the context menu
The previewed path is to the path that will be sent to the laser, taking into account and displaying all settings, including:
Path Preview
There are a few ways you can see how the job will run.
Time Slider
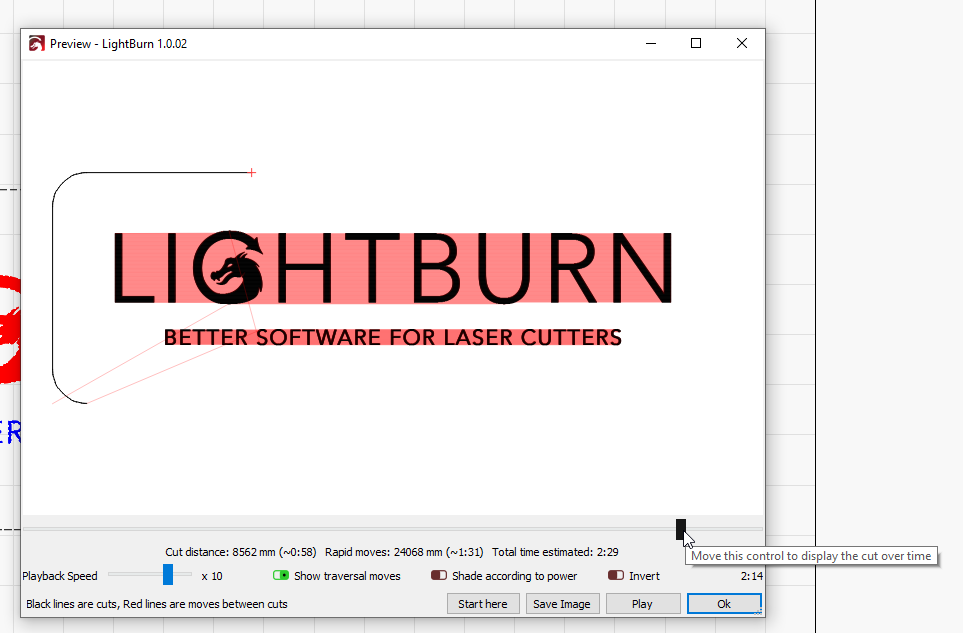
The time slider allows you to quickly slide through the project and understand the cut order and path.
Play Button
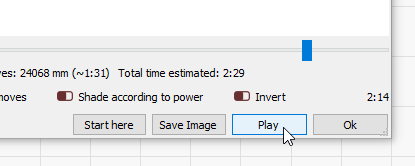
Play allows you to play the project in real time or sped up or slowed down based on the Playback Speed slider.
Job Information
Below the time slider there is information about your project:
- Cut distance — the distance the laser travels while on.
- Rapid moves — the traversal move distance. The distance the laser travels between operations, while off.
- Total time estimated — this is the total time estimated for the job based on the cut speeds and traversal move speeds defined in Additional Settings in Device Settings. If you've changed your acceleration or speed settings, or you find that your preview times are not accurate, you can use the Read From Controller button in this window to update the settings for the preview.

New in v1.3: The preview will automatically simulate the overscan moves used by DSP controllers, giving a more accurate time.
Preview Output
Start Here
The Start Here button allows you to start a program on the laser partway through, from wherever the preview time slider is currently set.
Save Image
Save Image saves out an image file of the current state of the preview window.
Options
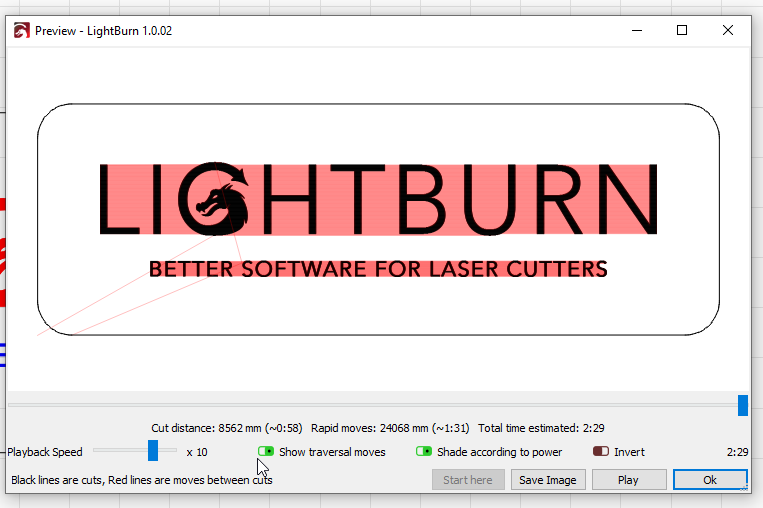
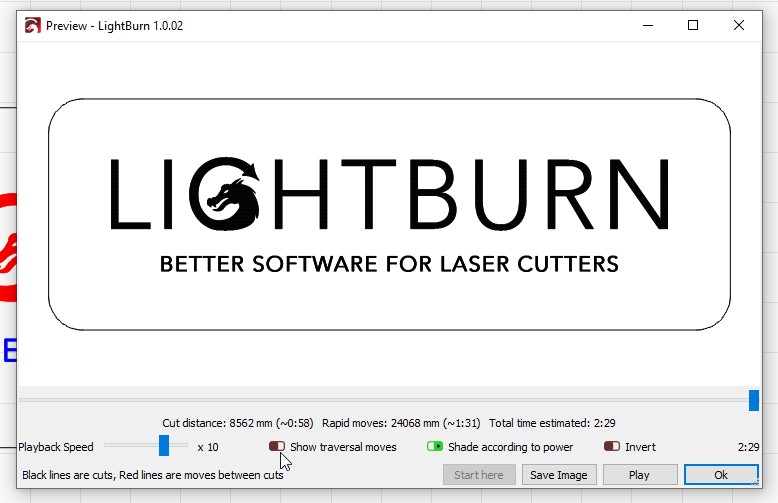
Show Traversal Moves
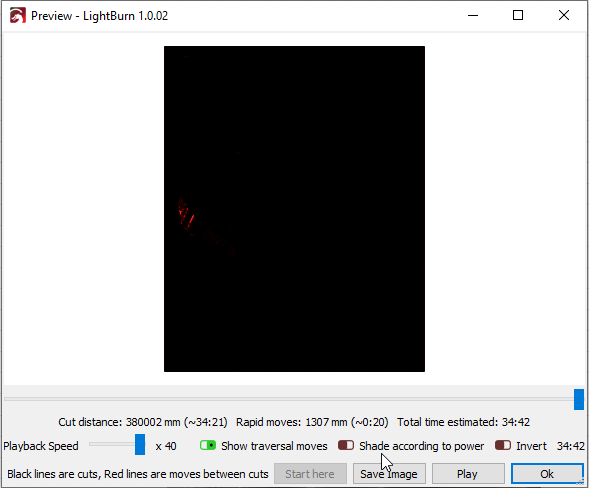
Show traversal moves shows travel (non-laser moves) with red lines when enabled.
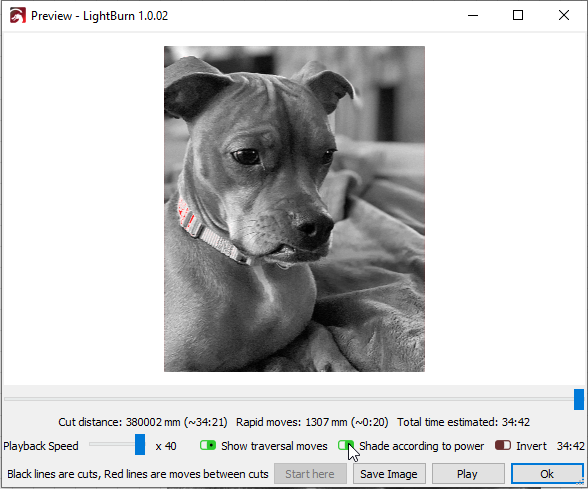
Shade According to Power
The Shade according to power option adjusts the preview to display engraving in lighter and darker shades of gray, corresponding to where power output will be lower or higher.
This option only works with Grayscale with Image mode or Power Scaling with Fill mode.
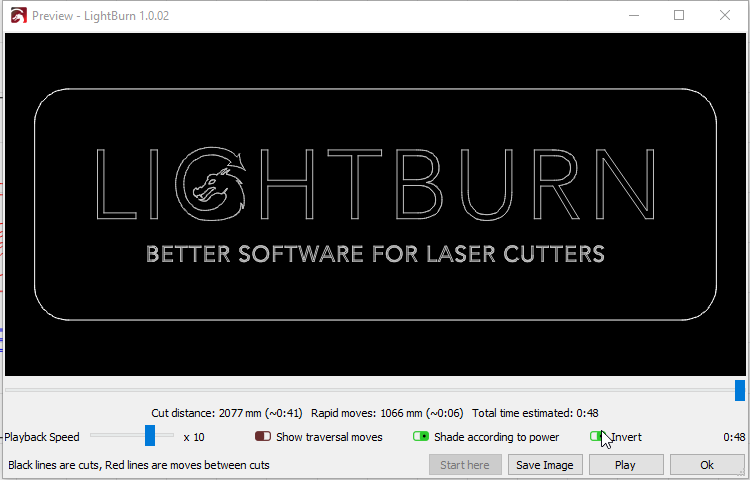
Invert
The Invert button is used to change the preview to make the lasered areas light, and the background dark, so you can see what your output might look like on slate, wood that's been painted black, or any other material where the burned area will be lighter than the original material.
Troubleshooting
If the preview window's estimated time is inaccurate, you may need to update the Simulation Settings as part of your Device Settings.