LightBurn Settings (1.7+)
The Settings window contains global user preferences for LightBurn — these settings apply regardless of what lasers you have set up, and which one you currently have selected. This page describes the Settings window for LightBurn 1.7 or higher. If you're using an older version, go here for more information.
The Settings window is split into five tabs:
Accessing the Settings Window
To open the Settings window, click the gears icon  in the top toolbar, or go to Edit → Settings.
If you're on macOS, go to LightBurn → Preferences instead.
Settings Window
Click any option in the images below to jump directly to the relevant section for that option, or scroll down for an alphabetized list of options and descriptions for each tab.
Click a tab to jump to the relevant section for that tab and the settings it contains.
Editor Settings
Automatically check for updates
Permits (or denies) LightBurn the ability to automatically check for updates, and inform you of them.
Auto-save Interval (minutes)
Sets the frequency of auto-saves, in minutes. Setting the Auto-save Interval to 0 disables auto-saving.
Auto-saves are stored in the same location as you saved the original file, with _backup appended to its name. If you’ve never named a file, the auto-save will be in your computer's Documents folder.
Each auto-save overwrites the previous auto-save, and when you manually save the file, the auto-saved copy is deleted.
Auto-launch files in running copy of LightBurn
When opening projects through your system's file explorer, automatically open any LightBurn project files on your computer within a running copy of LightBurn, rather than opening an additional copy of the program.
Beginner Mode
Enables a simplified version of the LightBurn interface which removes several options that new users are unlikely to use.
Default "Cut Selected" State
Automatically enables Cut Selected Graphics each time you restart LightBurn.
Default "Use Selection Origin" State
Automatically enables Use Selection Origin each time you restart LightBurn.
Ignore out-of-bounds shapes if possible
When Starting or Sending projects to your laser, tells LightBurn not to send graphics positioned outside of the grid in your Workspace.
Graphics that are partially inside and partially outside the grid will be ignored.
Ignore 'Start' button if monitor is off or asleep
Prevents you from accidentally starting the laser by pressing the wrong key when waking the computer. This is particularly useful on lasers that don't have enclosures with safety interlocks, such as most diode and galvo lasers.
Invert mouse wheel zoom direction
Overrides the default scrolling behavior within LightBurn to match preferences for macOS or Windows.
Load default layer settings on new or restart
Cut settings are normally pre-filled with the last settings used for a given layer. If Load default layer settings on new or restart is enabled, any time you open up a new project or restart LightBurn, all settings for all layers will be restored to defaults.
If you've never set up your own defaults, all layers will be restored to LightBurn's universal defaults.
See Working With Default Layer Settings for more information.
Load / Save dialogs
These settings permit you to use non-native system dialogs to perform Save/Open/Import/Export operations with LightBurn.
-
Use internal Load / Save dialogs uses LightBurn's internal code to load and save files.
-
Use external Load / Save dialogs opens a second application to load and save files.
-
Bypass system Load / Save dialogs bypasses your system's Load / Save dialogs.
Try external Load / Save dialogs or Bypass system Load / Save dialogs if LightBurn crashes when when performing Save/Open/Import/Export operations.
Play error sound if file send fails
Produces an audible chime if uploading a file to a DSP controller fails.
Save Cut Selected / Selection Origin to project
Stores the status of the Cut Selected Graphics and Use Selection Origin switches to any project you save.
Save Job Log
Instructs LightBurn to save a log of projects that are run, on what laser profile, and at what time.
It will save a file called LightBurnJobs.csv in your system's Documents folder.
Save Job Origin to Project
Stores your selected Job Origin with any project you save.
Save state of Move / Rotate / Scale switches
Stores the state of the Transform Control Toggles so they persist between restarts of LightBurn.
Text Settings
See Fonts and Text - Font Settings for information on these settings.
Use System Clipboard
Enabling this makes Copy and Paste operations slightly slower, but allows LightBurn to:
- Copy and Paste across different runs of LightBurn, or between two running copies of the app
- Paste images copied from other software or web browsers
- Paste text directly into the Workspace, auto-creating a Text Object
Units and Grids
Click Selection Tolerance (pixels)
Determines how close your cursor must be to a line or vertex, in screen pixels, to click it.
Increase this number if you have trouble selecting things, decrease it if you find yourself selecting things you didn't mean to.
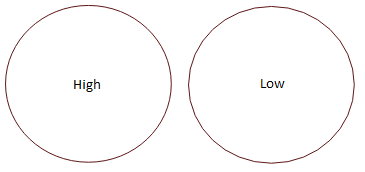
Grid Contrast
Adjust the brightness of the grid in your Workspace, relative to the background.
Grid Contrast Comparison
Grid Snap Distance
Determines how close lines and other primitives must be to a grid line to snap to it.
Object Snap Distance (pixels)
Controls how close, in screen pixels, your cursor has to be to an object node or center to activate the Object Snapping behavior.
Shape Move Increments
When moving objects with the arrow keys in the Workspace, these values control the distance to move the selection.
Assign individual values to movements when pressing:
- The Left, Right, Up, and Down arrow keys
- Ctrl while pressing an arrow key
- Shift while pressing an arrow key
Snapping
LightBurn has two snapping behaviors which can be enabled and disabled here.
Snap to Objects will snap your pointer location to the nearest object center or vertex when creating new objects, or drawing lines, making it easier to connect and align shapes.
Snap to Grid will snap your cursor position to the nearest grid location, as specified by the Grid Snap Distance value. Note that the Grid Snap Distance and the Visual Grid Spacing do not have to be the same.
Hold Ctrl/Cmd while moving an object to toggle the status of the snapping behaviors — if they are currently enabled, they will be temporarily disabled, and if they're disabled, they'll be temporarily enabled.
See Snapping for more information.
Units
Determines the units displayed in LightBurn.
LightBurn internally operates in millimeters, but can display in either millimeters or inches. Speeds can be represented as either units per second or units per minute.
Users with diode lasers will likely prefer the units per minute setting, while CO2 lasers generally express speeds using units per second.
Visual Grid Spacing
Sets the visual spacing of grid lines. Note that this setting is independent of the Grid Snap Distance, which controls how close lines and other primitives must be to a grid line to snap to it.
Display
Cursors / Nodes
Adjusts the size of special cursors used when Snapping, applying radiuses, Bending text, and more, as well as the size of individual nodes when using Edit Nodes.
Adjust the slider to select between Normal, Larger, and Largest.
Node Size Comparison
Curve Quality
Controls the precision LightBurn uses in displaying curves on the screen. All curves are displayed as a series of short lines, but the higher this value is, the shorter those lines will be.
Reduce this value to improve performance if your system is slow.
Curve Quality comparison
Enable Antialiasing (slower, but pretty)
Antialiasing smooths the appearance of lines on your screen. Enabling anti-aliasing will make your design rendering look much nicer, but increases demand on your machine.
If you notice your computer lagging, especially on older computers or when working with very complex designs, try disabling this setting.
Antialiasing comparison
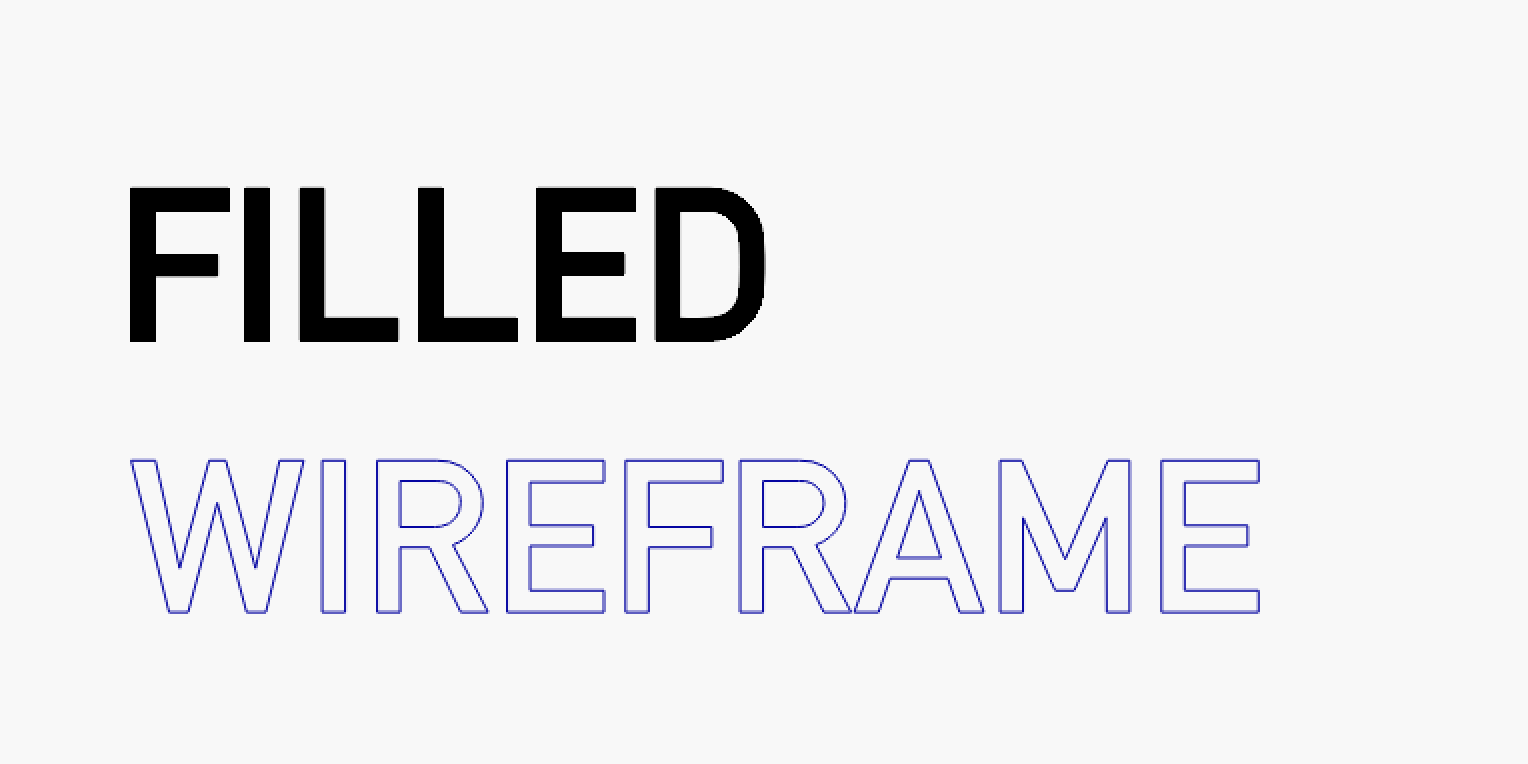
Filled Rendering (slower)
Renders shapes that are assigned to layers set to Fill Mode as solid shapes.
This takes longer than rendering the wire outlines, and it can hide graphics behind Filled shapes that may still be sent to the laser, so we recommend using this only for spot-checking your work, and not for general editing.
See View Style for more information.
Filled vs. Wireframe comparison
Font Size
Increases or decreases the font size for LightBurn window text anywhere in the program. This allows for manual overrides for HiDPI screens, UI scaling, and visually impaired users. Not all UI elements may fit on screen if increased too high.
Adjust the slider to select Default, or a size between 8 and 24.
Warning
Setting this slider too high may result in clipping of UI elements. If you scale font up or down such that you cannot reach the menu items to re-open the Settings window and shrink it, use the method listed here to reset LightBurn.
Reduce Motion (slower)
Instructs LightBurn to try to reduce motion or other flickering effects in the rendering.
If you notice your computer lagging, especially on older computers, or when working with very complex designs, try disabling this setting.
Show cylinder correction enable on main window
Adds a toggle to the Laser window to enable or disable Cylinder Correction mode.
Show full screen line cursor
Draws a moving crosshair, centered on your cursor, that spans the entire edit screen.
Show Palette Button Labels
Shows numbered labels on the Color Palette swatches, making it easier to tell similar colors apart.
Show rotary enable on main window
Adds a toggle to the Laser window to enable or disable Rotary Mode.
Show work area center cross
Draws an immovable crosshair through the center of your Workspace, spanning the entire grid.
Toolbar Icon Size
Changes the scaling of icon elements in the LightBurn UI. This allows for manual overrides for HiDPI screens, UI scaling, and visually impaired users. Not all UI elements may fit on screen if this is increased too high.
Adjust the slider to choose between Smallest, Smaller, Normal, Larger, Large, Very Large, and Largest.
Warning
Setting this slider too high may result in clipping of UI elements. If you scale icons up or down such that you cannot reach the menu items to re-open the Settings window and shrink them, use the method listed here to reset LightBurn.
Use Dark Background
Shows the Workspace using a dark color scheme.
Import / Export
DXF Export Settings
When exporting in DXF format, choose whether to Export Arcs or Convert Arcs to Lines.
When Convert Arcs to Lines is selected, arcs in your LightBurn designs will be exported as a series of small line segements.
DXF Import Settings
Enable Auto-detect units if possible to have LightBurn automatically detect the units used to produce the DXF, if it can.
Select the appropriate unit of measurement for your DXF if the units are not contained in the file, or the DXF may import at an incorrect scale.
Auto-close tolerance (mm) determines how close together imported nodes must be for LightBurn to automatically close them, placing them on a shared path.
Allow importing to Tool layers
Enables importing graphics directly onto Tool Layers in LightBurn.
Group imported shapes
Automatically Groups shapes imported from a single file together, so they don't get scattered in a complex design.
HPGL / PLT Import precision
Determines the precision of files imported from HGPL or PLT format.
Import hidden layers from AI files
Enables importation of layers hidden in the source file, when importing from AI (Adobe Illustrator) files.
Output Settings
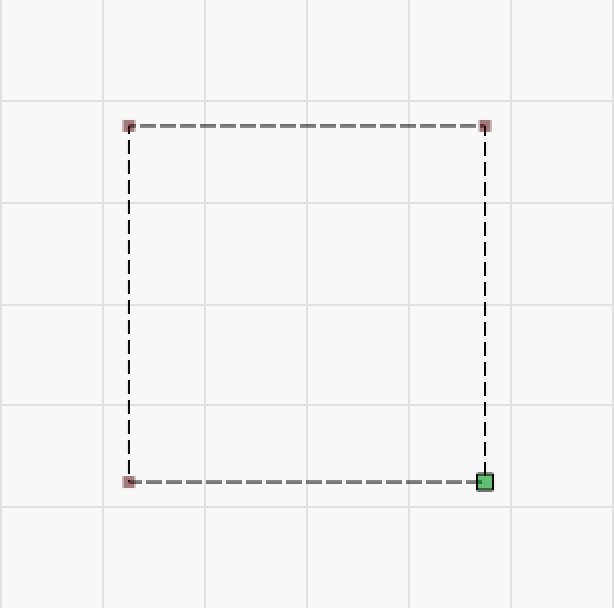
Curve Tolerance specifies the maximum amount of error allowed when projects are output to your laser. The lower the value, the more accurate the curve will be. A value of 0 would be "perfect", but would create very dense data, as some lasers can only process line segments. Most users will be fine leaving this at the default value of 0.05 mm.
Technical Details

In the above image, the blue curve between the two points is the ideal shape. The black line is a straight line between them, and the red line shows the error (how far the line is from the curve). LightBurn measures this error, and if it's equal to or lower than the Curve Tolerance value, it outputs the straight line. If not, the curve is subdivided into two linear segments and the process repeats with each new segment. Those segments are shown below in violet, along with their new error values. You can see that the two new lines do a much better job of approximating the original curve.

Most people will probably never need to change this — the default is 0.05 mm, which is about ½ the width of a typical beam. Note that this is the maximum error value allowed, typical output will be better than this, and this only affects curves, not straight lines or vertices — which are exact.
Select imported shapes
Automatically selects shapes upon importing them.
SVG Import Settings
Select whether to import SVGs at:
- 96 DPI — the default for Inkscape
- 72 DPI — the default for Adobe Illustrator
If your SVGs import at the incorrect scale, try the alternate setting to the one you currently have selected.
Camera
Camera Capture System
Select whether to access the camera using LightBurn's Custom Capture System or a Default Capture System provided by our cross-platform framework.
Select Default Capture System if you are having trouble accessing your camera.
For Windows users only.
Camera Resolution
Choose Highest (the default) for general use. Switch to Efficient (an experimental option) if you are on a resource-constrained system, are worried about USB hub congestion, or experience other camera-related issues.
Camera View
Select whether to show overlay captures from your camera in Full Color or Black and White.
Rotate captures 90 degrees (obsolete, do not use)
This option has been rendered unncessary by changes to LightBurn's camera support. Do not enable it.