Material Library
LightBurn's Material Library provides a way to store, organize, and use preset cut settings for different operations and materials. To add presets to the Material Library, set up a cut layer however you like and save it to a library. You set a material type, thickness (if appropriate), and a short description. Libraries can be saved to shared drives to access your settings from multiple computers.
Presets can be applied to a layer by selecting the library entry and assigning or linking it to the layer.
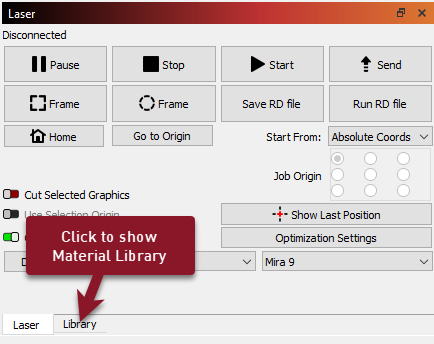
Accessing the Material Libary
To get started, make sure you can see the Library window. In the default layout, it's behind the Laser window, so you may have to click to show it. If you don't see it there, make sure the Library Window is turned on by going to Window → Library.
Create New Material Library Presets
Material Library presets are created by copying settings from existing cut layers.
- Select one of your cut layers, then click the Create new from Layer button in the Library window.
- Fill out the detail sheet with the Material Name, Thickness (if relevant), Title (if relevant), and Description
- Now you can use the new entry anytime in the future by assigning it to a new cut layer.
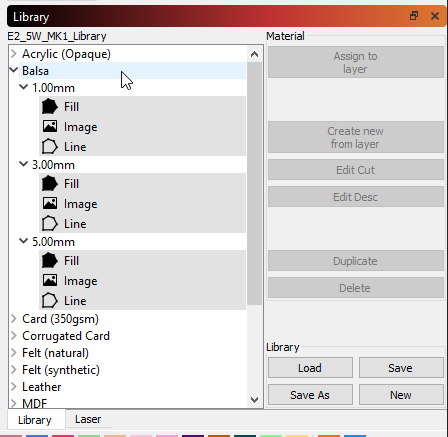
Material Library Details
| Name | Description |
|---|---|
| Material Name | The name of the material this applies to. Presets are grouped by material. |
| Thickness | The thickness of the material. Use No Thickness for surface operations like engraving or scoring that don't depend on the material thickness. |
| Title | Only available when No Thickness is selected. Used to describe the general category of preset, such as "engrave" or "score" and group presets in a similar way to grouping by thickness. |
| Description | Describe the preset. |
Use Material Library Presets
Presets are used by assigning or linking them to a cut layer in your project. To assign or link a preset to a cut layer:
- Select a layer you want to assign the preset to, or an object on that layer.
- In the Material Library, select to preset you want to apply to the cut layer.
- Click either Assign or Link.
Note
If your current selected layer has Sub-Layers in any capacity, using Create new from layer will assign all Sub-Layer details to that object, and render with Multi in the Cut Settings Editor.
Assign
Assigning a Material Library preset to a layer is equivalent to manually copying cut settings written in a notebook into the layer settings. You can modify the layer's cut settings without affecting the saved preset, and you can modify the saved preset without affecting the layer. This is often useful as a starting point for creating new presets, or using an existing preset with minor modifications.
Link
Linking a Material Library preset to a layer will make a connection between the library and the layer. Modifying a preset will also update the layer's cut settings, and you will be unable to modify the layer's cut settings in the Cut Settings Editor unless you unlink the layer. This is often useful for files that you will be running again in the future, so that future improvements to your custom presets will be automatically applied in your project.
Managing Material Libraries
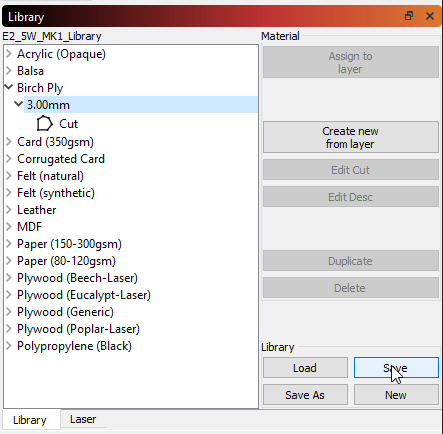
Modify Existing Presets
Existing Material Library presets can be managed by selecting the preset's description and using the buttons on the right side of the Library window.

Edit Cut
Click Edit Cut to open the Cut Settings Editor. This allows you to change any of the cut settings as you would normally and saves them back to the library.
Edit Description
Click Edit Description to modify the Name, Thickness and Description for the highlighted entry.
Duplicate
Click Duplicate to create a copy of the highlighted entry. This can be helpful in quickly adding to your library.
Tip
Combined with Edit Description and Edit Cut you can keep the same Material Name and Thickness to create nested entries (e.g. 3 mm cut, scan, and image). Keeping just the Name while changing the Thickness allows nesting of different thicknesses of the same material.
Delete
Click Delete to remove a single cut setting entry from the library.
Save a Library
As you fill out the Library with your favorite materials, it is always a good idea to periodically save your additions. To do this, click the Save button.
Duplicate a Library
Click Save As to create a complete copy of your active library and saves it under a new name of your choice.
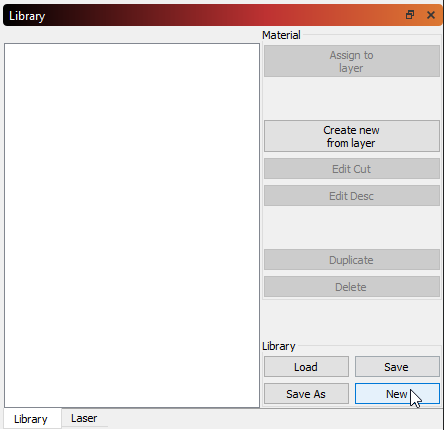
New Library
Depending on your workflow, you may want to have multiple libraries to work from. You can start a new Material Library at any time by clicking the New button in the lower-right corner of the Library window. This will open a new, blank library ready to fill out and save.
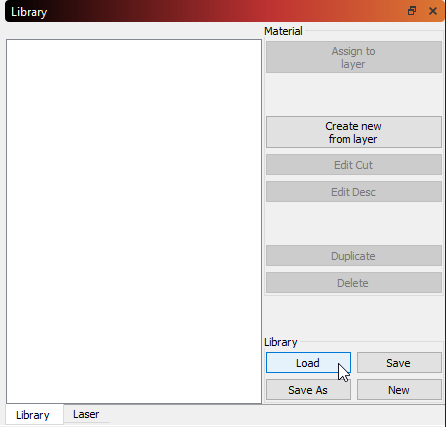
Load a Library
Selecting Load provides access to your previously saved Material Libraries. Clicking on it will open a dialog allowing you to select and open a saved Material Library. Your chosen file will then become the active library for use.
Merge Libraries (LightBurn 1.5+)
Starting with LightBurn 1.5, the Merge button allows you to select a Material Library file saved on your computer to merge with your currently active library.
Advanced Usage
Multiple Lasers
If you have multiple lasers, it's typically best to create a Material Library for each laser. When you save a library, it is linked to the currently active device. In the future, when you select that device, the library associated with it will load automatically. When you change material libraries, LightBurn will check any Linked layers against the newly loaded Material Library. If there's a matching preset in the new library, LightBurn will automatically transfer the link over to the new library and update the layer's cut settings.
Multiple Computers
Multiple computers can access a single Material Library file hosted on a network drive or from cloud service storage (e.g. Dropbox, Google Drive, iCloud, OneDrive, etc.). To open up a shared Material Library on a different computer, use the Load button in the Library window.
Please note that if you have multiple computers pointing to the same Material Library file, updates made from one computer won't show on the other computer(s) until LightBurn is restarted or the library is reloaded with the Load button.