EZCad Wireshark Data Capture
Support for EZCad-based galvo lasers in LightBurn was created by reverse-engineering the communications protocol through a process of inspecting captures of the data passing between the EZCad software and the laser itself.
This means that we require data captures for nearly every type of different EZCad support laser source type to ensure that we correctly configure the controller board. For the more uncommong laser source types that we aren't currently able to confirm working, you may see a message like below when trying to import your old EZCad config:
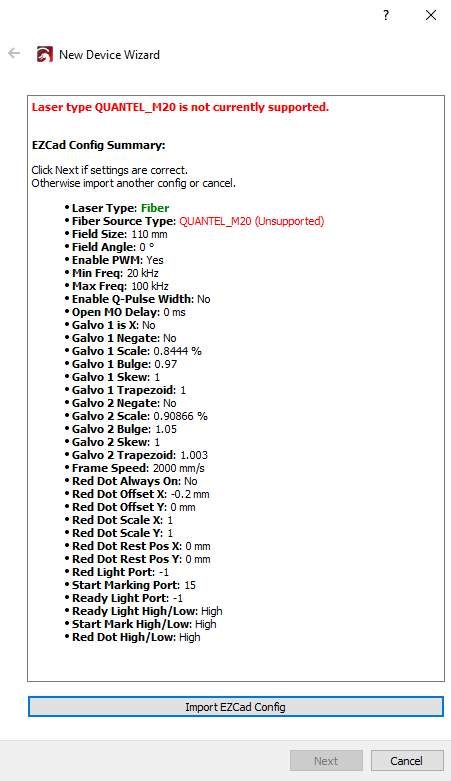
If this happens, the best way to help us enable support for that specific laser type is to provide us with a data capture. This document will detail how to go about getting that capture.
Prerequisites
You will require the following before proceeding:
- A computer running Windows 7, 10, or 11 (since EZCad only supports Windows)
- An EZCad 2 or Lite based galvo laser
- The original EZCad driver installed. If you have already switched to the LightBurn provided driver, please restore the original.
- The appropriate version of the EZCad software for your laser (whatever was provided with it from the manufacturer).
- Wireshark, which will be used to capture the USB traffic data. Please see the Wireshark download page to download the version appropriate for your system. We recommend the standard 64-bit installer at the top of the list.
Install Wireshark
Run the downloaded Wireshark installer.
In general you can simply continue to click next through the installer options, however once you get to this page titled "Packet Capture" please pay extra attention and follow the instructions below:
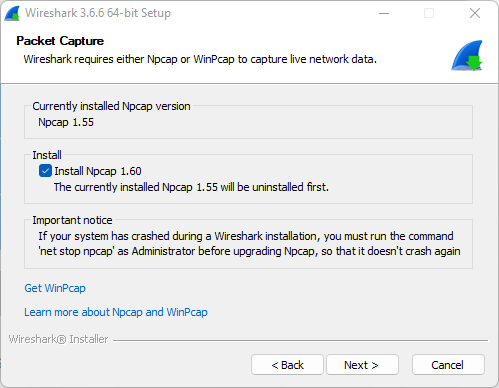
For the page above, you can safely uncheck "Install Npcap" if you would prefer as we will not be capturing network traffic. However, for the next page (shown below) you absolutely must ensure that "Install USBPcap" is selected. This will be required for the next steps.
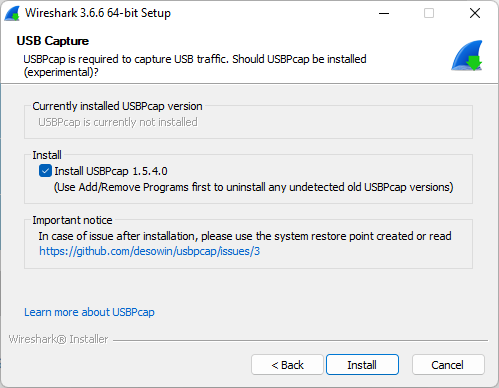
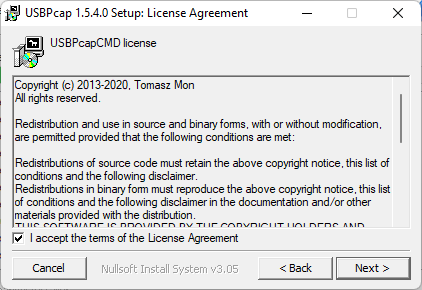
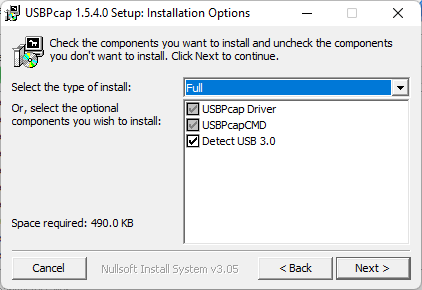
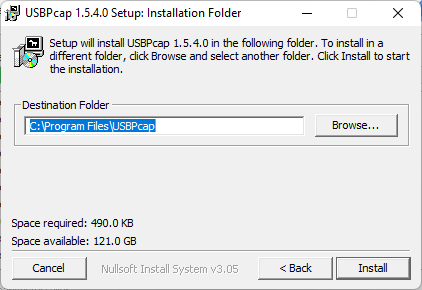
After this page, click next and the install will begin. After a little time, it will pop up with the USBPcap install. Proceed through the installer pages, accepting the licenses and make sure everything appears as below:
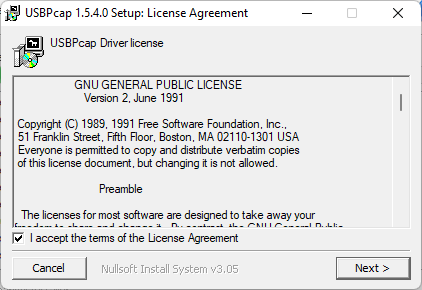
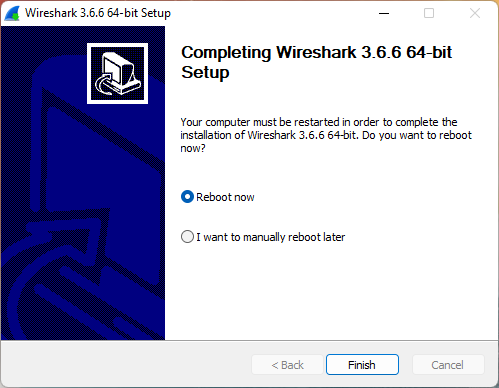
After the USBPcap installer completes, the Wireshark install should be done and it will ask you to reboot. DO NOT skip rebooting your computer. It will not work unless you do.
Starting Wireshark
Make sure your EZCad laser is already turned on, connected to your computer, and is the only EZCad device connected to that computer. Ideally, you should disconnect any USB device not absolutely required at this time as it will make the next steps easier. Also, if you can connect your laser directly to a USB port on your computer that will simplify things.
Next, do not just directly open WireShark. Find the entry for the program in your start menu, right click on it, and choose "Run as administrator"
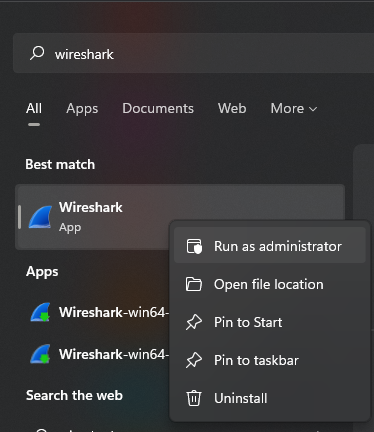
Windows will prompt you confirming "Do you want to allow this app to make changes to your device?"
Click "Yes" to continue.
Running Wireshark as administrator will simplify the process moving forward, so this is very important.
Setting up the USB Data Capture
After opening Wireshark, you should see a window like what's shown below. Note the USBPcap devicee entries listed at the bottom. You may only have one and you may have more than the two shown here. But don't worry, it's not hard to find the correct one.
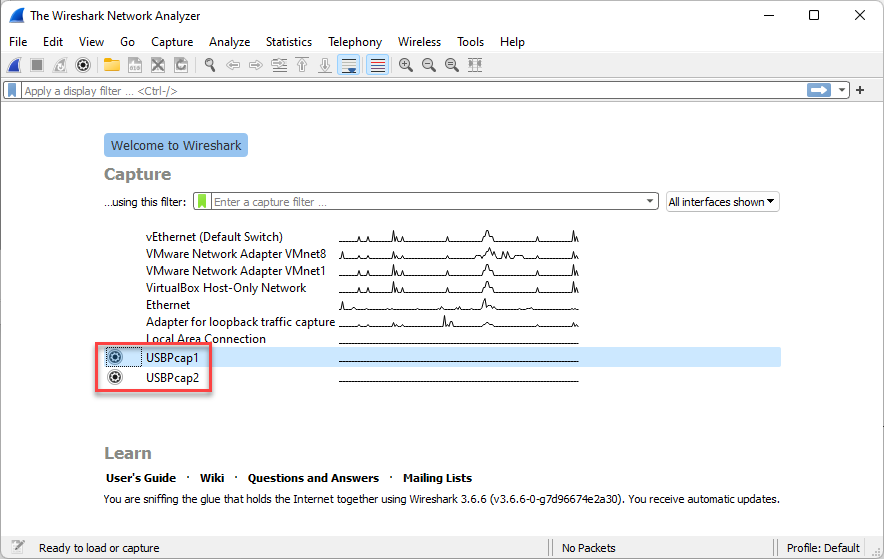
Start by clicking on the gear icon to the left of the first USBPcap entry and you will see a window like the one below.
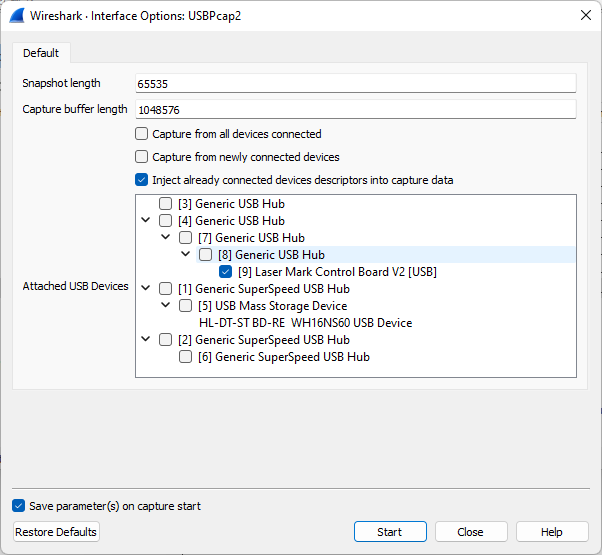
In the "Attached USB Devices" section, click on all of the arrows in the USB tree to expand them until you cannot expand any more. Hopefully one of the entries will be your EZCad laser, named something like "Laser Mark Control Board V2" as shown.
If you do not find the correct device, close that window and go to the next USBPcap entry in the list on the main page and repeat above.
Once you have found that device, click the check box next to it to enable it. Also, make sure to uncheck "Capture from all devices connected" and "Capture from newly connected devices". Do not change anything else on this page. Once you have ensured that your EZCad device is checked and the rest of the page looks like what is shown above, click the Start button at the bottom.
Windows will likely ask if you would like to allow USBPcap to make changes to this device. Click yes to continue. You should now see lines of data capture scrolling past in the upper section of the Wireshark window.
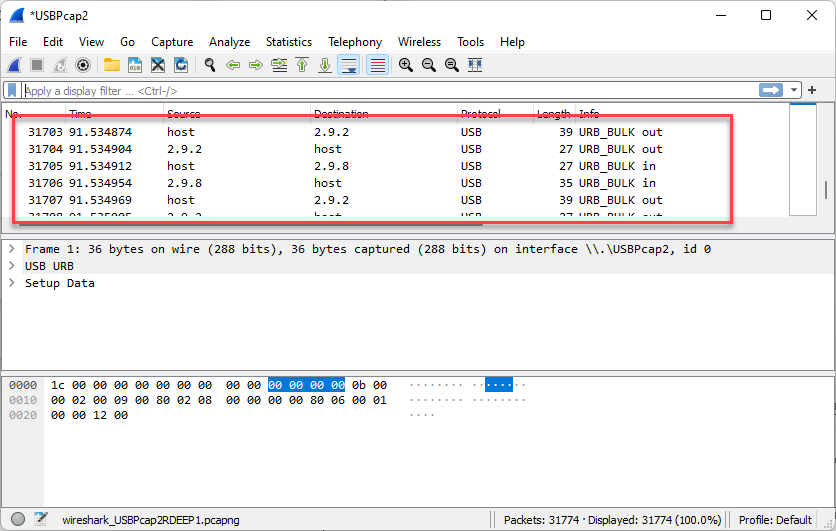
At this point, you can actually click the stop bottom in the top left of the window.
Capturing EZCad data
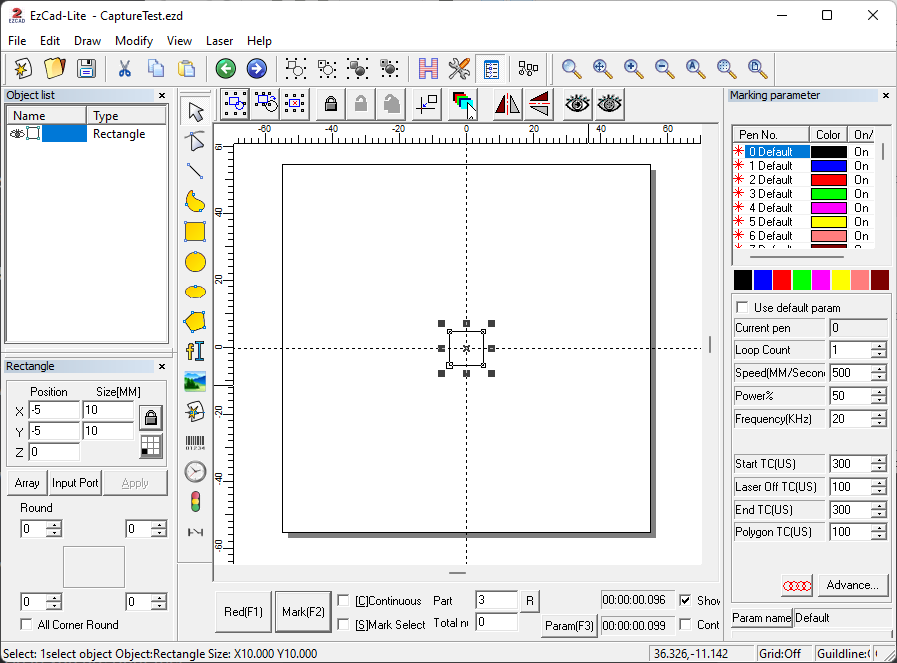
First, download CaptureTest.ezd to your computer and open it in EZCad. Do not change any cut parameters.
Ensure your laser is ready to engrave. We recommend just placing any piece of scrap metal on your base to protect it. Focus and positioning to not matter as we only care about the data.
Read through the following steps careful before doing them. You want to ensure that you do exactly everything described below, in the listed order.
Step 1: Press F3 to bring up the EZCad "Param" dialog. This is done because it will prevent EZCad from sending continuous status request data to the device and will make the data capture smaller.
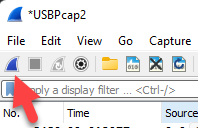
Step 2: Start the capture in WireShark by clicking the top-left blue shark fin button.
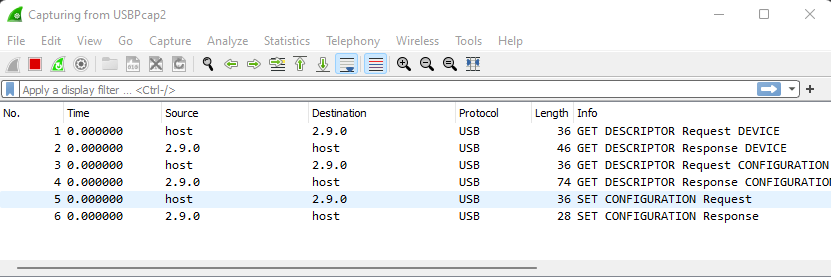
It will likely ask if you want to save the previously captured packets. Click on "Continue without Saving". You should see just a few data packets show up in the window, this is expected.
Step 3: Click back on the EZCad params window. Click OK at the bottom, then immediately press F2, followed by F3 as soon as the marking is done. F2 will cause the square in the test file to be marked, and F3 will bring up the params dialog again, preventing any further data packets.
Note: It is very important that you click OK and not Cancel on the Params dialog as this will cause important data we require to be sent to the laser and therefore be included in the data capture.
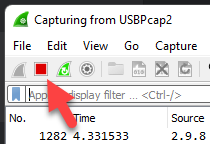
Step 4: In wireshark click on the capture stop button again:
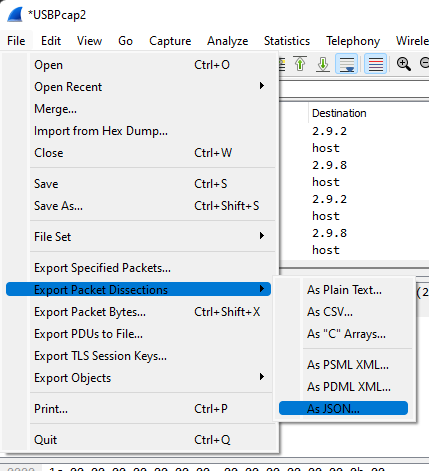
Step 5: In the Wireshark menu go to File > Export Packet Dissections > As JSON...
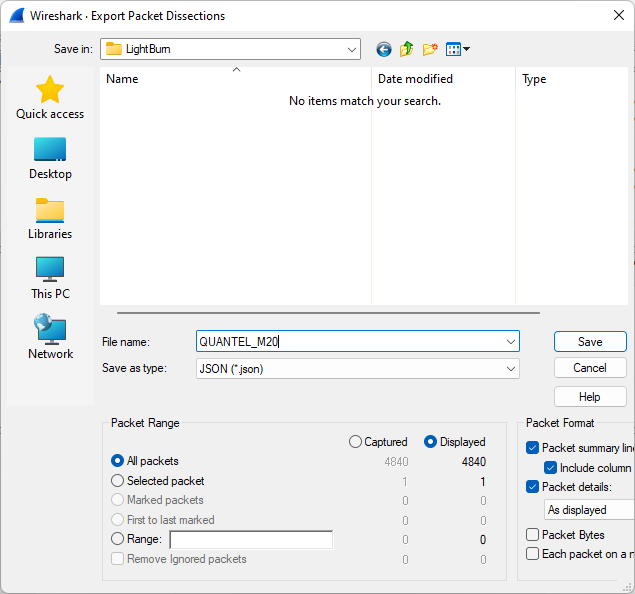
Save the file to a location you will remember with a descriptive name.
That's it! You have successfully captured EZCad data!
Send the capture data to LightBurn
At this point the only thing left is to get that capture data to us. Either provide the file to LightBurn through whatever existing communication method you have been using or email the file to [email protected]
Our crack team of developers will decode the data you have provided and and do their best to provide support for that laser source type in LightBurn.
If further data captures are required the LightBurn team will contact you with instructions. Although, the data capture process should be roughly the same each time. The only difference will be what file they want you to run or what other EZCad commands they want you to trigger during the capture.