Troubleshooting: Setting Up CNC-Based Lasers
Some of our users have set up CNC routers - particularly the inexpensive and widely available 3018 machines - as lasers. Although these are GRBL devices similar to most diode lasers, they are pre-configured for use as CNC machines and you will need to modify settings to account for several important differences.
To see your device's current settings, type $$ into the Console Window and press Enter, or go to Edit → Machine Settings. Both show the same values, but the Machine Settings view may be a little easier to use.
Although we can't account for every possible variation in machines, you will most likely need to do the following:
Use GRBL Device Profile
What To Do
When you add your machine to LightBurn, make sure you select the GRBL device profile, not GRBL-M3. If you've already added your machine, click the Devices button in the Laser Window, select your machine, and click the Edit button to check the device profile and reassign it if needed.
Explanation
Machines set up with the GRBL-M3 profile don't support Variable Power mode.
Enable Laser Mode
What To Do
Type $32=1 into the Console Window and press Enter or set Laser mode enable ($32) to True in Machine Settings.
Explanation
Laser Mode will do three things:
- Remove the pause when power output changes, since there's no need to wait for a rotating spindle to speed up or slow down
- Set the power output to 0 to turn off the laser when moving between cuts
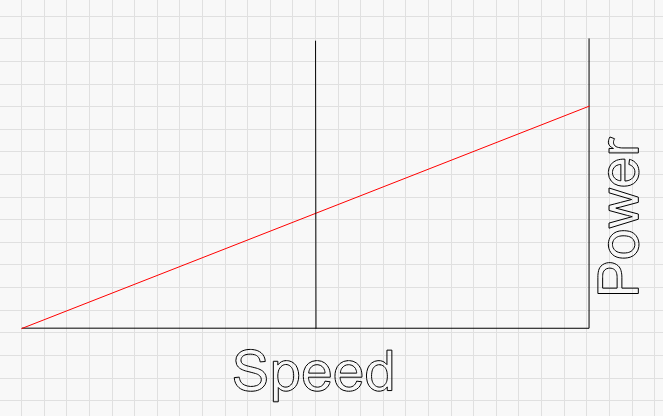
- Enable Variable Power mode to adjust the laser's power output from 0% when the laser is stopped, to 100% of the power output you've set, once the laser reaches the full speed you've requested the job run at.
Change Status Reporting Mode
What To Do
Type $10=0 in to the Console Window and press Enter or set Status: Position reporting ($10) to Workspace Position in the dropdown menu.
Explanation
GRBL-based CNC routers typically have their origin in the rear right corner and use a negative coordinate system, while GRBL-based lasers typically have their origin in the front left corner. This is specific to using a machine intended as a CNC router as a laser, and is typically not needed for other lasers.
Set Max Speed
What To Do
Increase the maximum speed settings to account for the higher speeds needed for a laser compared to a CNC router.
Find your machine's steps/mm values:
In the console, type $100 and press Enter to find the X steps/mm value, and repeat the process with $101 for Y. If you prefer to use the Machine Settings window, look in Outputs setup for X Steps per mm ($100) and Y Steps per mm ($101). These values will typically be the same.
Set your max speed based on steps/mm
Check the table below for the recommended max speed:
| Steps/mm Value | Recommended Max Speed |
|---|---|
| 800 | 2250 |
| 1600 | 1125 |
Set the max speed for the X axis by typing $110=SPEED (with SPEED replaced by the actual number) and pressing Enter. Repeat with $111 for the Y axis.
If you prefer to use the Machine Settings window, look for X Max rate (mm/min) ($110) and Y Max rate (mm/min) ($111) and set the appropriate speeds there.
Explanation
Most 3018 and similar CNC routers have their maximum speed set to about 500 mm/minute (8.3 mm/second), which is really slow for a laser.
Torque is more important than speed for a CNC routers, so these machines typically have their motor stepping rates set very high (either 800 or 1600 steps/mm). An 8-bit GRBL controller will only output about 30,000 steps per second, so you're limited to a maximum of 2250 mm/minute (37.5 mm/second) or 1125 mm/minute (18.75 mm/second).
With variable power mode enabled, if you ask the controller to go faster than it's allowed to go, it will reduce the output power to compensate. If you ask for 100% power at 50 mm/second, but the controller can only go 25 mm/second, the laser will only move at half the speed you asked for. Without variable power mode, the power will remain at 100%, resulting in a much darker mark than expected. With variable power mode, the power will be reduced to 50% to match the reduced speed.
More information about configuring GRBL can be found at the GRBL documentation.
Enable Overscanning
What To Do
Enable overscanning in the Cut Settings Editor for Fill or Image layers.
If your machine accelerates slowly, you may need to set the overscanning value significantly higher than the default.
Explanation
The Overscanning setting prevents engravings from appearing darker at the edges and lighter in the middle as a result of the laser slowing down to change directions.
With Overscanning disabled, the laser slows down and changes directions while within the bounds of the engraving. The reduced speed near the edges make the engraving darker. With Overscanning enabled, LightBurn runs the tool head a bit past the boundaries of the engraving with the laser off to change directions.
Homing
What To Do
Homing your machine allows you to identify a consistent, repeatable starting point.
If your device has limit switches to enable automatic homing, you can use the Home button in the Laser Window combined with a workspace offset for automated and repeatable positioning. The linked directions include information on saving the offset command to a macro button.
Unfortunately, the 3018 and other similar machines typically don't come with homing switches, so the zero point is reset to the head's current location every time you turn it on. To set the zero point properly, do one of the following:
- Make sure the head is in the front left corner before turning on the machine
- Jog the head over to the front left corner with the arrow buttons in the Move window, type
G92 X0 Y0into the console window, and press Enter
Either way, don't forget to make sure your machine is set to Workspace Position mode
Explanation
The G92 X0 Y0 command tells the machine's controller "Your current location is X=0 Y=0".
Workspace Position mode tells the controller to report its position relative to the origin you've set, not the machine's zero position. With this set, you can use the machine in Absolute Coords mode, which is recommended. This and other Start From modes are described in Coordinates and Job Origin.