CorelDraw Macro Setup
For CorelDRAW users, we have a macro available to simplify and speed up the process of sending work to LightBurn. Whether or not you have the macro installed, you can still export your work as an AI or SVG file and import into LightBurn. The macro only works on Windows computers.
Installation
- Make sure LightBurn and CorelDRAW are both installed.
- Open the LightBurn install folder, typically located at
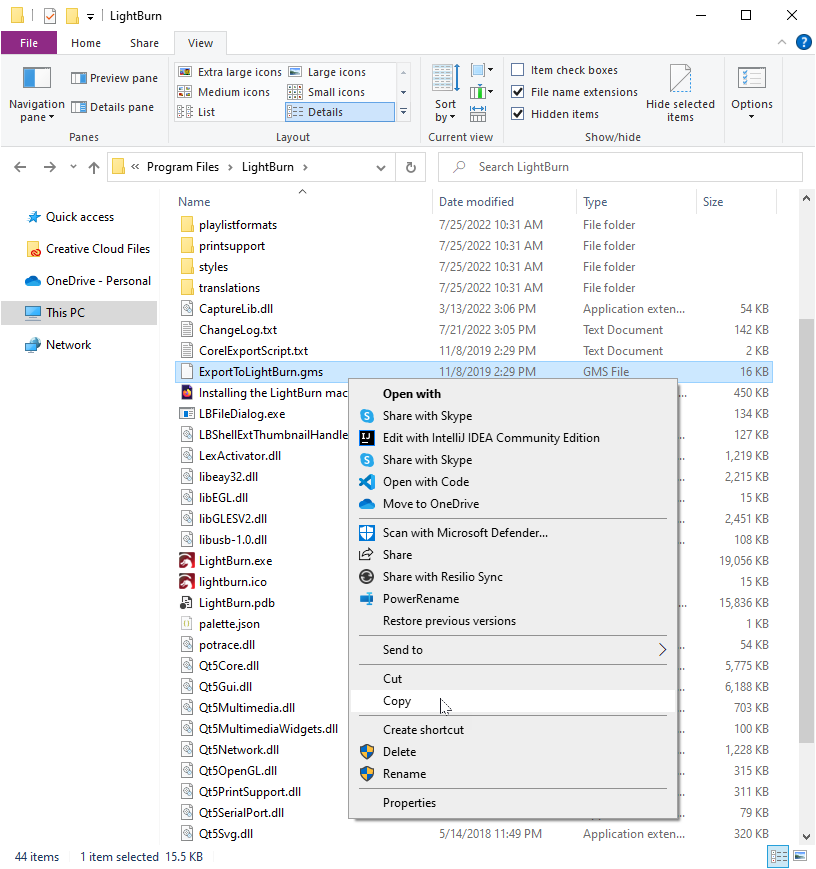
C:\Program Files\LightBurn. Inside this folder, find theExportToLightBurn.gmsfile. - Copy
ExportToLightBurn.gmsby right clicking and choosing Copy
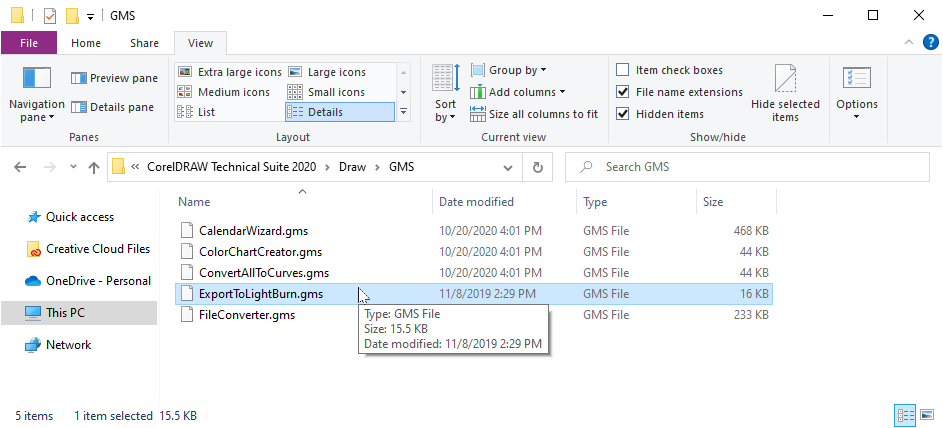
- Go to your CorelDraw install folder, typically
c:\Program Files\Corel. You should have a folder calledCorelDRAW Graphics Suite xxxorCorelDRAW Technical Suite xxx, withxxxbeing your Corel version. Open that folder, and you should find a folder calledDraw, with another folder inside calledGMS. Paste the file you copied into theGMSfolder. - Windows might ask you for permission to copy this folder. Choose yes.
Loading the Macro
- Open CorelDRAW.
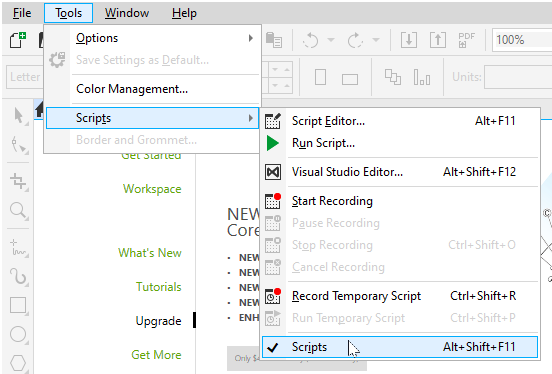
- Open the Script Manager (Macro Manager for older versions) by going to Tools >> Scripts >> Scripts (Tools >> Macros >> Macros Manager for older versions) or using Alt + Shift + F11
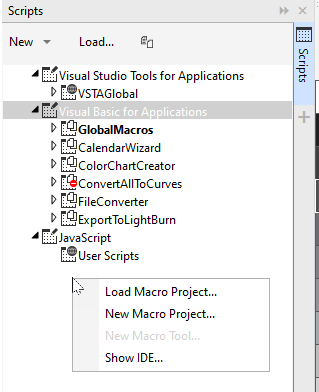
- If the ExportToLightBurn macro doesn't show up in the Visual Basic For Applications category, you'll need to load it manually:
- Right click on the background of the Script Manager window, select Load Macro Project, and select
ExportToLightBurn.gmsfrom Corel's GMS folder
Configuration
- Open CorelDRAW's customization window from Tools >> Options >> Customizations (Tools >> Customizations in older versions)
- Open the Commands section on the left. On older versions, you may have to navigate through Workspace >> Customization >> Commands
- Select Macros from the pane that appears on the right
- Select the LightBurn entry
- Click on the Browse button next to the icon (you may need to select the Appearance tab in older versions) to select an icon
- Select the LightBurn icon from
C:\Program Files\LightBurnand click Open. - For easy access to the macro, grab it from the customization window and drag it to a toolbar.
- Set the caption to "Export to LightBurn".
- Click "Ok" to close the Script/Macro Manager window.

Use
When you click the macro button, it will launch LightBurn with your current selection from CorelDRAW, or the entire file if nothing is selected.